



































































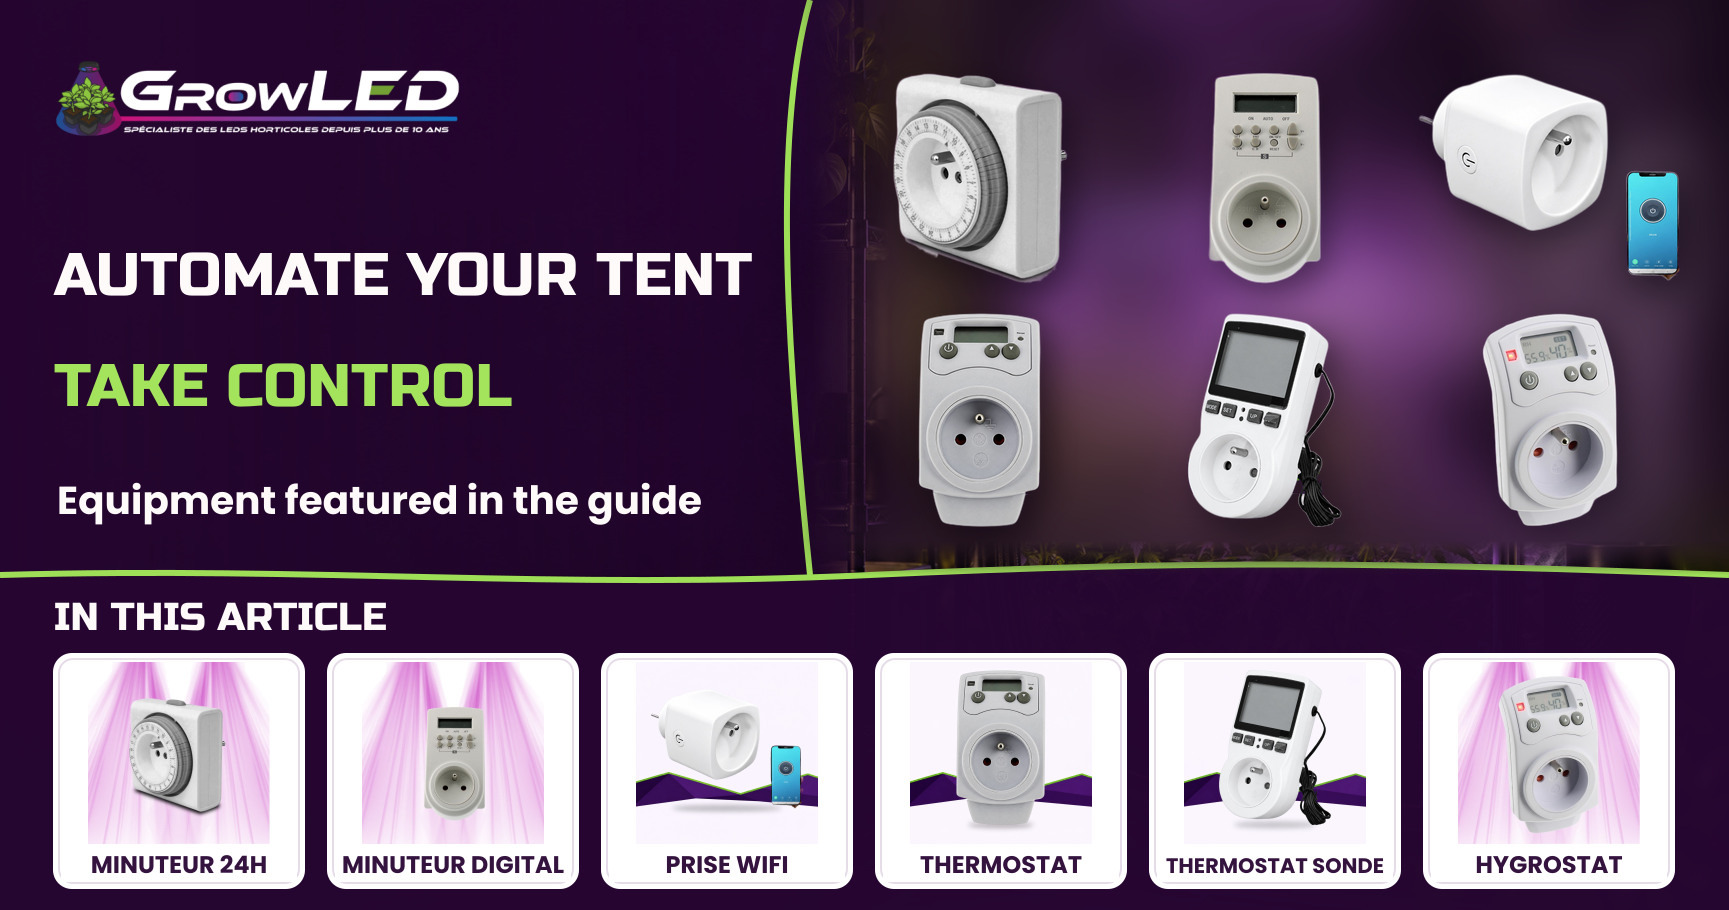
A well tuned tent doesn't need watching by the hour, it runs itself. Timer, thermostat, hygrostat: three families of automation which, put end to end, turn a grow you constantly correct into one that regulates itself while you sleep, while you work or while you're away for a couple of days. Let me walk you through the order in which I install this kit myself, from the simplest to the most complete.
1Timers: the mechanical unit, your way into automation
The starting point, before you even think about a thermostat or a hygrostat, the first automation reflex is nearly always the light. A plant doesn't respond to the intensity of your daily schedule, it responds to the regularity of the day/night cycle: switch the light on twenty minutes late every other evening and the flowering rhythm drifts on varieties sensitive to photoperiod. Automating the lighting is, first and foremost, guaranteeing the regularity that human memory never holds over the long run.
How it works, the principle of a mechanical timer comes down to a notched dial that turns over 24 hours, split into small 15 minute segments on which you push in or pull out little pins. Each pin pushed in corresponds to a slot where the current flows. No screen, no menu, no battery to change: you set the dial once and the cycle repeats identically day after day. It's precisely this absence of electronics that makes it a solid entry point, with the 24h / 15min Mechanical Timer for Horticultural LED Lighting, by far the best selling product in our whole climate range: proof that most growers really do start here, before reaching for something finer.
- Good habit, check the dial after a power cut: a purely mechanical mechanism has no electronic memory, it restarts at the mark where the electricity came back, not necessarily at the real time.
- Mistake to avoid, fiddling with the pins at every moment of doubt. A cycle that stays stable for several weeks is worth more than a setting you keep adjusting every couple of days out of over caution.
- Typical use case, 18/6 on cuttings or a mother plant, a strict 12/12 in flowering: two settings that don't budge all season, exactly what this unit was designed for.
🌱 Joseph's tip
The habit to build, after every new dial setting, let the cycle run a full day before you judge it: a few badly seated pins only show up on the second or third pass, when the light skips a slot. I always check by eye the next morning, not just at the moment I set it.

2Timers: the weekly digital model for tailor made cycles
The starting point, the mechanical unit has one clear limit: it repeats the same cycle every day, with no distinction. As soon as you want one day to differ from the others, a gradual transition into flowering or several windows in the same day, you have to move up to electronics. That's where the logic of the digital timer comes in, replacing the dial with a memory able to store several distinct scenarios.
How it works, the Weekly Digital Timer - Timer dedicated to Horticultural LEDs stores up to 20 programmes and can run 14 cycles at once, with minute level precision across the whole week. In practice, that means you can give a different instruction on Monday and on Sunday, or combine several on windows within the same day without one overriding the other. Its maximum load of 3680 W is designed for horticultural LEDs, so no worries about plugging a powerful panel into it.
- What it changes, minute level precision lets you synchronise one cycle with another piece of kit (watering, ventilation) without a drift that builds up week after week.
- Common mistake, programming windows that overlap without meaning to. With 14 cycles active at once, I recommend re reading every programme one by one after entering them, not just the last one you keyed in.
- Best suited to, anyone who wants a different cycle at the weekend, or to run several staggered lighting zones from the same unit rather than multiplying mechanical plugs.
3Timers: the smart plug, control and measure remotely
The starting point, once the cycle is set, the question that keeps coming back is nearly always the same: what if I could check from my phone that everything is running as planned, without having to go down to the cellar? That's the step the smart plug takes, adding a layer of remote supervision to the classic timer.
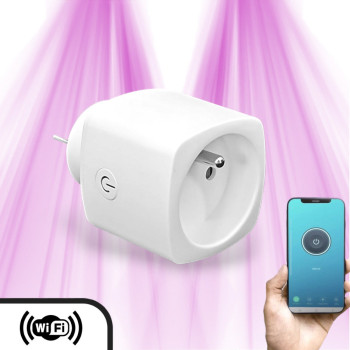
How it works, the WiFi Smart Plug / Timer with Power Consumption Monitoring - LED Compatible 16A connects over 2.4 GHz Wi-Fi to your internet router and is controlled from an app. Its real added value isn't just being able to switch off remotely, it's the live consumption monitoring with history: watching the power draw curve, you spot a ballast or a fan starting to pull more than usual, often an early warning sign of a failure. Compatible with LEDs, extractor fans, pumps and misters up to 2300 W and 16 A, it covers most of the equipment in a tent.
| Timer | Control logic | Maximum load | What it adds |
|---|---|---|---|
| Mechanical | 1 fixed cycle repeated every day, pin dial | not stated on the product sheet | Simplicity, no configuration |
| Weekly digital | Up to 20 programmes, 14 simultaneous cycles, minute level precision | 3680 W | Different days within the week |
| Wi-Fi smart plug | App control + live consumption monitoring | 2300 W / 16 A | Remote control and consumption history |
4Thermostats: stabilise temperature with the reversible plug
The starting point, once the light is automated, the second parameter that most often slips out of manual control is temperature. It moves constantly with the LEDs heating up, the outside weather, a door opening: impossible to correct by hand without thinking about it every hour. That's the thermostat's job.
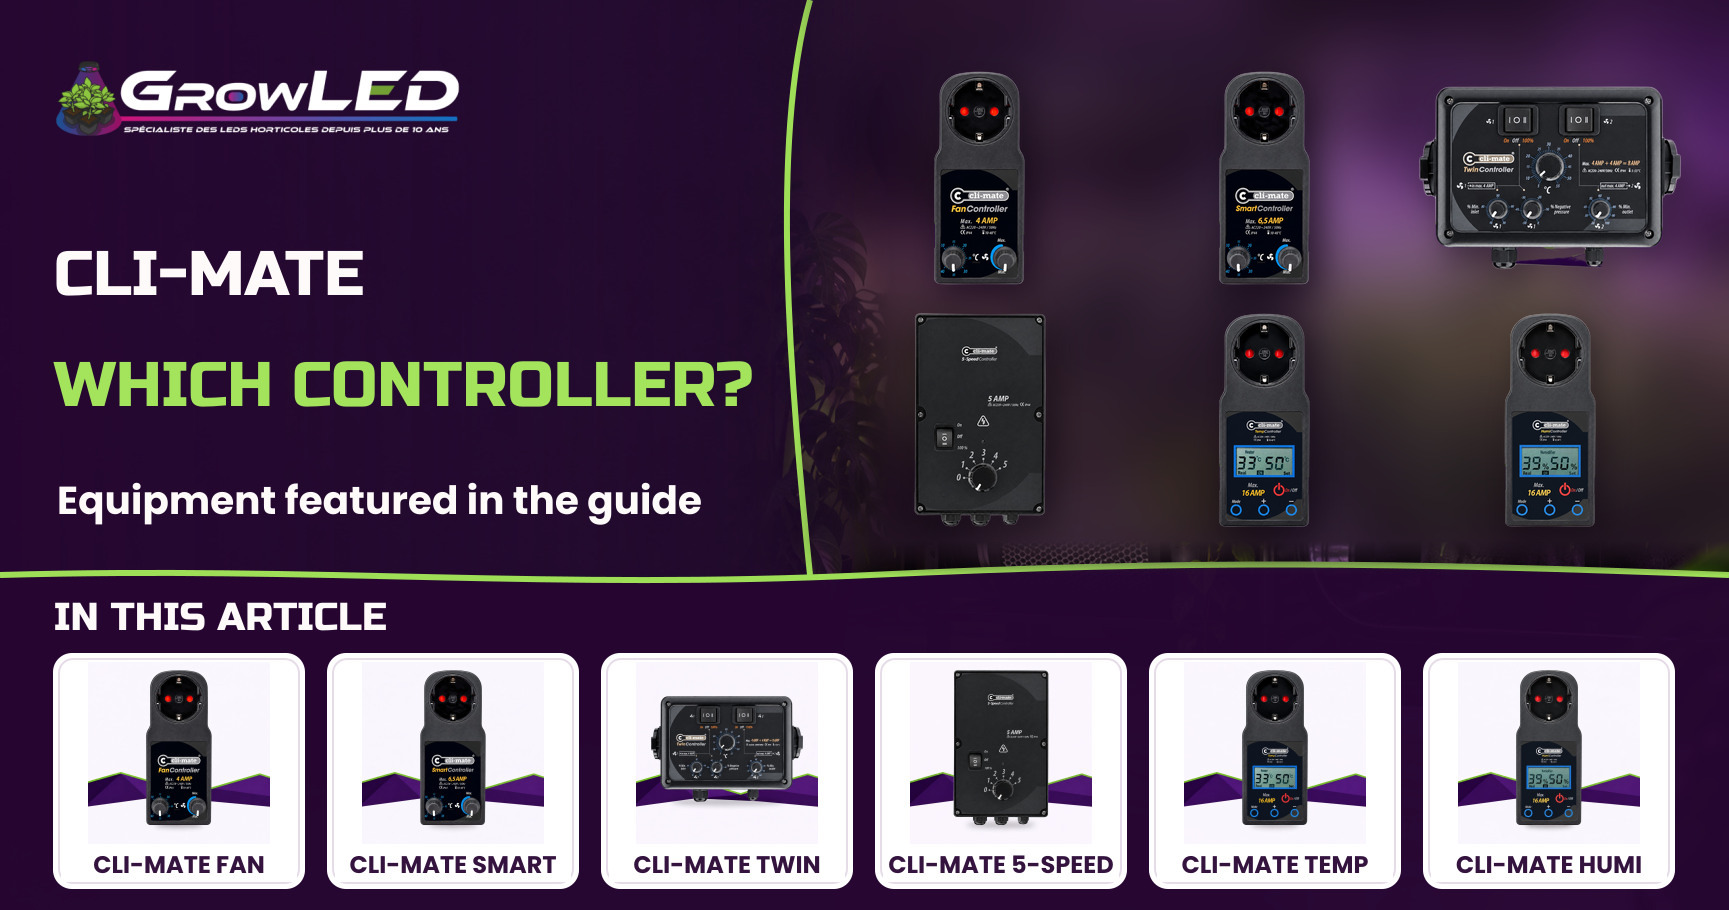
How it works, a thermostat measures temperature via a probe and triggers a plug when a threshold is crossed, then cuts off when the temperature comes back within the tolerance band: it's this band mechanism, the hysteresis, that prevents rapid fire micro cut offs on the connected appliance. The Reversible Thermostat Plug CornWall Electronics - 220V is the best selling climate controller in the thermostat range, with an adjustment range of 5 to 30°C and a precision of ±1°C, an LCD screen and a backup battery so you don't lose the setting during a power cut. Its resistive load goes up to 3680 W and 16 A.
The key point, is the word "reversible": a single unit, two possible logics depending on the mode chosen. In heating mode, the plug activates when the temperature drops below the threshold and cuts off once it has risen back up. In extraction or cooling mode, it's the opposite: the plug activates when the temperature climbs too high, to trigger an extractor fan or a fan. A single output, so a single use at a time, to be chosen before wiring it up.
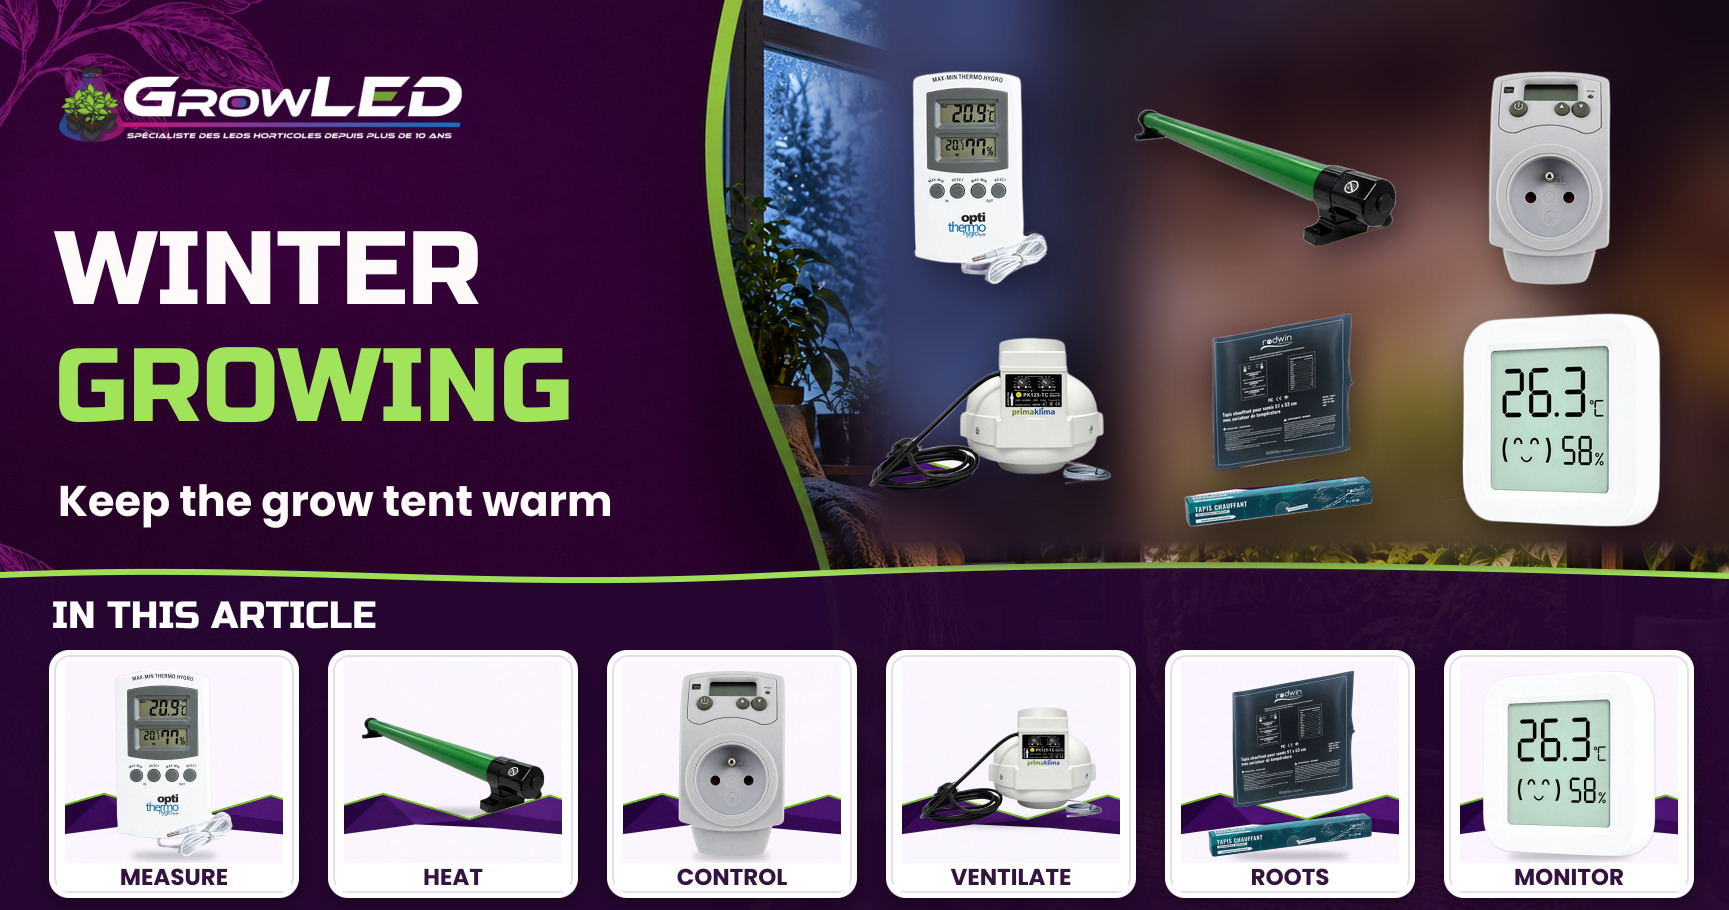
- Heating mode, useful in winter or in an unheated room, the plug powers a heat mat or a backup heater as soon as the low threshold is reached.
- Extraction mode, useful in summer or with powerful LEDs, the plug powers an extractor fan or a fan as soon as the high threshold is exceeded.
- Mistake to avoid, placing the probe too close to the heat source or the light completely skews the reading: it needs to measure the real ambient air of the zone you want to regulate, not the direct heat of a lamp.
5Thermostats: the remote probe for precision readings
The starting point, the built in probe of a classic thermostat plug stays close to the unit, and therefore close to the wall socket. That becomes a problem as soon as you want to measure a precise point, far from the socket: near a heater, at canopy level, or against a wall exposed to the cold. That's exactly what a remote probe thermostat fixes.
How it works, the Digital Thermostat with Remote Probe - Large LCD Screen moves the measurement to the end of a 5 metre cable, which gives real freedom in placing the sensor relative to the control unit. Its measuring range is very wide, from 0 to 119°C, with fine precision ranging from ±0.1 to ±0.5°C depending on the setting, and it is compatible with radiators, heaters and air conditioning up to 2900 W. This fine reading makes all the difference as soon as a few tenths of a degree matter, typically in a small volume where the air heats up or cools down fast.
🌱 Joseph's tip
The habit to build, never stick the remote probe directly against a pot or a damp substrate, nor in the direct airflow of a fan: you'd be measuring the temperature of the pot or of the draught, not that of the tent's ambient air. I always hang it at canopy height, a few centimetres from any surface, for a representative reading.
6Hygrostats: master humidity, humidify or dehumidify
The starting point, temperature never tells the whole story: at the same heat, a tent at 40% humidity and one at 70% offer the plant completely different conditions. Too dry and transpiration runs away, with water stress lurking. Too humid and it's an open door to mould on dense buds at the end of flowering. The hygrostat closes this second axis of the climate, on the same threshold principle as the thermostat but applied to humidity.
How it works, the Reversible Hygrostat Plug 220V - Cornwall Electronics measures the ambient humidity and triggers its output according to the mode chosen, humidifier or dehumidifier, exactly like the reversible logic seen on the thermostat but transposed to humidity. Its control range runs from 20 to 90% humidity with a precision of ±10%, an LCD screen, and it is sized for growing areas up to 15 m². It's the only standalone hygrostat in the range, and the best selling climate controller just behind the timers: a sign that once the light and the temperature are dialled in, humidity is the next natural reflex.
- Seedlings and cuttings, keeping humidity high favours rooting: this is the moment when humidifier mode really earns its place.
- Late flowering, conversely, you often need to bring the humidity back down to limit the risk of botrytis on dense buds, by switching to dehumidifier mode.
- Common mistake, keeping the same threshold from seedling to harvest. Needs change with the stage, and the setting should follow rather than stay frozen on a starting value.
7Going further: the combined temperature, humidity and extraction controller
The starting point, once the three families are in place, thermostat on one side, hygrostat on the other, a logical question arises: why manage two separate units, with two distinct threshold logics, when a tent only ever lives one single overall climate? That's exactly the problem a combined controller solves.
How it works, the Digital Controller for Temperature, Humidity and Negative Pressure - GSE brings together in a single unit what the two previous chapters handle separately: thermostat, hygrostat and negative pressure control for extraction. Its precision reaches ±0.5°C over a range of 20 to 32°C, and above all, it has two 5A/230V outputs, which lets you drive two appliances at once, for example a heater and an extractor fan, with a single remote probe on a 4 metre cable. Where each Cornwall plug drives only one appliance at a time, this controller consolidates the threshold logic onto a single measuring point.
Why it's the logical next step, as soon as a tent has to manage several interacting variables (extraction that's too strong dries out the air, heating that runs too long pushes up the relative humidity), having two separate units that don't talk to each other can create contradictory settings. A combined controller reduces this risk by centralising the decision, at the cost of a slightly longer configuration at the start.
| Device | Function | Range / precision | Outputs driven |
|---|---|---|---|
| Mechanical timer | On/off cycle over 24h in 15 min steps | not stated | 1 |
| Digital timer | Up to 20 programmes, 14 simultaneous cycles | weekly, minute level, 3680 W | 1 |
| Wi-Fi smart plug | App control + consumption monitoring | 2300 W / 16 A | 1 |
| Reversible thermostat | Heating or extraction depending on mode | 5-30°C, ±1°C, 3680 W/16A | 1 |
| Remote probe thermostat | Precision measurement at a distance | 0-119°C, ±0.1 to ±0.5°C, 5m cable | 1 |
| Reversible hygrostat | Humidifier or dehumidifier depending on mode | 20-90%, ±10%, up to 15m² | 1 |
| Combined GSE controller | Temperature + humidity + negative pressure | 20-32°C, ±0.5°C, 4m probe | 2 |
Ready to automate your tent from A to Z?
Start simple with the 24h / 15min Mechanical Timer for Horticultural LED Lighting or round out your setup with the Reversible Hygrostat Plug 220V - Cornwall Electronics. The rest of the climate range is waiting for you at the growshop.
See the growshop →If I had to sum up twenty years of trays and tents in one sentence: you never automate everything at once, and that's no bad thing. I always start with the light because it's the simplest parameter to make reliable, then temperature because it moves without warning, then humidity because it demands you've already got a trained eye on the first two. The combined controller isn't a starting point, it's a reward: the reward of the grower who has understood, unit after unit, how their tent breathes.