


































































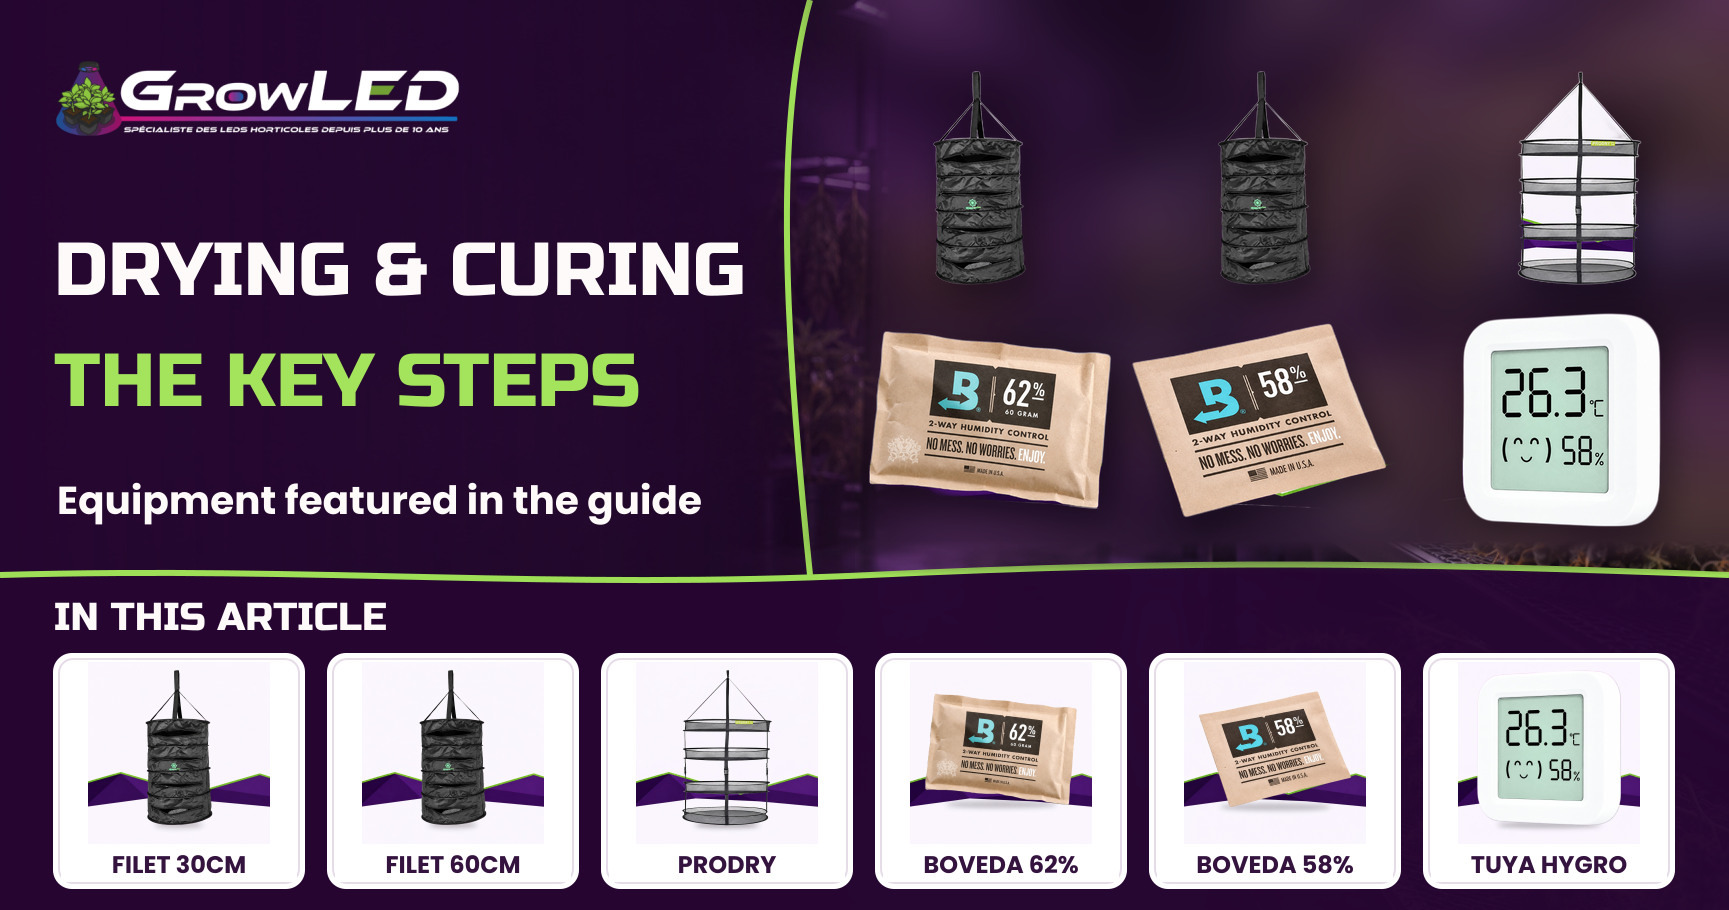
Every year I watch growers nurse their plants for months and then rush the last fortnight. Drying and curing aren't some administrative box to tick once the harvest is in: this is where a good part of the flavour, the smell and the shelf life is decided. Here's how I go about it, with the kit that has proven itself in my own grow.
1Why drying and curing make all the difference
A flower you've just cut is never ready to be smoked or vaped, even if it already looks the part. It still holds a lot of water in its tissues, chlorophyll that gives a cut-hay taste, and sugars that, if they aren't flushed out properly, leave a harsh smoke. Drying pulls the surface water out, while curing gives the chlorophyll and residual sugars time to break down slowly inside the bud, as the terpenes settle and stabilise.
The classic trap is speed, in both directions. Drying too fast (heat, dry air, aggressive airflow blasting the flowers) locks the chlorophyll inside the bud: the outside is crisp, the inside stays green and harsh. Drying too slowly, or in a room that's too humid, opens the door to grey mould (botrytis), which can wipe out an entire harvest in a matter of days without showing on the outside at first.
- Mistake no.1, drying in full light: UV degrades the terpenes and some of the cannabinoids, which is exactly why you dry in the dark or in dim light.
- Mistake no.2, cramming the flowers together: with no space between them, the air goes stagnant deep in the pile, and that's precisely where mould gets started.
- Mistake no.3, skipping steps to smoke sooner: a rushed dry gives you a product that crackles as it burns and stings the throat, and the curing that follows is there to recover part of the work, not to replace it.
That's why I always split the subject into two stages, the drying kit on one side, which handles airflow and surface moisture, and curing on the other, which plays out in a sealed jar over several weeks. The two call for different tools, and that's what we're going to break down.

2Drying kit: the standard ventilated solution
For the vast majority of home grows, I recommend a ventilated drying net, and the Ventilated drying net with anti-odour filter - 30cm diameter - 4 tiers is by far our best seller in this segment. That's no accident: it ticks every box for a harvest of average size.
The whole point of a ventilated net is continuous air circulation around each flower, not just around the net as a whole. The built-in 12V fan creates a constant flow that stops moisture from lingering on the surface of the bud, right where botrytis takes hold. It's the same logic as a dehumidifier, but applied at the scale of the bud rather than the whole room.
The activated-carbon anti-odour filter solves a very real problem, the drying that fills the whole house with smell for a week. That detail is often what tips the decision for growers living in a flat.
- Stated capacity, 700g per tier across 4 levels: that's 2800g in total, more than enough for a harvest of several indoor plants without overloading any single tier.
- Stated drying in 7 days with no mould: a handy marker for planning the next step, namely jarring up for the cure.
- Storage cover included: convenient once the net is folded away between two harvests, without taking up a whole grow cabinet.
My tip for using it well is to never fill a tier right to the brim, even if the capacity allows it. Leaving a little air between the flowers multiplies the fan's efficiency, whereas a packed tier locally recreates the very stagnant conditions you're trying to avoid.
🌱 Joseph's tip
I always check the stem before moving to the cure, not just the feel of the bud. When a small branch snaps clean instead of bending, that's the signal that the surface drying has run its course and it's time to go into jars, not before.
3Scaling up for a big harvest
When the harvest outgrows what a 30cm net can handle comfortably, I switch to the Ventilated drying net with anti-odour filter - 60cm diameter - 4 tiers. It's exactly the same technology (built-in fan, activated-carbon filter, stated drying in 7 days), but with a diameter that changes everything on capacity.
Total capacity climbs to 12 to 16kg across the 4 tiers, which is 4 to 6 times more than the 30cm model. In practice, that means you can dry a harvest of several outdoor plants or an XL tent grow without multiplying nets or compromising on the spacing between flowers.
The real advantage of scaling up in diameter rather than in number of nets is keeping a single ventilation system to manage and a single control point for the smell. Multiplying small nets means multiplying the zones to watch, the fans to power, and the chances of forgetting one.
| Model | Diameter | Tiers | Ventilation | Stated capacity |
|---|---|---|---|---|
| 30cm net | 30cm | 4 | 12V fan + filter | 700g/tier, 2800g total |
| 60cm net | 60cm | 4 | 12V fan + filter | 12 to 16kg total |
| PRODRY net | 55cm | 4 | Passive, no fan | Not stated, suited to small/medium harvests |
A simple guide for choosing between the two sizes is to think in number of plants and not just in estimated weight: beyond two or three plants harvested at the same time, the 60cm saves you from having to spread the harvest across several successive drying sessions, which needlessly lengthens the wait before curing.
4The no-electronics option
Not everyone needs, or wants, a fan to dry, and that's where the PRODRY drying net - Garden High Pro comes in. A 55cm format with 4 tiers, but no electronics: it's a passive net, relying solely on the room's ambient airflow.
The fine mesh is designed to prevent cross-contamination between tiers, which partly makes up for the lack of forced airflow: the flowers stay isolated from one another vertically, even without active air movement. It's a foldable net with a storage cover, in the same practical spirit as the ventilated models.
What I always tell people who are hesitating is that a passive net works very well provided you make up for the missing fan with the room itself: a properly aired space, sensible ambient humidity, and no overloading the net. The proof is that this model remains a firm choice for a significant share of our customers, not just a stopgap product.
- Main advantage, no electronics at all: nothing to plug in, nothing that can break down over a week of drying.
- Budget clearly more accessible than the ventilated models: a genuine argument for small harvests or those starting out.
- The limit to know, its reliance on the room: in a poorly ventilated or overly humid space, the lack of forced airflow shows more.
My rule for deciding between ventilated and passive comes down to the size of the harvest and the climate of the drying room. Small harvest, dry and well-aired room: the PRODRY is plenty. Big harvest or humid room: the built-in ventilation becomes a real plus, not a gimmick.
5Curing: stabilising the moisture level
Once the drying is done, the most underrated part of the job begins, curing in a sealed jar. This is where the Humidity Control Pack - BOVEDA 62% becomes central: it's by far the most requested product in this whole selection, despite a very modest price, and that's no passing fad.
The technical principle rests on controlled saturation, a patented salt solution inside the pack releases or absorbs moisture to automatically hold the jar's relative humidity at 62%, with no manual input at all. If the jar is too dry, the pack releases moisture. If it's too humid, it absorbs it. The whole thing stabilises on its own, continuously.
Why 62% precisely, and why a sealed jar, it's the level that lets the flower keep gently exchanging its internal moisture (the pith of the stem, the core of the bud) towards the outside, without ever drying out the surface or letting it mould. It's during this phase that the aromas truly refine: a successful dry gives you a base, curing reveals the full aromatic potential.
- Without regulation, two classic scenarios, either the jar stays too humid and the mould comes roaring back within days, or it's too dry and the flower turns brittle and loses its aromas.
- The pack replaces haphazard "burping", the habit of opening jars on a hunch to air them out, which exposes the harvest to humidity swings you don't really control.
- The pack's lifespan, it gradually wears out as it regulates the humidity, which is why I replace it rather than rely on an old pack for a cure that runs several weeks.
🌱 Joseph's tip
I fill my jars to three-quarters, never to the brim, to leave enough air volume around the Boveda pack. An overfilled jar stops the pack from regulating the whole space properly, and that's often the real reason a cure goes wrong despite a good pack.
6Choosing the right level for the texture you want
62% isn't a universal rule, which is why the Humidity Control Pack - BOVEDA 58% exists and remains the second best seller in the whole selection. Same automatic regulation technology, but a lower target level, and that's not a cosmetic detail.
The choice of level depends above all on the state of the flower when it goes into the jar, and on the mould risk you're willing to take. A flower that's slightly drier coming off the net, or a humid ambient climate, naturally points towards 58% to keep a safety margin. A flower from a more standard dry, in a dry climate, pairs well with 62% to preserve maximum suppleness and aroma.
| Level | Recommended situation | Desired effect |
|---|---|---|
| 62% | Standard dry, dry climate, dense buds | Maximum suppleness, aromas preserved |
| 58% | Flower already quite dry, humid climate, safety margin wanted | Reduced mould risk |
What many people don't realise is that you can absolutely switch packs mid-cure: start with a 58% for the first few days if the flower comes out of the dry a little humid, then move to a 62% once the balance is reached, to finish the cure on the most pleasant texture.
The wide stock available on the 58% is no trivial detail either: it lets you keep some in reserve for all the slightly trickier harvests, without having to improvise a last-minute choice as you seal the jars.
7Measure before you trust
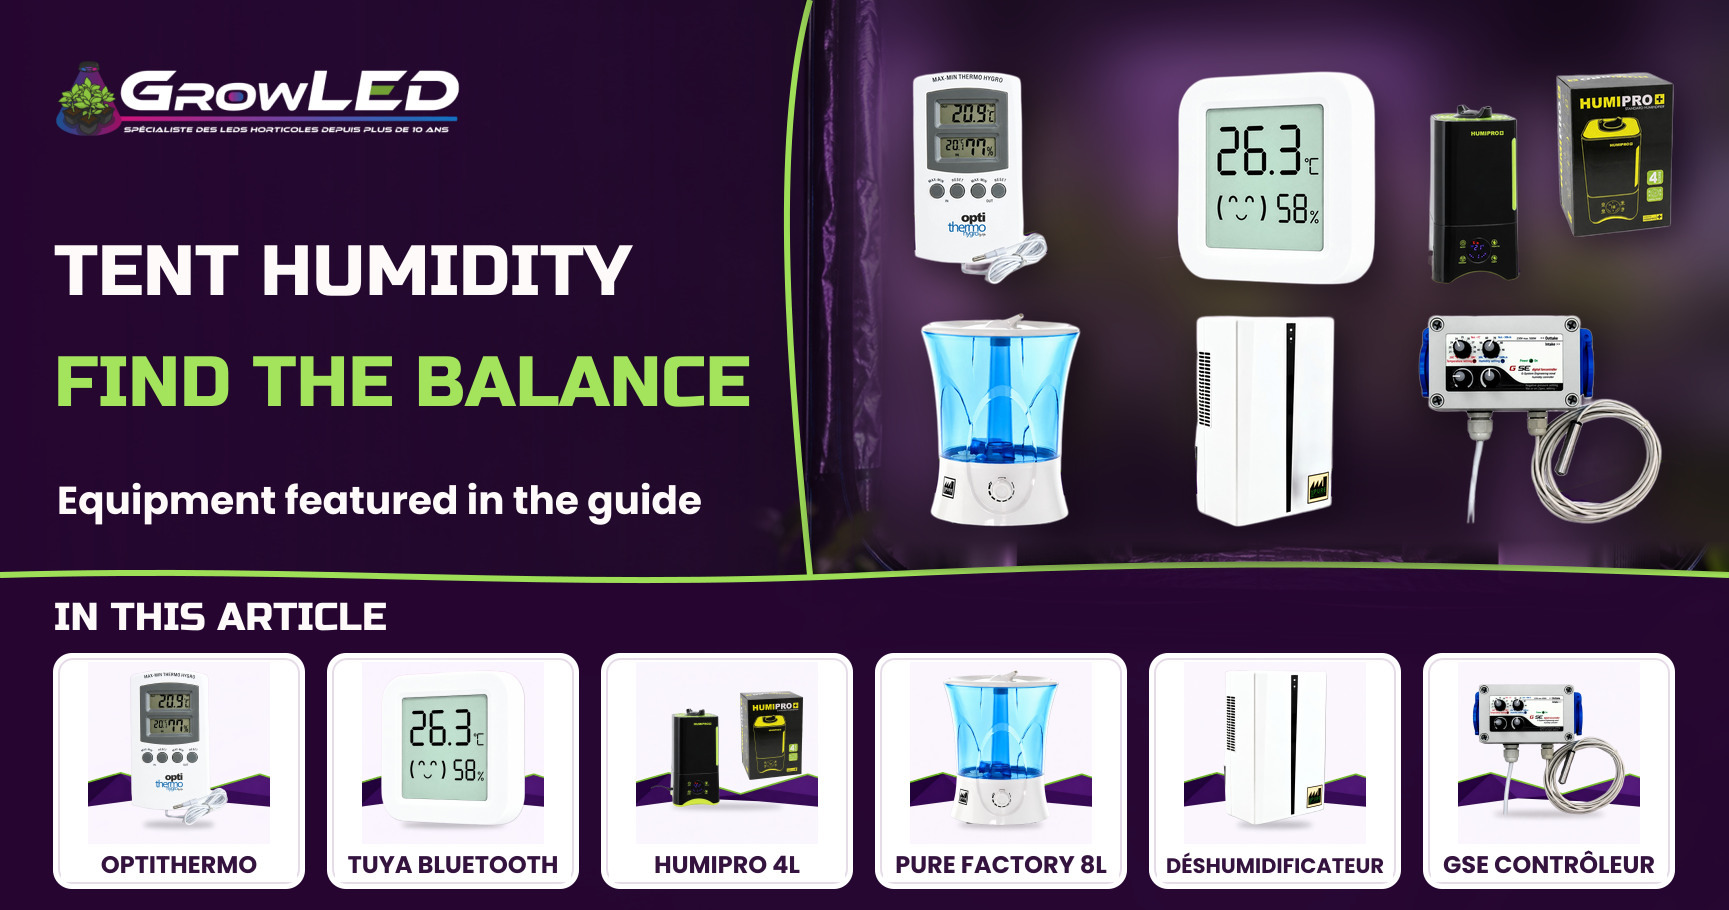
A Boveda pack regulates, but it tells you nothing about what's actually happening inside the jar, and that's exactly the role of the Bluetooth Thermometer and Hygrometer Tuya. Without measurement, you're steering your cure blind, relying solely on the pack's promise.
In practice, a pack can underperform without you noticing, a badly sealed jar lid, a pack that's reached the end of its life, an abnormally warm curing room that speeds up the moisture exchange: in all these cases, the real level drifts from the stated one, and nothing flags it to the naked eye.
The device's stated accuracy, ±1°C and ±5% relative humidity, is more than enough to check that a jar set to 62% is genuinely hovering around that value, and not sitting at 70% or 50% without you knowing. It's that check which turns a leap of faith into an act of control.
- Bluetooth 5.0 BLE connection, to read the measurement straight from your phone without opening the jar, which is precisely how you avoid disturbing the moisture balance you're trying to preserve.
- Remote monitoring over WiFi, useful for keeping an eye on several curing jars spread across a cupboard or a dedicated room, without going back to them every day.
- A use that complements drying, the same kind of device also lets you check the room's humidity during the net-drying phase, even before you get to the jar.
The way I use it is to slip the probe into a first test jar as I seal it, check that the displayed value does converge towards the pack's level after a few days, then trust the rest of the batch once that check is confirmed.
Ready to nail the drying and curing of your next harvest?
Find everything you need to dry and cure by the book, from the Ventilated drying net with anti-odour filter - 30cm diameter - 4 tiers to the Humidity Control Pack - BOVEDA 62%, along with the rest of the selection on the growshop.
See the growshop →If I had to keep a single idea from this article, it would be this one: drying manages the air, curing manages the time, and neither one replaces the other. I've seen too many fine harvests lose quality for want of a properly ventilated net, and just as many lose their aroma for want of a cure stabilised at the right moisture level. The kit we've reviewed here is nothing complicated to use, but each piece plays a precise role in that chain. Take the time to do it right, your harvest deserves it after months of growing.