




































































A tent that smells of fresh flower three metres from the landing is the kind of detail that can change everything: discretion, keeping the peace with the neighbours, sometimes even your tenancy. The activated carbon filter is the only genuine technical barrier between your flowering plants and everyone's nose, but a filter that is undersized or badly fitted does absolutely nothing, even brand new. Here I explain how it really works, how to calculate the right airflow for your growing space, and above all the mistakes that ruin most setups.
How activated carbon (really) captures odours
Activated carbon does not absorb odours, it adsorbs them, and that distinction changes everything in the way you think about your setup. Adsorption is a surface phenomenon: the odour molecules (the terpenes and other volatile organic compounds, the well known VOCs, that your plants release above all during flowering) physically stick to the inner walls of the carbon, held there by simple Van der Waals forces. There is no chemical reaction, just a mechanical capture inside tiny pores.
What makes activated carbon so effective is its extraordinary contact surface, created by an activation treatment (steam at very high temperature) that riddles the carbon with a network of micropores under 2 nanometres across. The result: a single gram of activated carbon unfolds between 800 and 1,500 m² of internal surface, the equivalent of several tennis courts compressed into a handful of black granules. The larger that surface, the more sites are available to trap the VOC molecules.
But that surface is useless if the air does not stay in contact with the carbon long enough, which is what we call contact time or residence time. Air passing through the carbon bed too fast does not give the molecules time to diffuse into the micropores: they cross the filter without sticking to it, a phenomenon known as breakthrough. This is exactly why your fan's airflow should never significantly exceed the filter's rated airflow: a filter rated for 250 m³/h is designed to provide sufficient contact time up to that airflow, not beyond it.
🌱 Joseph's tip
Trust the nose test, not the spec sheet: once a week from the moment flowering begins, put your nose against the outdoor duct outlet for 10 seconds. It is the only reliable indicator of saturation, well before it can be smelled anywhere else. Write the commissioning date on a piece of tape stuck to the filter, so you don't have to wait for the problem to remember it.
Working out the right airflow for your tent
It all starts from the real volume of your growing space, not its floor area. A tent measuring 120 x 120 cm on the floor but 200 cm high holds 2.88 m³, not "120x120". That is the figure you need to multiply by the number of desired air changes per hour to get a theoretical airflow in m³/h.
The number of air changes per hour depends on the growth stage, because the need to remove heat, humidity and VOCs is not the same for seedlings as it is in full flowering. During cloning and early veg, 20 to 40 changes/h are plenty. In full flowering, under LED lighting that pushes up the canopy temperature and the plants' transpiration, aim instead for 40 to 60 changes/h to stay around 24-27°C under the light bar and stop humidity from stagnating above 65% RH.
Once you have the theoretical airflow, you need to add a safety margin of 25 to 30%, because the airflow quoted for a fan or a filter is measured in the lab, in a straight duct, with no pressure loss. In a real setup, the ducting, the bends, the filter itself and the insect mesh all eat into the airflow. Without that margin, you never reach the air changes you were aiming for, even with kit that is correctly sized on paper.
| Tent volume | Theoretical airflow (40-60 changes/h) | Recommended airflow (+30% margin) | Suitable filter |
|---|---|---|---|
| 0.5 m³ (60x60x140) | 20-30 m³/h | 26-39 m³/h | ProActiv 250 m³/h on low speed |
| 1 m³ (80x80x160) | 40-60 m³/h | 52-78 m³/h | ProActiv 250 m³/h |
| 2.9 m³ (120x120x200) | 116-174 m³/h | 151-226 m³/h | ProActiv 250 m³/h on high speed |
| 4.5 m³ (150x150x200) | 180-270 m³/h | 234-351 m³/h | ProActiv 460 m³/h |
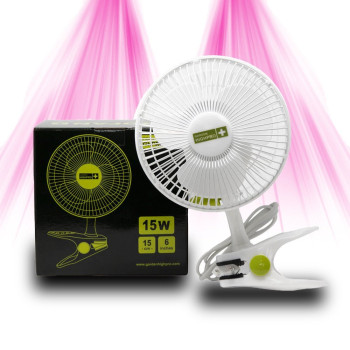
A subtle point that changes a lot: the filter's airflow rating must always be equal to or greater than the fan's real airflow, never the other way round. If you fit a fan capable of 300 m³/h onto a filter rated for 250 m³/h, you gain volume of air moved in theory, but you lose filtration efficiency because the contact time drops. A TT MAX 125mm 2-speed fan is exactly what you want here: low speed during veg to spare the carbon, high speed in full flowering when the VOC and heat load climbs.

Assembly: fan, ducting, direction of flow
The configuration that best protects against odour leaks is carbon before the fan, never after. The filter can be hung inside the tent, above the flowering zone, or installed outside in the room just before the fan: what matters is not its physical location but its order in the direction of flow. The air from the tent first passes through the carbon, then reaches the fan via a short section of ducting, and the fan pushes the filtered air outside. The whole run before the fan works under negative pressure: any leak at that point draws ambient air into the tent rather than the other way round, so no odour can escape by that route.
The direction of flow is read straight off the fan housing, a moulded arrow shows the direction the impeller turns and therefore the direction the air travels. Fit it backwards and you lose a good chunk of the quoted airflow, the motor spins but pushes the wrong way against the geometry of the blades.
Use semi-rigid ducting rather than the cheapest plastic ducting, because the latter crushes at the slightest bend and creates turbulence that cuts the real airflow by 20 to 30% compared with the figure on the label. A Combi Alu/PVC duct, 5m in 125mm keeps a constant cross-section even round a curve, and limits those pressure losses. Also keep the number of 90° bends down, each one roughly equals 1 to 2 metres of straight duct in pressure loss.
Every joint must be tightened with a clamp, no exceptions: filter-to-duct, duct-to-fan, fan-to-outlet duct. A connection simply pushed on without a clamp lets unfiltered air past all the way around the pipe, which cancels out much of the filter's effect even if it is perfectly sized. One 25-175mm hose clamp per joint, tightened firmly but without crushing the ducting, is enough to seal the circuit.
🌱 Joseph's tip
Always leave 20 to 30 cm of straight ducting before the fan inlet, a bend stuck directly onto the intake mouth creates an asymmetric airflow that makes the motor run hot and reduces the real airflow, even if the setup looks identical on paper.
Filter lifespan and maintenance
A carbon filter lasts on average 12 to 24 months, but that range depends almost entirely on three factors: how hard it is used, the ambient humidity and the dust load. A tent running 12h a day in flowering saturates its carbon far faster than a light, continuous grow. Reckon on 12 to 14 months in heavy use (several flowering cycles a year, tent closed at all times), and up to 20 to 24 months in more moderate use.
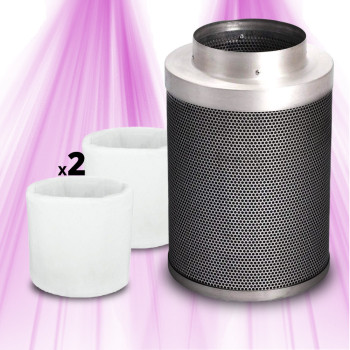
Adsorption on activated carbon is virtually irreversible at growing temperatures, unlike a silica gel that can be regenerated with heat. Once the micropores are occupied by VOC molecules, they do not free themselves: the filter's capacity declines cumulatively and permanently, day after day. There is no way to "clean" the carbon itself, only the external pre-filter (the fabric sleeve around it) can and should be dusted off regularly.
Humidity is activated carbon's number one enemy, and it is often the most costly mistake. Above 70 to 75% relative humidity in the air passing through the filter, water molecules, smaller and more polar than terpenes, take priority in occupying the carbon's adsorption sites (this is called competitive adsorption). The filter then saturates much faster than expected, and the stagnant moisture also encourages mould to develop right in the carbon bed, which clogs the filter and eventually produces its own musty smell. Keep your tent's humidity below 65% RH in flowering, and avoid placing the filter directly above a humidifier or straight over a reservoir that has just been filled.
- Dust off the fabric pre-filter every month, more often if your tent is near a source of dust.
- Never tip or lay the filter flat if it is designed for vertical mounting: the carbon settles to one side and the air finds a preferential path through the least dense area, without passing through the whole carbon bed.
- Keep an ear on the fan motor: a resistance that gradually increases is often the sign of a clogging filter, not necessarily a motor problem.
- Note the commissioning date so you don't overshoot the 12-24 month window without realising it.
| Filter | Rated airflow | Diameter | Recommended tent volume |
|---|---|---|---|
| ProActiv 250 m³/h | 250 m³/h | 125 mm | up to around 3 m³ |
| ProActiv 460 m³/h | 460 m³/h | 125 mm | up to around 7-8 m³ or intensive growing |
The mistakes that ruin a new filter
The first mistake, and by far the most common, is sizing the filter on the floor area rather than the real volume of the tent. A tall tent or a growing space under a high-hung light bar can easily double the real volume compared with what you picture just looking at the floor dimensions. The result: an undersized filter that forces a choice between two bad options, running the fan too fast for the filter (loss of efficiency from lack of contact time) or accepting insufficient air changes (rising heat and humidity, stress on the plants).
The second mistake, which we have just seen, is excessive humidity passing through the filter continuously. A filter installed in a tent that regularly runs above 70% RH (just after a generous watering, at the start of flowering, or with a badly set humidifier) saturates two to three times faster than the quoted lifespan, without anyone quite understanding why the smell "gets out" earlier than expected.
The third mistake, more mechanical, is poor tightening or poor connection of the ducting. A loose clamp, a low-grade flexible duct crushed by a bend, or a filter fitted the wrong way round (the air must enter through the surface of the carbon bed, not come out through it) are enough to cancel the effect of an otherwise perfectly sized filter. It is frustrating because it gives the impression that the filter isn't working when the kit is very well chosen, just badly assembled.
A carbon filter that is well chosen and well fitted is something you sort out once and for all in an afternoon, not a problem to manage day to day. What I see most often with growers struggling with odours isn't bad kit, it's a rough volume calculation or a clamp forgotten on a joint. Take the time to measure your tent for real (height included), keep a margin on the airflow, and keep an eye on the humidity passing through the filter. The rest is just routine maintenance.
Kit out your tent for odour-free extraction
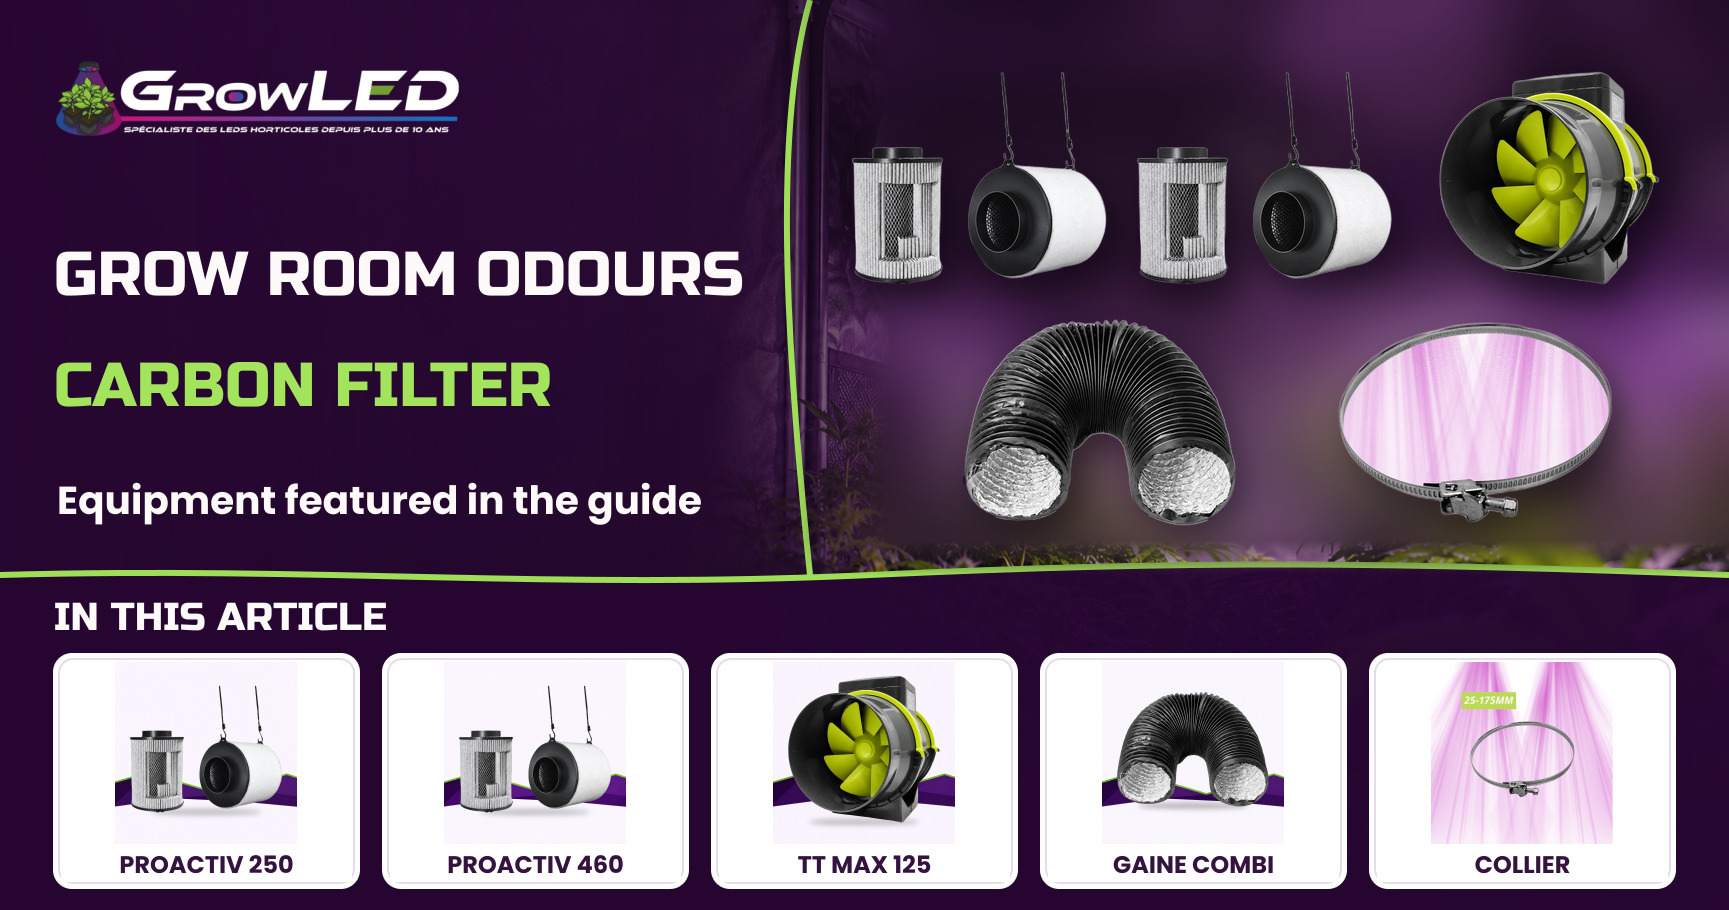
The pairing that works: ProActiv 250 m³/h filter with a TT MAX 2-speed fan, rounded off with a Combi Alu/PVC duct and some hose clamps for a properly airtight assembly.
See climate management →