



































































You've just set up your first grow tent and you're not sure where to start between the light, the pot and the nutrients? It's the question I get asked most often, and the answer has less to do with how big your budget is than with the order in which you spend it. In this guide, I go through, item by item, exactly what I check on my own grows: PPFD, DLI, EC, pH, VPD, with the precise figures and the hands-on steps behind them. Enough to get going without fumbling your way through the whole first cycle.
1 Budget and the pecking order of spending
The first mistake I see with beginners is getting the priorities the wrong way round: people often write to me after buying a designer pot and a premium substrate, with barely twenty euros left for lighting. It should be the other way round, because light is the factor that caps everything else: an excellent substrate under insufficient lighting will always give you a weedy plant, whereas decent lighting easily makes up for an average substrate.
For a first grow in a 60x60 cm tent, budget for 300 to 450 euros all in (light, ventilation, container, substrate, basic nutrition and measuring tools). This budget breaks down roughly as shown in the table below, a guide that stops you underinvesting in the item that matters most.
| Item | Share of budget | Why it matters |
|---|---|---|
| Lighting | 40-50% | Caps photosynthesis, and therefore everything else |
| Climate (extraction, air circulation) | 15-20% | Regulates temperature, humidity and available CO2 |
| Container + substrate | 15% | Shapes root development |
| Nutrition | 10-15% | Supports growth without forcing it |
| Measurement (pH, EC) | 5% | Safeguards every other item |
One thing beginners almost always underestimate is that the measurement item accounts for only around 5% of the budget but safeguards the other 95%. A graduated syringe costing a few euros and a decent pH meter save you whole weeks of guesswork, and I come back to this in detail in the last section.
2 Lighting: PPFD, DLI and watts per m²
PPFD (Photosynthetic Photon Flux Density), expressed in µmol/m²/s, measures the number of photons useful for photosynthesis reaching one square metre every second. It's the metric that finally replaces the watt, a figure that tells you nothing about what the plant actually receives: two 200W lights can deliver very different PPFD depending on their efficiency (in µmol/J) and the distance to the top of the canopy.
DLI (Daily Light Integral) adds up that light across the whole photoperiod, in mol/m²/day. The calculation is simple: DLI = PPFD x lighting duration in seconds / 1,000,000. A PPFD of 400 µmol/m²/s for 18 hours thus gives a DLI of around 26 mol/day. My benchmarks: 10 to 15 mol/day for a seedling or a cutting, 20 to 30 mol/day in veg, 30 to 45 mol/day in flower. Below that, the plant stretches and lengthens its internodes reaching for light; above the upper thresholds without added CO2, the excess serves no purpose and can even scorch the foliage.
In practice, I mostly think in terms of real watts per square metre, with a range of 300 to 400 W/m² for a well-driven modern LED. This range assumes an efficient light (2.5 to 2.8 µmol/J) mounted at the right distance: 40 to 60 cm in veg, 25 to 40 cm in flower depending on the power, always adjusting to how the foliage reacts rather than to a fixed rule.
Here's the matrix I use to guide the choice by area and use case:
| Use / area | Light | Key spec |
|---|---|---|
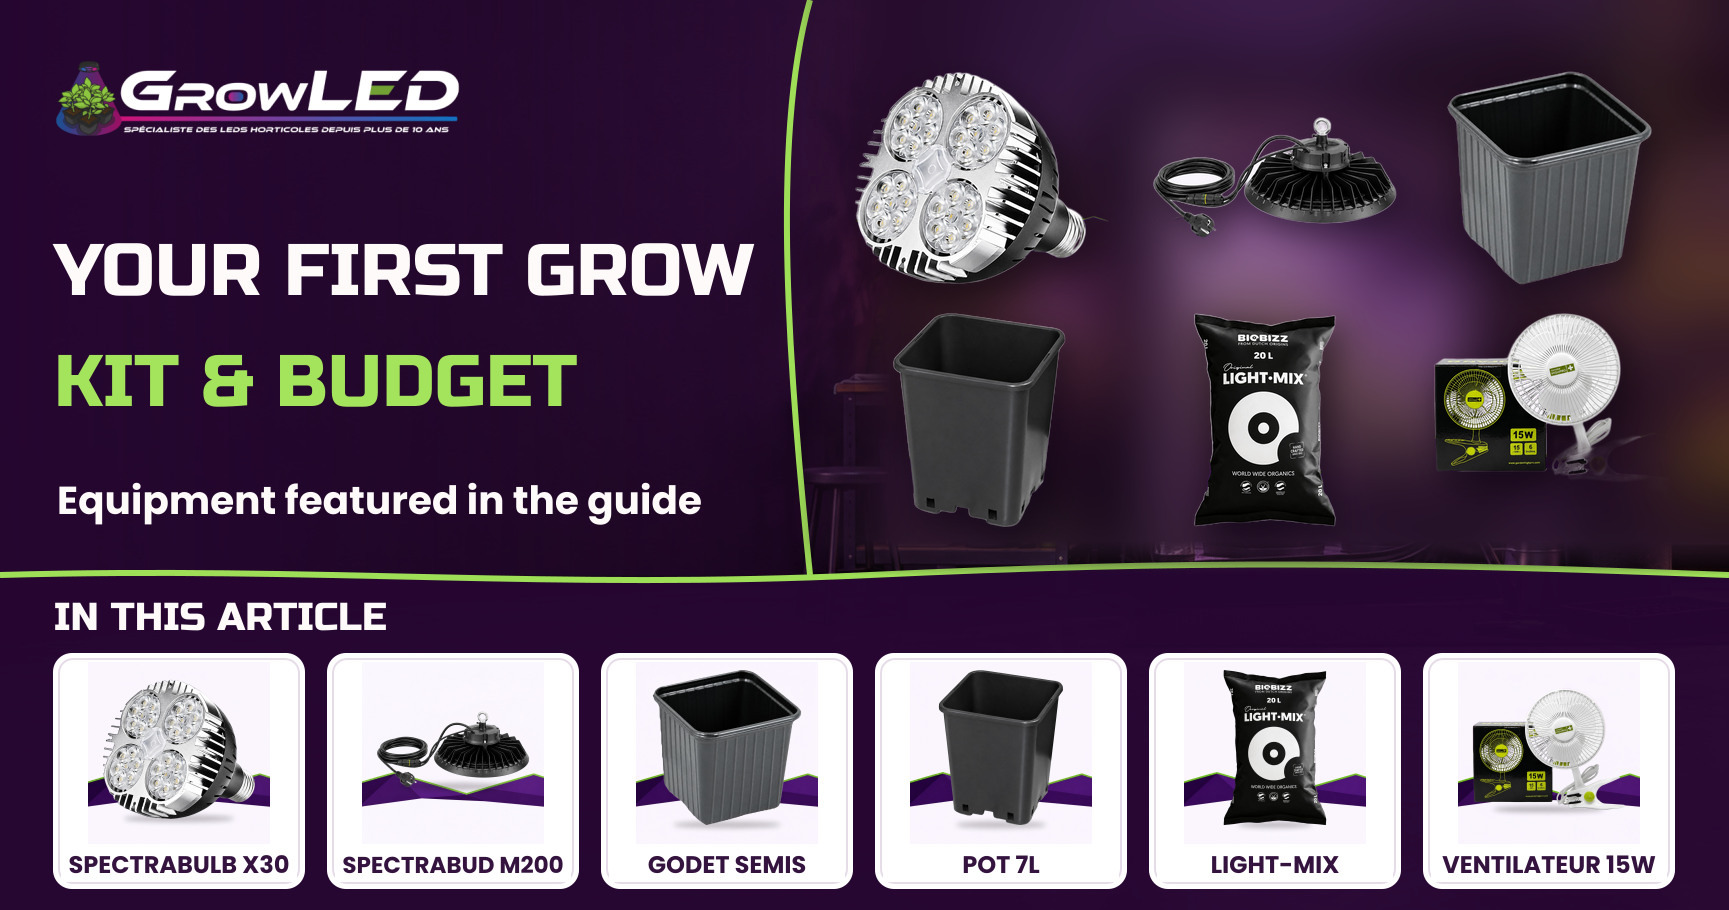
| Supplemental, houseplant, around 40x40 cm | SpectraBULB X30 | E27 bulb, 30W, standard base |
| Cuttings, mother plant | SpectraBUD M200 V2 | Blue-dominant spectrum, 200W |
| 60x60 cm tent | Rhino Series 260 PRO | 200W plug and play, built-in dimmer |
| 80x80 cm to 1 m² tent | SpectraWILD S320 | Samsung bars, 320W |
| Large tent, 100x100 cm and up | SpectraWILD M650 | Samsung bars, 650W |
The most common mistake I fix is the light hung too low from day one. A young plant then gets a PPFD that's too high for its still-limited leaf area, with a risk of light burn (leaf edges that yellow then brown, unrelated to any deficiency). Conversely, a light hung too high or that's underpowered gives long, thin stems that will bend under the weight of the future flowers. I recommend starting high, then lowering in 5 cm steps every 3-4 days while keeping an eye on the top of the canopy.
🌱 Joseph's tip
If your light has a dimmer, like the Rhino Series 260 PRO, start at 60% power for the first week after transplanting, then step up by 10% every 3-4 days. You avoid light stress without ever underusing the light for the rest of the cycle.

3 Container: from starter pot to final pot, the root progression
A young plant always starts in a small volume of substrate, never straight into its final pot. The reason is physiological: a large volume of compost around a tiny root holds on to moisture that the roots don't use up quickly enough, which encourages damping off (collar rot caused by fungi such as Pythium). A 7x7x8 cm seedling pot limits this volume and dries out between waterings at the pace of the young plant's real needs.
Reckon on 10 to 15 days in the starter pot, until 2 to 3 true leaves appear (the first two round leaves, the cotyledons, don't count). It's at this stage that the root system starts to reach the walls of the pot, a sign it's time to repot before the roots circle round at the bottom (root binding), which then holds back recovery for a long time.
Repotting is ideally done in a single step to the final pot, around 7 litres for a compact plant grown under 200 to 300W, such as a 7L grow pot. A pot that's too big from the start poses the same problem as an oversized starter pot: too much wet substrate around still-small roots, with a heightened risk of root suffocation. A pot that's too small, on the other hand, limits the water reserve and forces you to water every day, which leaches out nutrients faster than expected.
4 Substrate: light-mix or garden soil, and the pH question
Light-mix isn't a marketing name, it's a formulation designed to limit the starting nutrient load. A standard compost, already rich in fertilised organic matter, can burn young roots with excess salts before the first feed even happens. A Biobizz Light-Mix 20L compost blends peat and perlite with a deliberately light base fertilisation, leaving it to the grower to raise the dose at the right pace.
Garden soil is to be avoided indoors, even if it seems free and convenient. It's rarely sterile: larvae, insect eggs, pathogenic fungi and weed seeds survive in it easily, not to mention an often compact structure that holds excess water and starves the roots of air. The porosity of a horticultural compost, thanks to the perlite, guarantees instead a share of residual air even after watering.
The pH of the substrate governs the availability of nutrients, not just their presence. In soil, the target sits between 6.0 and 6.5. Below 6.0, phosphorus and calcium become less assimilable despite being present in the substrate, a phenomenon called lockout; above 6.5, it's iron and manganese that lock out, with a visible sign being yellowing between the veins of the young leaves. I always check the pH of the watering water before every feed, never after.
5 Climate: air circulation and air exchange
Air temperature and foliage temperature are never quite the same, and it's that gap that drives transpiration. I aim for 22 to 26°C during the day and no less than 18°C at night: below that, the metabolism slows down markedly and recovery after transplanting becomes slower.
| Stage | Temperature (day) | Relative humidity | Target VPD |
|---|---|---|---|
| Seedling / cutting | 22-25°C | 65-70% | 0.4-0.8 kPa |
| Veg | 23-26°C | 55-65% | 0.8-1.2 kPa |
| Flower | 22-26°C | 40-50% | 1.0-1.5 kPa |
VPD (Vapour Pressure Deficit) sums up in a single figure the combined effect of temperature and humidity, expressed in kPa. It reflects the force that "pulls" water out of the leaves through the stomata: too low, and the plant barely transpires and gas exchange slows down; too high, and it closes its stomata to protect itself and photosynthesis drops. A simple thermo-hygrometer with a VPD table is enough to find your way without any complex calculation.
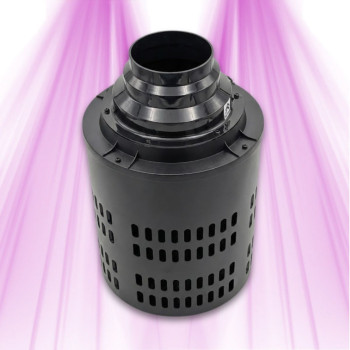
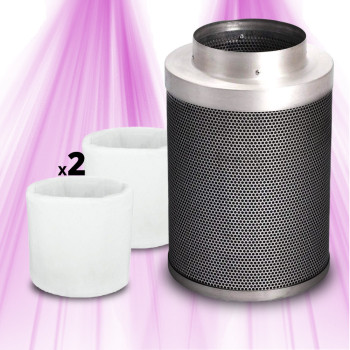
Air exchange is worked out from the volume of the tent, not by feel. For a 60x60x160 cm tent (around 0.58 m³), I aim for 25 to 35 m³/h of extraction flow for a full air change every one to two minutes, taking into account the flow loss caused by a carbon filter (reckon on 20 to 30% loss depending on the quality of the filter). Without this supply of fresh air, the CO2 available around the leaves runs out within a few minutes under a powerful light, which caps photosynthesis even with a decent PPFD.
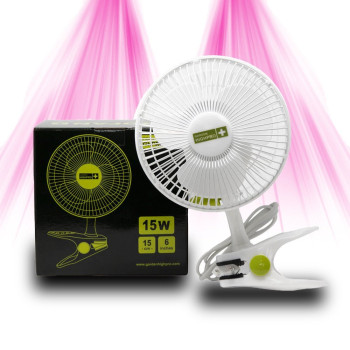
Air circulation is an item beginners neglect, even though it changes almost everything: a Garden HighPro 15W clip fan angled to make the foliage ripple gently (never bend it) breaks up the thin layer of stagnant air that forms at the leaf surface. This movement refreshes the CO2 available locally, clears the humidity that encourages mould and triggers the strengthening of stems through thigmomorphogenesis, where the plant thickens its stem in reaction to mechanical stress, a real plus before flowering when the weight of the flowers puts a strain on the structure.
🌱 Joseph's tip
Position your fan offset from the extraction, never dead opposite the air outlet. You create a circular movement throughout the tent instead of a simple corridor of air that leaves the corners still, which is exactly where humidity stagnates.
6 Nutrition: half-dose, EC and feeding schedule
A young plant doesn't have the same needs as a plant in full flower, and EC (electrical conductivity, in mS/cm) lets you track this progression without guessing. EC measures the total concentration of dissolved salts in the nutrient solution, and therefore indirectly the strength of the feed you're giving.
| Stage | Target EC |
|---|---|
| Starter pot / seedling | 0.4-0.8 mS/cm |
| Veg | 1.2-1.6 mS/cm |
| Flower (peak) | 1.8-2.2 mS/cm |
| Flush (final week) | close to 0 |
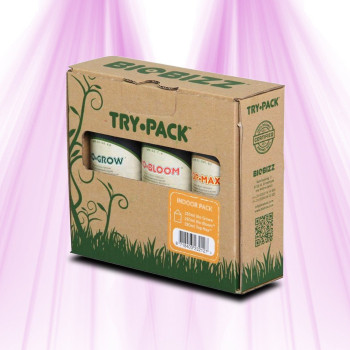
The half-dose rule at the start isn't excessive caution, it's a physiological necessity: a young root has a reduced exchange surface and a cell membrane more sensitive to osmotic pressure. A full-dose feed from the very first watering creates an imbalance that pushes water out of the root cells rather than into them, which is what's called nutrient burn from osmotic excess, visible as leaf edges that brown and dry out. I always start at 50% of the dose stated on the label, then increase in steps of 10 to 15% each week while watching how the foliage at the top of the plant reacts.
The schedule I follow stays simple: weeks 1-2 on plain or very lightly enriched water, weeks 3 to 6 building EC up gradually during vegetative growth, peak EC during the flowering stretch, then a flush in the final week before harvest. The most common mistakes I fix come down to three points:
- Relying solely on the manufacturer's label without ever checking the EC of the runoff.
- Adjusting the pH before adding the nutrients rather than after, when it's the nutrients that shift the final pH.
- Raising the EC too quickly early in the cycle, before the root system is developed enough to take it up.
7 Measurement: syringe, pH meter and EC meter
A graduated syringe changes more than you'd think on a first grow: doses of concentrated nutrients often come to just a few millilitres per litre of water, a volume a standard measuring cap judges poorly. A 10/20 mL graduated syringe lets you reproduce exactly the same dose from one week to the next, the only way to raise EC in a controlled way rather than at random.
The pH meter and EC meter duo isn't a purist's gadget, it's the tool that makes visible the two most decisive settings of the cycle. A pH meter needs recalibrating with calibration solutions every 1 to 2 months, otherwise it drifts silently and throws off every downstream setting with nothing to warn you. My routine never changes:
- Measure the pH of the raw water before any addition.
- Dilute the nutrients with the graduated syringe, dose by dose.
- Re-measure the pH of the final solution and adjust it if needed before watering.
- Check the EC of the runoff once a week to track the true availability of salts.
If I had to sum up years of guiding first grows in one sentence: success comes down to the order in which you invest, not the total amount. Prioritise lighting matched to your real growing area, keep a stable climate with genuine air exchange, and let the measuring instruments tell you where you stand rather than guessing. The rest, container, substrate, nutrition, follows naturally once these foundations are laid, and your first harvest will be nothing like a fluke.
Ready to kit out your first grow?
Find the Rhino Series 260 PRO, the Biobizz Light-Mix 20L Compost and the 10/20 mL graduated syringe in our Growshop.
See all the gear →