










































































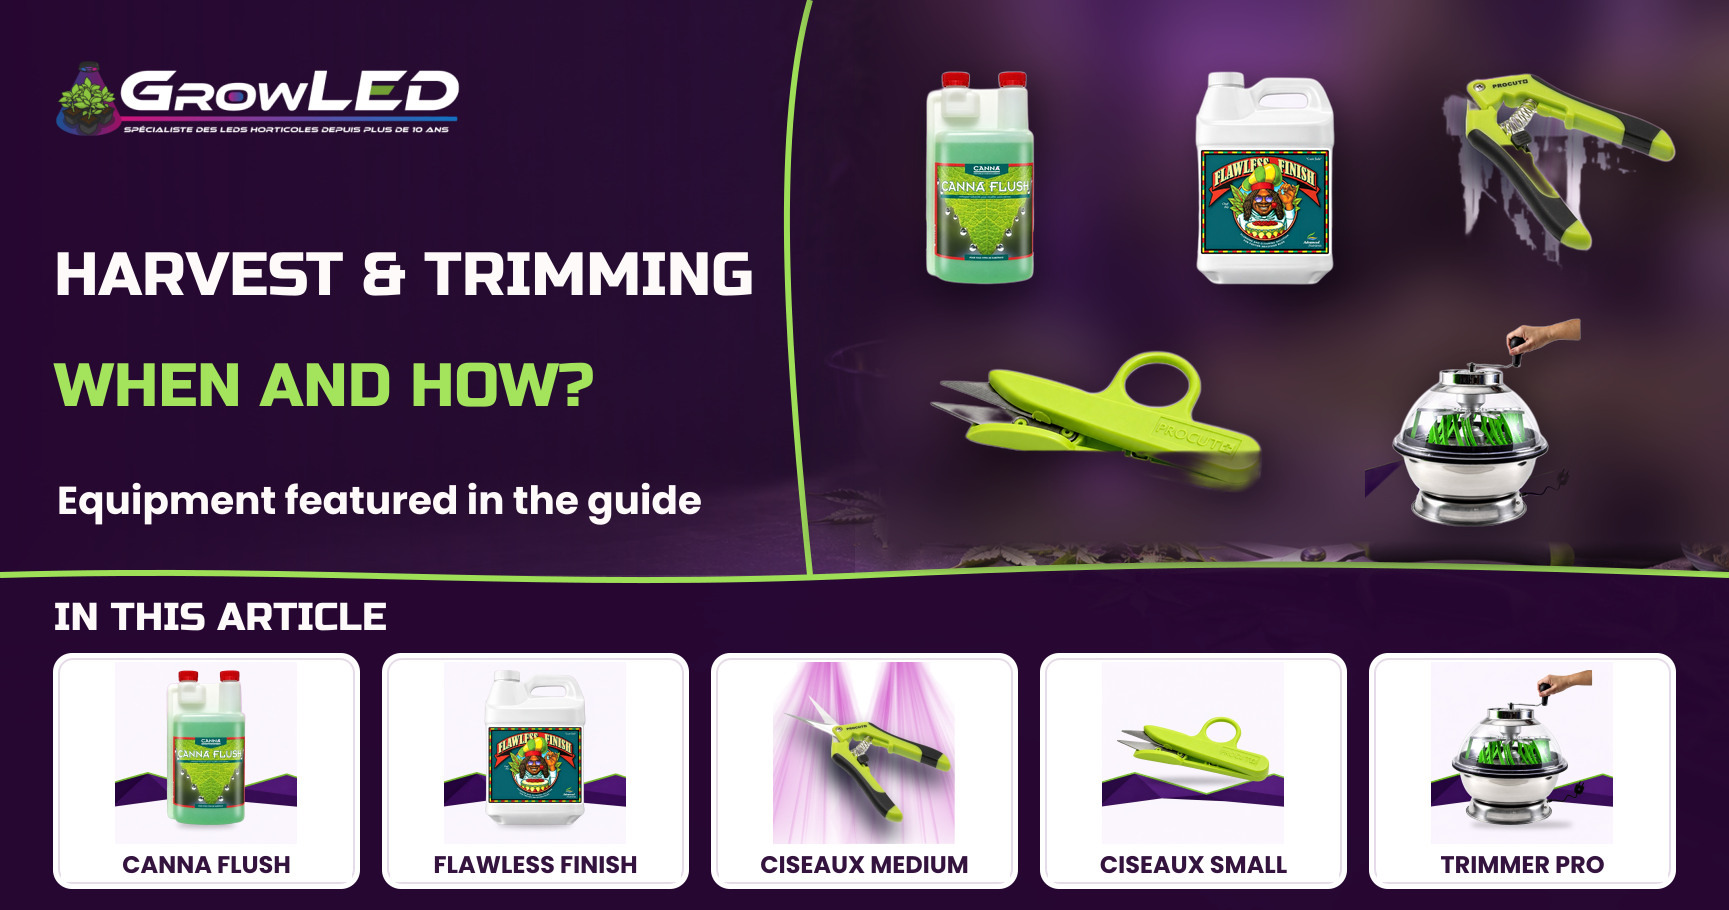
Harvest is not just a snip of the scissors in the heat of the moment: it is a sequence, running from the last watering all the way to the last trimmed leaf. Let me walk you through my full protocol, from flushing the substrate to picking the right tools, so you cut at the perfect moment and trim without wasting several months of work.
1Spotting the right moment to cut
The act of cutting, I still see it treated by many as a simple end-of-grow formality, when it is actually the moment that locks in the flavour, the potency and how well the harvest holds up over time. Cut too early and you get a more "speedy" effect, less rounded. Cut too late and it pulls towards a heavier feel, sometimes less pleasant, and you lose aromatic clarity.
The trichomes, those tiny mushroom-shaped resin glands that coat the flowers, remain my number one indicator. I look at them under a loupe: as long as they are mostly clear, the plant has not finished building up its active compounds. Once they turn milky, we enter the harvest window. The gradual appearance of amber trichomes signals a more relaxing, more mature profile.
The pistils, those fine hairs poking out of the calyxes, give a second reference point, coarser but useful as a complement: as long as they stay white and stand straight, the plant is still fattening its flowers. Their browning and gradual curling go hand in hand with trichome maturation, but they never replace it as the main criterion.
- The colour of the trichomes, checked under a loupe at several points on the plant, not just on one easy-to-reach top.
- The texture of the calyxes, which firm up and gain volume in the final days before the cut.
- The smell, which grows more concentrated and often shifts register just before full maturity.
And that timing, I never decide it alone in my corner: it is set up in advance, through a step that is too often neglected, flushing the substrate. That is what bridges "when to cut" and "how to cut", and it is where I always begin my harvest checklist.

2Before you cut: flushing the substrate
Flushing before you harvest is the habit that separates a flower that is pleasant on the palate from one that scratches the throat and leaves a chemical aftertaste. The mechanism is easy to grasp: over the flowering cycle, mineral salts and fertiliser residues build up in the substrate and in the plant's tissues. If you cut straight away without purging them, those residues stay trapped in the dried flowers.
Flushing forces the plant to use up its reserves, by giving it water (or a flushing solution) with no added nitrogen, phosphorus or potassium. Deprived of any outside supply, the plant draws on what it has stored in its leaves and tissues to keep its metabolism going, which gradually empties its nutrient reserves before the cut.
Two solutions complement each other depending on the growing method, and that is precisely why I keep both within reach rather than settling on just one.
| Product | Where it is used | Dosage | What it actually delivers |
|---|---|---|---|
| Canna Flush | Soil, coco, hydroponics, inert substrates | 20 ml/10 L in soil and coco, 40 ml/10 L in hydro and inert substrates | A tailored protocol depending on the medium, a well-established Canna reference in the growshop, positioned explicitly as ideal before harvest for a pure, natural taste. |
| Flawless Finish | Hydroponics, aeroponics, soil, coco | 2 ml/L | A maximum EC measured at 0.0 after treatment, hard evidence that no detectable nutrient residue is left in the solution before the cut. |
The Canna Flush remains my go-to for classic soil and coco growing, because its tailored dosage matches exactly the two big substrate families I come across most often with the growers who come to see me in the shop.
The Flawless Finish takes over on hydro and aero setups, where controlling the EC is exactly where the battle is won or lost: being able to check in black and white that the solution has dropped back to 0.0 before cutting is a guarantee that the flush has done its job, not an empty promise. It is also the pairing that moves the most in my aisle, with 34 sales against 11 for its counterpart, and a stock of 52 units keeping pace with demand.
🌱 Joseph's tip
Never cut the flush short, even if the plant looks ready to the eye. A substrate that is still loaded rarely shows visually, you mostly taste it once the flower is dried. I would always rather water a bit longer at the end of the cycle with the flushing solution than do it half-heartedly the day before the cut.
3The trimming kit: your pair of scissors
Once the plant is flushed and cut at the base, the real trimming work begins. And this is where everything hinges on your choice of tools, because bad scissors crush more than they cut, damaging the trichomes instead of simply removing the extra leaf.
The Medium Scissors are my rough-work tool, the pair I reach for first on a freshly cut top. Their 12 to 17 cm blade gives real leverage to cut through thicker stems and remove the large support leaves (the fan leaves) in a single clean move, without having to saw or go over the same spot three times.
Blade length changes everything in the effort your hand has to put in, a point beginners often underestimate. Over a trimming session lasting several hours, a shorter blade forces you to multiply the movements for the same amount of material removed, which tires the wrist and increases the risk of imprecise cuts by the end of the session.
Stainless steel is no cosmetic detail, it is what determines the real lifespan of the tool. Resin naturally sticks to any scissor blade during trimming, and poor-quality steel ends up so clogged that it pinches the stem instead of slicing it. Stainless steel resists that build-up and cleans easily with alcohol between two plants, which keeps a clean cut from the start to the end of the session.
- For thick stems and the first pass, the long blade limits the number of moves and therefore the fatigue.
- For indoor as well as outdoor use, the tool stays relevant whatever the growing method, which makes it a staple for any grower.
- For maintenance, a regular wipe with alcohol stops the resin from eventually gumming up the blade mid-session.
It is no accident that this model shows 401 sales, the best score in the whole selection I am presenting here. That is the mark of a tool that has proven itself over time with a huge number of growers, not just a marketing flash.
4Precision trimming
Once the bulk of the work is done, the flower top still needs a fine pass: removing the small sugar leaves that stick out, cleanly outlining the shape of the bud without tearing off a piece of it. This is where the Small Scissors come into play.
The mechanical principle is simple, a shorter, finer blade offers far more precise control over small areas. You work as close as possible to the bud without risking taking off a tip of a calyx along with the leaf you are removing, which preserves the visual density of the flower.
The product page notes compatibility with trimming stations, loupes and microscopes, and that is no trivial detail: precision trimming is almost always done under magnification, because with the naked eye you can see neither the trichomes you are crushing with your fingers nor the little leaves hidden between two calyxes.
| Model | Role in trimming | Recorded sales | Technical note |
|---|---|---|---|
| Medium Scissors | Rough work: thick stems, fan leaves | 401 sales (best seller of the pool) | 12 to 17 cm blade, stainless steel resistant to resin |
| Small Scissors | Finishing: sugar leaves, outlining the buds | 323 sales | Compatible with trimming stations, loupes and microscopes |
These two models work as a tandem, and their sales figures confirm it: 401 sales for the Medium, 323 for the Small, two scores that follow each other closely because in practice you switch constantly from one to the other during the same trimming session.
🌱 Joseph's tip
Always keep a small container of isopropyl alcohol within reach, and dip the blade in it as soon as it starts to visibly stick. A clean blade cuts cleanly, a clogged blade crushes the trichomes instead of preserving them, and that is exactly what makes the difference between fine trimming and trimming that damages the resin without you even noticing.
5Wet or dry trimming: the real question
Before you even get the scissors out, there is a question to settle that shapes everything that follows: do you trim before or after drying? Both approaches have their logic, and I never skip over this choice at the start of a harvest.
Wet trimming is done right after the cut, while the plant is still fresh. The resin is stickier at this stage, which paradoxically makes cutting easier because the leaves come away cleanly, without crumbling. It is the approach I favour for large volumes, because the drying that follows is then faster and more even once the plant is stripped of its foliage.
Dry trimming happens after complete drying, when the leaves have turned brittle. The action is different: you remove dry, crumbly leaves rather than supple ones, which calls for more of a delicate touch but better preserves the volatile aromas, since the flower is not handled at a stage where the terpenes evaporate easily.
- At high volume, wet trimming speeds up drying and limits the risk of mould on tops still loaded with foliage.
- On a small harvest with high aromatic potential, dry trimming takes more time but limits the loss of resin onto fingers and tools.
- In both cases, the same Medium and Small Scissors do the work, only the texture of the plant material changes how you handle them.
This choice is anything but trivial, and I always make it based on the volume to handle and the time I have, not out of habit. It is precisely this question of volume that leads me to the machine option.
6Scaling up: machine trimming
When the volume goes beyond what you can reasonably handle by hand, cutting top by top with scissors becomes a bottleneck, in time as much as in fatigue. This is where the electric Trimmer PRO earns its place in my selection.
The mechanical principle is different from that of scissors, the machine spins the tops inside a drum fitted with blades, and the movement combined with friction removes the leaves continuously, without handling each stem one by one. It is a change of scale, not simply a gain in speed.
The clear polycarbonate lid is a detail that matters greatly in real use: it lets you watch the trim live without having to stop the machine to check the state of the tops, which avoids both over-trimming (tops that spin too long and lose density) and under-trimming (missed leaves you will have to go back over by hand anyway).
The medical-grade stainless steel blade follows the same logic as on the scissors: resisting resin build-up to keep a clean cut over time, in a context where the machine runs continuously on far larger volumes than a manual session.
The dismountable design solves the real weak point of any machine trimmer: cleaning. A machine you cannot open easily ends up clogged with dried resin, with blades that lose efficiency harvest after harvest. Being able to take it apart is a game-changer for maintenance between two sessions.
- The 41 cm format, more compact, suits intermediate volumes or a limited workspace.
- The 61 cm format, larger, increases the trimming throughput for genuinely substantial harvests.
- The choice between the two comes down solely to the volume handled per session, not to cut quality, which is the same on both formats.
I deliberately present it as a premium option, not as a best-seller, because its figures confirm it: 3 sales and a stock of 4 units, far from the scores of the scissors. It is a niche tool for growers handling real volumes, not a default purchase for a small personal grow where the Medium and Small Scissors are more than enough.
7After the cut: mistakes to avoid and good habits
The first mistake I come across most often is skipping the flushing step to save a few days. The result is always paid for in taste, with smoke or vapour that is harsher and ash that blackens instead of staying grey.
The second classic mistake is cutting based on a simple visual cue of pistil colour, without looking at the trichomes under a loupe. Pistils also react to water stress or to light, they can brown without the plant being truly mature.
The third mistake, very common among beginners, is using cheap scissors that clog up after a few tops. The blade ends up crushing more than it cuts, which mechanically damages the trichomes and wastes part of the work put into the whole grow.
In short, each step of this sequence sets up the next: flushing prepares the right cut timing, the choice of scissors determines the quality of the trim, and the volume to handle steers you towards manual or machine work. It is this overall logic, more than each tool taken in isolation, that makes for a successful harvest.
Prepare your harvest properly
From the flush to the final snip, find the essentials of this sequence in our growshop: the Canna Flush to purge the substrate before the cut, and the Medium Scissors to tackle the trim under the right conditions. The rest of the harvest selection is waiting for you on the growshop.
See the growshop →After years of trimming tops of every size, I remain convinced that you never ruin a harvest because of a single missing tool, but because of a step skipped in the sequence. The flush, the right pair of scissors for the rough work, the small pair for the finish, and the trimmer when the volume demands it: every link counts, and it is this rigour in stringing them together, far more than the gear alone, that makes the difference between a decent flower and one you are proud to share.