








































































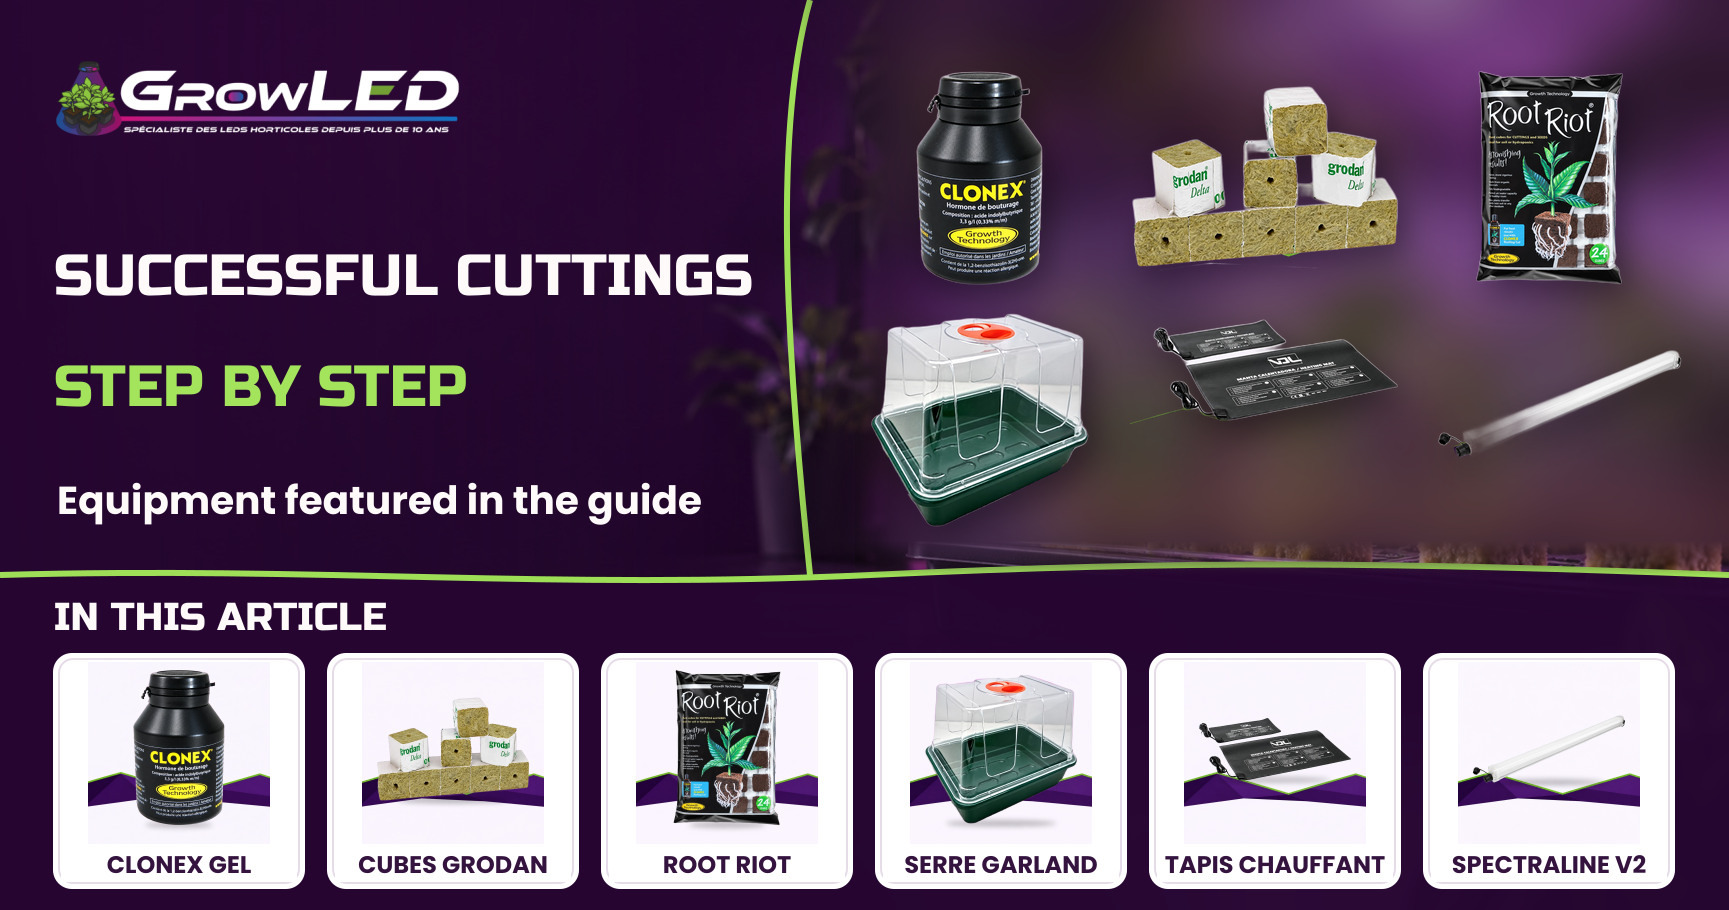
A failed cutting almost always comes down to a few overlooked details: cutting at the wrong moment, a growing medium too loaded with salts, or humidity that collapses on the very first evening. Here is the method I use in my own grows, step by step, with the concrete markers that make all the difference between a clone that stalls and a clone that comes back strong.
1Step 1: take the cutting from the right spot
A cutting isn't just a snipped-off length of stem, it's a fragment of a plant that we push to become a whole plant again. This is known as cellular totipotency: certain cells near the cut de-differentiate and become able once more to form new roots. This process takes energy, and the cutting can only draw that energy from its own internal reserves until it has roots to absorb anything at all.
The choice of shoot sets up everything that follows, I always take from a vegetative branch, never from a part that is flowering: a cutting that carries flowers directs its energy towards reproduction rather than root formation, and it takes far longer to take, if it takes at all. I aim for a semi-woody stem, neither too soft (it wilts within a few hours) nor too hard (it roots slowly), with 2 to 3 nodes and a length of 10 to 15 cm.
The cut itself matters as much as the choice of shoot, I cut on a 45 degree slant with a clean, well-sharpened blade, never a blunt secateur that crushes the tissue instead of slicing it cleanly: a crushed cut seals the root-emission point poorly and opens the door to fungi. I prefer to cut early in the morning, when the plant is full of water, and I keep the retained foliage to 2 or 3 leaves, trimmed by half if they are large, to limit transpiration from a plant that can no longer absorb anything through its roots.
- Common mistake, cutting a flowering branch thinking it saves time: it's the opposite, the cutting takes more slowly and the failure rate climbs.
- Common mistake, leaving the cutting exposed to the air for several minutes before protecting it: the cut point oxidises and becomes less responsive to the hormone.
- Common mistake, keeping too much foliage: without roots, the plant cannot make up for the water lost through transpiration.

2Step 2: dip the cutting in rooting hormone
As soon as the cut is made, I move to the rooting hormone as quickly as possible: the shorter the delay between cutting and dipping, the less time the tissue has to oxidise. I use CLONEX - CUTTING GEL - GROWTH TECHNOLOGY, the best-selling cutting gel in the growshop, with 168 sales that speak for themselves.
The principle is simple but often misunderstood, this gel delivers a concentration of auxin well above what the plant produces naturally at the wound point. That auxin signals the cells just under the bark to de-differentiate and begin forming root primordia, the earliest outline of the future roots. The gel texture plays a role people often forget: it forms a film that protects the wound from drying out and limits the entry of pathogens, something a powder does not do as well.
The product page gives a precise marker that I follow to the letter, dip the base of the cutting over 10 to 20 mm before planting, no more: dipping too deep or for too long saturates the tissue and can hold back rooting rather than speed it up. The formula is designed for cuttings without flowers, which lines up exactly with the shoot selection described in step 1.
🌱 Joseph's tip
Never dip the cutting straight into the original bottle, I pour a small amount into a separate cup for each session. A cutting that has already been cut and is dipped back into the bottle can contaminate the whole remaining stock, and I'd rather lose a little gel than risk the entire supply.
3Step 3: choose the right rooting medium
The rooting medium has a role too often reduced to "holding the cutting upright", in reality it manages two critical parameters for a plant with no working roots: a constant water supply and the level of dissolved salt, the EC (electrical conductivity). As long as there are no roots, the cutting cannot regulate what it takes up: a medium too loaded with mineral elements creates osmotic stress that shows up as wilting, or even burns on the most fragile tissue.
I keep two options in stock, because two growing practices sit side by side among most of the gardeners I advise: rockwool for those who work in soil, coco or hydroponics in a versatile way, and Root Riot for those who prefer an entirely organic and biodegradable base.
The Rockwool cube 40mmx40mm Grodan remains the mineral benchmark, it's the second best-selling product in the whole cuttings range, with 979 sales. Its product page gives a precise soaking marker: EC around 0.4 to 0.5 mS/cm, pH adjusted to 5.5, a deliberately low level since the cutting has no roots yet to handle a higher mineral load. The cube comes pre-holed at 40 mm, which makes it easy to insert the cutting without crushing the cut point any further, and it stays compatible with a later move into soil, coco or hydroponics.
The Root Riot - 24 germination and cutting cubes - GROWTH TECHNOLOGY covers the other practice, the one that avoids mineral media. Its EC, measured at just 0.1 mS/cm, further limits the risk of burning a young root that has barely formed, and its 77 % water retention keeps humidity constant without needing to soak the cube all the time. The ready-to-use format, 24 cubes of 3x3x5 cm, lets you handle a full batch in a single session, and because the cube is biodegradable, it goes straight into the potting-on pot without touching the young roots.
| Criterion | Rockwool cube Grodan 40mm | Root Riot |
|---|---|---|
| Recommended soaking EC | 0.4 to 0.5 mS/cm | 0.1 mS/cm |
| Target pH | 5.5 | neutral profile, not acidified |
| Water retention | high, regulated by soaking | 77 % |
| Format | pre-holed 40x40mm cube | 24 ready-to-use 3x3x5cm cubes |
| Nature | mineral, reusable in soil/coco/hydro | organic, biodegradable |
4Step 4: create the right microclimate
A cutting with no roots can only drink through its leaves, through a phenomenon of foliar absorption of the surrounding water vapour. In practice, the air around it must stay almost saturated with humidity for the first few days, otherwise it dehydrates faster than it can compensate, even with a perfectly moist medium.
That's the job of the mini-greenhouse, I always set the Garland Small Propagator - 22x16x18cm on my cutting tray. Its compact size, 22x16x18 cm, suits a small batch of cuttings well, and it stays compatible with the Garland 28L trays and the 2x16W LED bars if I decide to grow the setup later.
The detail that changes everything is the rotating vents, a mini-greenhouse kept permanently closed eventually encourages mould and damping-off, because stagnant air holds humidity at the base without ever renewing itself. I start with the dome closed for the first two or three days, then gradually open the rotating vents over the week to get the cutting used to ambient air, a stage known as hardening off. Opening too early makes the cutting wilt before it has enough roots to compensate, opening too late favours fungal disease.
5Step 4b: control the root-zone temperature
This is the parameter most cutting guides forget entirely, the speed at which a cutting forms roots depends directly on cellular activity at the cut, and that activity is very sensitive to temperature. It isn't the air temperature that matters most here, it's the temperature of the root zone, often cooler than the ambient air because it's in contact with the moist medium and sometimes with a cold floor or a windowsill.
A tray sitting straight on the floor of a utility room or a cool space never reaches the ideal temperature on its own, which is why I slide a Heat mat for seedlings and cuttings - 15W 35x20cm - 30W 55x35cm under my propagation tray. It raises the temperature to 22 to 25 degrees above ambient, which is more than enough to lift a cool room out of its root-stalling zone. It comes in two power ratings depending on the tray surface, 15W for a 35x20 cm format and 30W for a wider 55x35 cm tray, so you don't oversize the heating for a small batch.
This mat slides under the tray, not inside the dome, the distinction matters: it heats the base and the medium, not the confined air of the mini-greenhouse, which would otherwise stay too warm for leaves that are already fragile.
🌱 Joseph's tip
Always pair bottom heat with a humidity dome, a heated medium dries out faster than one at room temperature, so I check the moisture of the cube a little more often on the days the heat mat is running, by hand, without waiting for it to look dry on the surface.
6Step 5: light the cutting without stressing it
A cutting with no roots doesn't need much light, it actually needs very little, and it's a subtlety that often surprises gardeners used to the power levels used in veg or flowering. Light that's too intense pushes the plant to transpire more to shed the heat its leaves are taking on, when it has no way at all to make up for that water loss until the roots have formed.
I use the SpectraLINE V2 - GreenVisuaLED - 30/60/90/120cm waterproof LED bars for seedlings, cuttings and young plants - White spectrum for this phase specifically, with 156 sales, it's one of the most sought-after products in the growshop in this niche. It draws only 10W, a deliberately gentle output, calibrated for a plant that cannot yet sustain a high metabolic demand.
Its IP65 rating isn't a marketing detail in this context, an LED bar left permanently near a humidity dome, with condensation dripping continuously, has to tolerate that constant moisture with no electrical risk. The 3-year warranty confirms a build quality designed for this kind of prolonged use in a humid environment, and its covered growing area, 50x30 cm, matches exactly the size of a small cutting tray.
- Mistake to avoid, placing cuttings straight under a veg or flowering bar: the intensity is out of all proportion to the absorption capacity of a plant with no roots.
- Practical marker, I keep a gentle, steady photoperiod rather than trying to crank up the light to "speed up" the take, which produces the opposite effect.
7Step 6: pot up the rooted cutting
The sign that a cutting has taken is always visible before you can feel it, I look for the small white roots poking out at the edge of the cube or through the drainage holes, sometimes a slight resistance when I gently pull on the cutting, and above all a visible resumption of growth on the young leaves. That's the moment, not before, when I remove the dome completely and pot on.
I always transfer into a Seedling pot - 7 x 7 x 8cm (single), the best-selling product in the whole cuttings range, with 1584 sales, which is no accident: its product page explicitly lists it as compatible with cell trays, SpectraLINE LED bars and mini-greenhouses, exactly the families of equipment used throughout this article. That's what lets you grow the setup gently, without changing everything at once.
Potting on has to stay gradual, even a well-rooted cutting keeps a young, fragile root system: I avoid packing the new medium hard around the cube, and I keep watching the moisture closely for a good week, the time it takes for the roots to colonise the new volume of soil or coco.
- Sign of take, roots visible at the edge of the cube or at the drainage holes.
- Sign of take, slight resistance to a gentle pull.
- Sign of take, fresh growth on the foliage.
Ready to start your next batch of clones?
Everything you need to reproduce this method, it's all gathered in one place on the growshop: from CLONEX - CUTTING GEL - GROWTH TECHNOLOGY to kick off the rooting, through to the Seedling pot - 7 x 7 x 8cm (single) for the final take.
See the growshop →What I've learned after years of taking cuttings, is that no step in this method really works in isolation from the others. An excellent hormone on a medium too loaded with salt saves nothing, a perfect mini-greenhouse without enough root-zone heat slows everything down, light that's too strong on a rootless cutting cancels out the benefit of the rest. A clone's vigour is built by adding up small, well-managed details, not by one miracle move, and that's exactly what makes this method reliable once you've understood it.