








































































A leaf marbling with yellow, a fine veil beneath the leaflets, ants running up a stem: these are often the first signs of an invasion that started several days before you actually noticed it. In this article, I'll explain how to recognise the three most common pests in the grow room (spider mites, thrips, aphids), why they settle in, and above all how to build a prevention routine that stops you from chasing the problem once it's already visible.
1Identifying each pest: the tell-tale signs
Spider mites, to start with, aren't insects but arachnids (Tetranychus urticae for the scientific name), and that difference matters: their tiny size (less than half a millimetre) means you rarely spot them with the naked eye until the colony is already well established. The first thing you see is their signature: a very fine web stretched under the leaves and along the stems, and yellowish or silvery speckling on the leaf blade, as if the leaf had been pricked hundreds of times with a needle, which is literally the case since they empty the cells one by one with their piercing-sucking mouthparts.
Thrips, on the other hand, are true insects, elongated, barely visible (1 to 2 mm), light brown to black depending on the stage. They rasp the leaf surface to suck out the sap, leaving silvery or leaden patches, often streaked, with small black dots scattered within them: these are their droppings, a tell-tale clue that lets you tell them apart from a deficiency or sun scorch. They love to shelter deep inside flowers and buds, which makes them hard to reach once flowering is well under way.
Aphids, finally, are the easiest to spot because they cluster in visible colonies on young shoots and tender stems. Their olfactory and visual signature is honeydew: a sticky substance they excrete as they digest sap, and which often ends up turning black under the effect of an opportunistic fungus, sooty mould. If you see ants running up a stem, it's almost always because they're farming a colony of aphids to feed on that honeydew, a genuine partnership you need to learn to read.
| Pest | Where to look | Characteristic signs | Conditions that favour them |
|---|---|---|---|
| Spider mites | Underside of the leaves, near the veins | Fine web, yellow or silvery speckling, leaf drying out in patches | High heat, dry air, low humidity |
| Thrips | Underside of the leaves, deep inside flowers and buds | Silvery or leaden streaked marks, small black dots (droppings) | Heat, dryness, already stressed plant |
| Aphids | Young shoots, tops, tender stems | Visible colonies, sticky honeydew, black sooty mould, presence of ants | Excess nitrogen, tender growth, stagnant air |
- The white paper test, I do it systematically whenever I have a doubt: I tap a suspect leaf over a sheet of white paper and watch what falls, often far more revealing than eyeballing the plant itself.
- A magnifying loupe, even a simple x10 model, changes everything: it lets you see the mites moving and confirm a diagnosis before launching into an unsuitable treatment.
- The underside of the leaves, that's the number one reflex I drill into every beginner: nearly all the clues are there, never on top.

2Why these pests settle in your grow
A grow never suffers an invasion by chance, and that's what I try to get across to every new grower: spider mites, thrips and aphids don't colonise healthy plants out of pure opportunism, they take advantage of conditions that suit them, conditions which, most of the time, we create unintentionally through our own grow settings.
Heat and dry air, that's the duo that rolls out the red carpet for spider mites: above 25°C with low humidity, their breeding cycle speeds up noticeably and their living conditions become ideal, whereas cooler, more humid air strongly slows their spread. A plant that transpires heavily in dry air also ends up in mild water stress, with softer leaf tissue and lower turgor, exactly what these mites look for to pierce easily.
Excess nitrogen, for its part, works in the aphids' favour: feeding that's too rich in nitrogen pushes the plant to put out tender, water-swollen growth, with thinner cell walls that are easier to pierce. That's one of the reasons I always advise against overdoing nitrogen late in the growth phase, precisely when the plant should be starting to harden its tissues.
A lack of air circulation, finally, favours both thrips and aphids, which enjoy stagnant zones where surface humidity stays high with no fresh air. A grow that's too dense, with foliage touching and stopping air from moving between plants, creates exactly the sheltering microclimate they exploit to settle in for the long haul without being disturbed.
3The breeding cycle: the real reason to worry
What makes these three pests especially formidable, isn't how much each one eats, it's the speed at which they multiply once the conditions come together. Understanding this mechanism completely changes the way you approach a treatment, because you realise that by the time the damage becomes visible to the naked eye, the actual colony is already far larger than what you can see on the surface.
Spider mites, under high heat, complete their cycle from egg to breeding adult in just a few days, which explains why a population can literally explode in a week if nothing is done. It's also this very short cycle that makes them capable of quickly developing resistance to a treatment repeated the same way, a classic selection phenomenon in biology that I often remind people of when they're surprised that the same action becomes less effective week after week.
Aphids, for their part, use a fearsome shortcut: parthenogenesis, meaning the females can give birth to clones of themselves without needing a male. As a result, a colony can grow exponentially in very little time, and when the density gets too high on a plant, some individuals develop wings to go and colonise another plant nearby, which explains why an infestation can jump from one plant to the next in a matter of days.
Thrips, finally, have a life cycle that complicates things even further: part of their development, the nymph stage, takes place in the substrate rather than on the plant itself. That means a treatment that only touches the foliage leaves untouched a reserve population that will climb back up onto the plant a few days later, one of the main reasons thrips infestations have a reputation for being stubborn and coming back despite a seemingly effective treatment.
4Preventing before infestation: the barrier routine
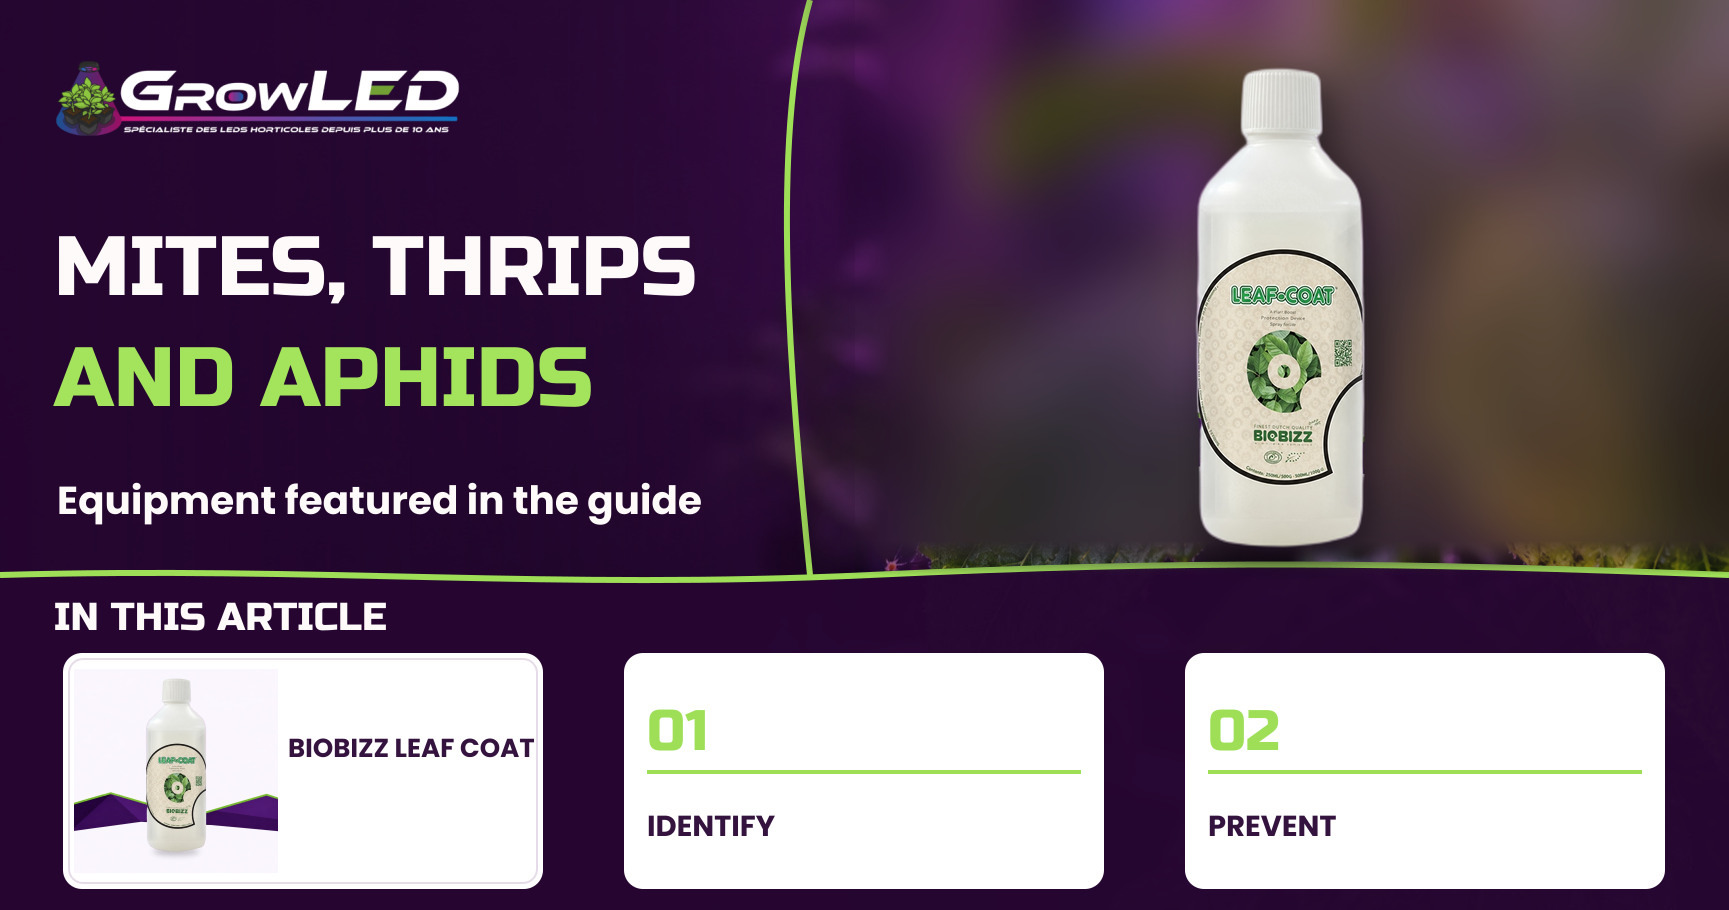
This is the part I consider the most rewarding in terms of time and energy: acting before the colony settles in rather than chasing an already visible infestation. In the pool of products I have available for this article, only one has a documented action in this area, and it's precisely the one I use as a preventive routine at home: the Biobizz - Leaf Coat - Anti-insecte et maladie.
The mechanism is easy to understand: Leaf Coat is made of natural latex which, once sprayed onto the leaf, forms a fine permeable barrier on the surface of the blade. Permeable is the key word here, because this film always lets through the air and light needed for photosynthesis and the plant's respiration, unlike an occlusive film that would smother the foliage. This barrier is also self-degrading: it doesn't build up on the leaves week after week, it breaks down naturally, which lets you renew the application without any risk of saturating the foliage.
The product page lists four protections: insects, fungi, evaporation and cold. It's this last point, evaporation, that ties directly back to what we saw earlier about spider mites: by limiting water loss through the leaf surface, this barrier reduces the plant's water stress, and we know that a plant stressed by a water deficit offers tissue that's more favourable to mites settling in. Less water stress means less fertile ground, on top of the physical barrier that directly hampers the pests settling and laying eggs on the leaf surface.
As for use, what I appreciate is the simplicity: the product is used neat, with no dilution to prepare, which avoids the dosing errors you can make at the end of the day when you're in a hurry. It's compatible with every substrate I use in the workshop (soil, coco, rockwool) and applies just as well in growth as in flowering, which makes it a routine gesture rather than a one-off treatment reserved for an emergency.
| Step | What I actually do |
|---|---|
| Application | Neat product, no dilution, fine spray on both sides of the foliage |
| Frequency | Twice a week, as a preventive routine |
| Stages concerned | Growth and flowering |
| Compatible substrates | Soil, coco, rockwool |
🌱 Joseph's tip
I always spray at the end of the day, lights off or on low intensity, never at the peak of the heat: on a hot leaf in full light, any sprayed product can create a lens effect or mark the foliage. Letting the film form quietly during the plant's rest period always gives a better result than a rushed daytime application.
5Spotting early: the weekly inspection routine
Prevention isn't enough if you don't inspect regularly, because no barrier is 100% foolproof and a grow stays exposed to comings and goings (new plants, clothing, shared tools). I've got into the habit of building a short but systematic inspection into my growing ritual, rather than relying solely on what I catch as I walk past the pots.
Turning the leaves over, one by one on a sample of plants each week, remains the most reliable move: nearly all the early signs (fine web, first speckling, first black thrips dots) are found under the foliage and never on top, as we saw earlier.
The tops and young shoots, I check them first because they're the softest tissue and therefore the most attractive to aphids and thrips, which always prefer the youngest, richest sap over that of mature, more fibrous leaves.
A simple yellow card placed near the foliage, that's a homemade trick I use to monitor the winged stages of aphids and thrips, drawn to the colour: it's not a treatment, just a visual indicator that tells me whether a population is starting to move before I even see it on the plants.
🌱 Joseph's tip
I note the date of each inspection in a notebook, even roughly: it seems trivial, but comparing one week to the next lets you spot a trend (one more leaf speckling, a yellow card filling up) well before the infestation becomes visible to the naked eye when you're not paying attention.
6After an attack: limiting the damage and avoiding a relapse
When the infestation is already here, the priority changes: it's no longer just about prevention but about limiting the spread and restoring conditions unfavourable to the pests, drawing on what we know of their biology rather than random gestures.
Isolating the affected plant, that's the first reflex to have as soon as a colony is identified, to stop the winged or simply mobile individuals from migrating to neighbouring plants while you treat the first one.
Pruning the worst-hit leaves, removed from the grow space and not simply dropped on the floor next to the pots, immediately reduces the population load present without waiting for a treatment to take effect, while also limiting the egg-laying sites for the following stages.
Raising the humidity, where your setup allows it, works directly against spider mites which, as we saw, thrive in dry air: bringing up the ambient humidity and avoiding heat spikes markedly slows their breeding cycle.
Cleaning tools and surfaces, pots, secateurs, grow trays, between one plant and the next, stops you from carrying the pests yourself from one plant to another, which is a far more common cause of spread in the workshop than people think.
7Common mistakes that make an infestation worse
- Treating just once and considering the problem solved, when the eggs and the stages hidden in the substrate (for thrips) often survive the first pass: you always have to think in terms of a cycle, not a single gesture.
- Continuing to push nitrogen after an aphid attack, thinking you're reviving the plant, when in fact it produces exactly the tender growth that attracts them the most.
- Introducing a new plant without quarantine, that's the number one point of entry for infestations in a grow, including for experienced growers who neglect this reflex for lack of space.
- Leaving the air stagnant in a dense grow, thinking that packing the plants together saves space, when it creates exactly the humid, confined microclimate that thrips and aphids look for.
- Ignoring the pot edges and the substrate, focusing only on the visible foliage, when certain larval stages take refuge there precisely to escape surface treatments.
Build your anti-pest routine before they settle in
As a reminder, only one reference in our catalogue has a documented anti-pest action to date: the Biobizz - Leaf Coat - Anti-insecte et maladie, to be built into a preventive routine twice a week. To complete your growing kit, find our full selection on the growshop.
See the growshop →If I had to sum up years of chasing spider mites and aphid colonies, I'd put it this way: the battle is almost always won before it even begins. A regular inspection under the foliage, air that circulates, sensible nitrogen and a preventive barrier like Leaf Coat as a routine completely change the game compared with a catch-up treatment launched in a panic. This pool of products stays deliberately tight for now, but it's a choice I stand by: I'd rather recommend a single solution I know and actually use than line up references that have no business being in an article on this precise subject.