





































































On every order that passes through my hands, one product shows up before the pot or the nutrients even do: the clip fan. Not because it's spectacular, it isn't, but because without moving air a grow under LED goes wrong: floppy stems, mould taking hold, leaves transpiring for nothing. Let me walk you through the mechanism behind this little motor of just a few watts, and how to choose it, place it and set it according to your floor area.
1 Air circulation vs extraction: two jobs, not a duplicate
The most common mix-up I see with customers just starting out is thinking a good extractor fan is enough to move air everywhere inside the tent. These are two different jobs. The extractor fan renews the air: it pulls out the hot, humid, CO2-depleted air that builds up under your LEDs and replaces it with fresh air drawn from outside through the air intakes. The clip fan renews nothing: it stirs the air already inside, moving it between the leaves, under the canopy, into the corners the extractor's airflow never reaches.
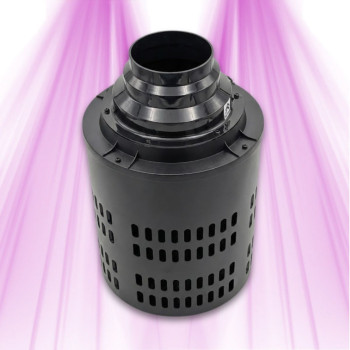
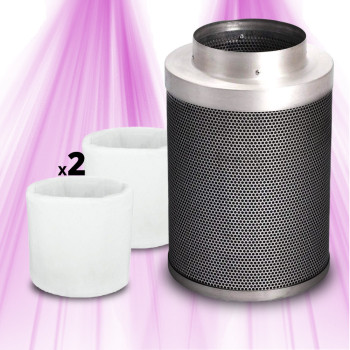
In a 120x120x200 cm tent (2.88 m3), the extractor fan's job is to renew that volume at a fast enough rate, generally every 1 to 3 minutes in full flowering under high light output, with the carbon filter and ducting fitted (expect a 25 to 40% loss of airflow due to the filter and the duct bends, so oversize accordingly: that's the whole point of a 2-speed model like the TT MAX 125mm, which you can adjust with the season). But that airflow stays concentrated near the ducting: it creates a corridor of moving air, not a uniform atmosphere. Without air circulation, you end up with stagnant pockets under the lower leaves, in the corners of the tent, between tightly packed branches: which is precisely where the trouble starts.
2 What really happens at the leaf: boundary layer, transpiration, stems
Every leaf is wrapped in a thin film of still air called the boundary layer. In stagnant air it is 4 to 8 mm thick. It acts as an insulator: CO2 has to cross it by simple diffusion to reach the stomata, and water vapour has to cross it the other way for the plant to transpire. The thicker this layer, the slower the gas exchange, and the less photosynthesis runs at its potential, even with an excellent PPFD of 700 to 900 umol/m2/s.
An airflow of 0.5 to 1.5 m/s at canopy level shrinks that boundary layer to under 1 mm. In practical terms, CO2 and water-vapour exchange speed up, transpiration becomes more efficient (and so does the roots' uptake of nutrients, since it's the transpiration stream that draws water and minerals up from the roots), and the plant copes better with high light intensity without localised heat stress on the blade. The simple field marker: the leaves at the top of the canopy should sway gently, as if in a breeze, never whip about or flip over.
There is also a lesser-known mechanical effect: thigmomorphogenesis. The repeated movement of the stem under the wind triggers increased ethylene production in the plant, which thickens the cell walls, slightly shortens the internodes and strengthens the stem. A plant that has never felt any air movement grows thinner, longer stems, unable to bear the weight of the flowers without staking. It's a point I often make to customers who are on the fence: the fan literally builds up your plants' muscle before flowering even begins.

3 Powdery mildew, botrytis: how moving air pulls the rug from under fungi
Powdery mildew and botrytis (bud rot) have one thing in common: they need stagnant humidity and surface condensation for their spores to germinate. Without air circulation, the relative humidity measured in the middle of a tent can be 10 to 15 points below what actually prevails deep inside a dense canopy: your hygrometer reads 55%, but between the tightly packed leaves it might be 68-70%. It's this invisible gap that fuels disease, not the number on the screen.
Botrytis is especially dangerous late in flowering, when dense buds trap humidity at their core. The temperature drop when the LEDs switch off (often 3 to 5°C in a few minutes) can push the local temperature below the dew point, condensing fine droplets on the petals and leaves: the perfect way in for the fungus. A fan running non-stop, including at night, keeps that humidity from settling on the tissue. My reference points: 55-65% humidity in veg, 40-50% in flowering, and I drop to 35-40% for the last two weeks before harvest, exactly when the botrytis risk climbs fastest.
🌱 Joseph's tip
On the densest colas, I gently part the leaves pressed against the bud once a week in late flowering, just to check there's no trapped humidity or the first signs of grey mould at the core. A well-placed fan doesn't replace this hands-on inspection, it just makes it far less necessary.
4 15W or 20W oscillating: sizing it right for your space
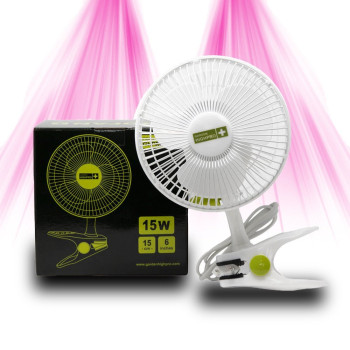
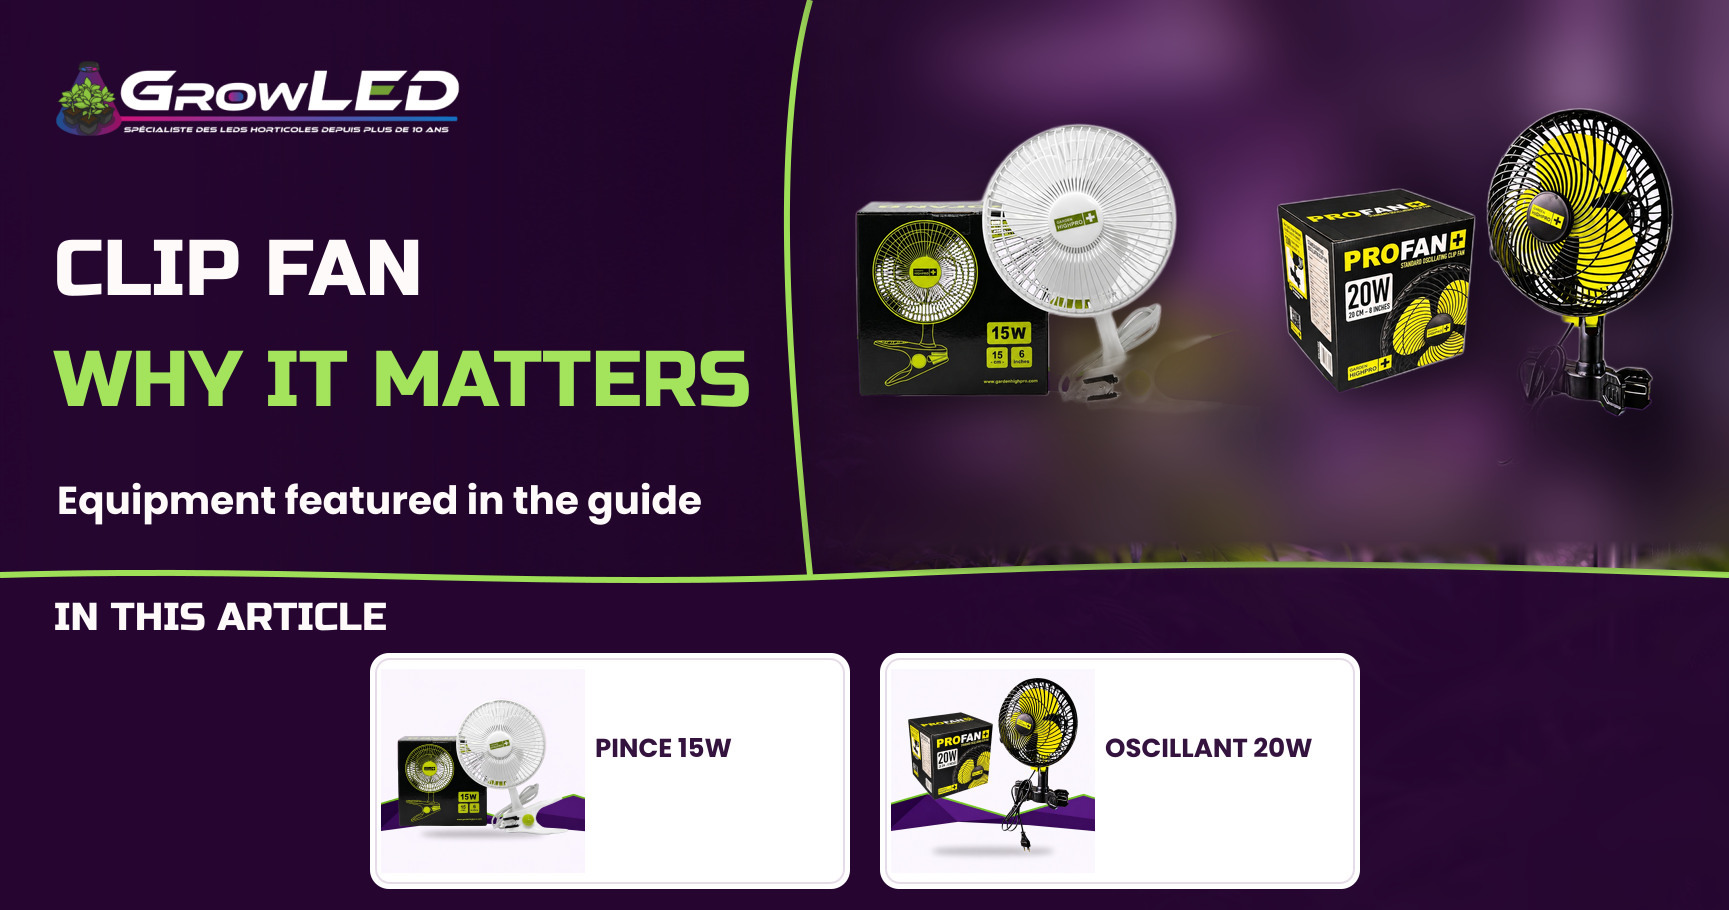
The fan's power should match the tent's floor area, not just its price. On a tent up to 0.8 to 1 m2 (60x60 or 80x80 cm), a fixed 2-speed model like the Garden HighPro 15W clip fan covers the whole canopy properly from a single corner, as long as it's angled diagonally. Beyond that, on 100x100, 120x120 or 120x60 cm, a fixed airflow always leaves a blind spot: this is where the Garden HighPro 20W oscillating clip fan changes the game, its sweep covers the full width of the canopy instead of one fixed jet.
| Model | Recommended area | Highlight |
|---|---|---|
| 15W fixed, 2 speeds | Up to 0.8-1 m2 | Targeted airflow, budget-friendly, ideal for small spaces |
| 20W oscillating | 1 to 1.5-2 m2 | Wide sweep, no blind spot |
Beyond 1.5 to 2 m2, or on a very long tent, I recommend two fans set diagonally, each blowing toward the opposite corner: this creates a looping air movement that clears dead zones far better than a single overpowered unit aimed at the centre. A fan that's too powerful for a small space does more harm than good: it concentrates a violent airflow on a small area instead of spreading a gentle movement across the whole canopy.
5 Placement: above the canopy, never aimed straight at it
The most common mistake I fix for my customers is a fan mounted too low, 20-30 cm from the leaves, pointed straight at the same spot on the canopy. The classic result: leaves that curl up into a cup shape, edges that turn white and go brittle. That's wind burn: transpiration races locally, the plant loses water faster than it can draw it from the substrate, and the leaf tissue dries out on the spot, even if watering is otherwise perfect.
The right practice is to mount the fan above canopy level, tilted 30-45° downward, at a minimum distance of 40 to 60 cm from the tallest leaves. The airflow should sweep over and around the foliage, not slam into it. In flowering, I often prefer to send the air in indirectly, bouncing it off a tent wall, rather than aiming straight at the buds: trichomes are fragile and an airflow that's too dry straight onto the flowers dries them out prematurely.
🌱 Joseph's tip
To check the setting is right, I simply watch the leaves at the top of the tent for 30 seconds: they should move as if in a light breeze, never snap about or flip over. If one leaf stays frozen while the others move, there's a dead pocket: I nudge the clip's angle slightly rather than turning up the speed.
6 Settings and maintenance: the habits that make it last
I run the fan non-stop, 24/7, even during the dark period: night is precisely when humidity climbs fastest at the heart of the canopy, just as the temperature drops. Low speed is enough for seedlings, cuttings and the very start of vegetative growth (leaves still fragile, stems thin). I switch to high speed when the canopy closes over, in full growth or mid-flowering, when the heat load under the LEDs and the density of the foliage raise the risk of stagnant pockets.
Dust on the blades isn't a cosmetic detail: it can cut real airflow by 20 to 30% within a few weeks, and makes the motor run needlessly hot. A dry cloth or a soft brush once a month is enough. While I'm at it, I check the clip still grips the frame firmly: vibration gradually loosens the hold, and a fan that drops into the canopy crushes branches and can damage flowers in full bloom.
7 The winning duo: fan + extractor
Neither device replaces the other, they complement each other. The extractor fan handles the exchange with the outside: temperature, CO2 level, evacuating the tent's overall humidity. The fan handles the inside: it evens out what the extractor only renews at the surface. Without air circulation, even a powerful extractor creates a mere corridor of air near the ducting, while the lower colas, further from the flow, stew in high humidity: this is often where grey mould appears, despite an extractor running at full tilt.
In terms of buying order, I almost always advise starting with the clip fan before the extractor on a first modest setup (under 1 m2, low light output): it costs less, already solves a good part of the weak-stem and localised-humidity problems, and gives you time to size the extraction properly afterward according to your real volume and your carbon filter. But as soon as the light output or the floor area grows, the two become essential together, not one or the other.
If I had to keep a single climate device across all my grows, it would be this one: not because it does the heaviest work, but because it makes everything else more efficient, the extraction, the nutrient uptake, the stem strength, the disease prevention. It's the kind of 15-20W buy that doesn't show up in the final photo, but explains why some grows run smoothly and others fight mould right up to harvest.
Kit out your grow with a proper climate system
The Garden HighPro 15W clip fan for small spaces, the 20W oscillating model for larger tents, and the TT MAX 125mm to round it off with a well-sized extraction.
See the whole climate range →