

































































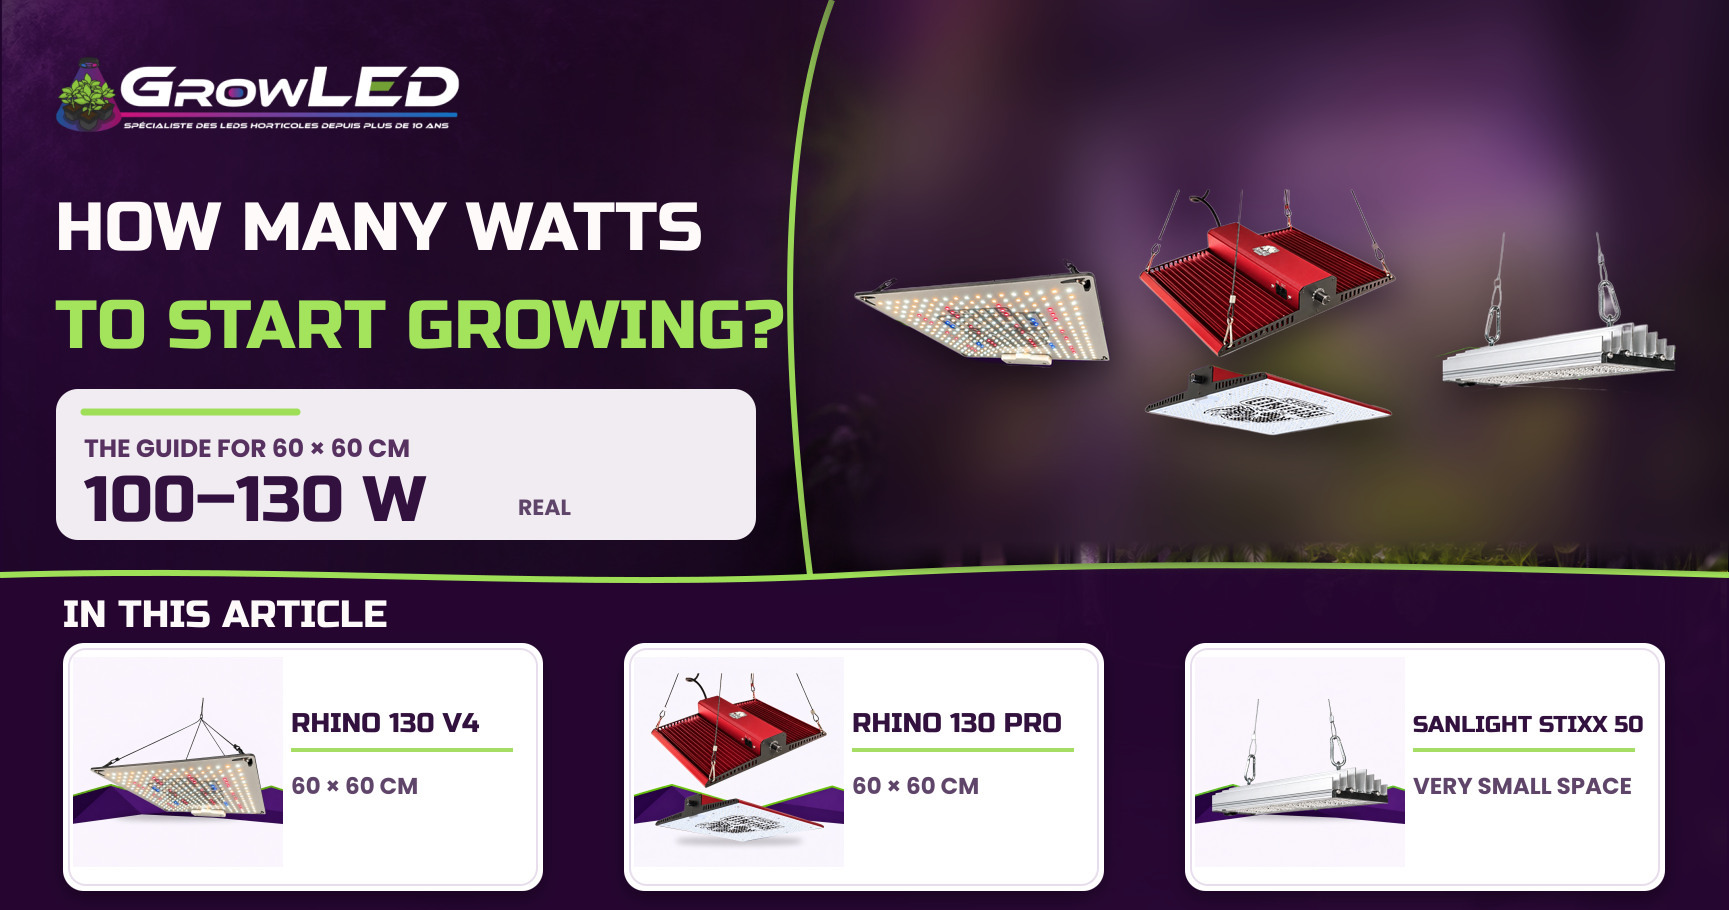
The power of a horticultural LED grow light for beginners comes down to one simple benchmark: aim for around 100 to 130 real watts for a small 60x60 cm space, and above all, start small. New to indoor growing and held up by this one question? Rest assured, it is simpler than it looks, and you do not need to be an engineer to make the right call. In this clear, jargon-free guide, drawing on our 15 years of experience at GrowLED, we explain how many watts to aim for, over what area, how to read the real figures, and which light to choose to suit your budget. By the end, you will know exactly what to buy to succeed with your first grow, without wasting money or getting it wrong.
What LED grow light wattage should a beginner use? The quick answer
To get off to a good start, plan for roughly 100 to 130 real watts of LED for a 60x60 cm space. Scaled up to the square metre, that works out to around 250 to 350 real watts per m² with a modern, efficient LED. This is the range that covers the vast majority of first indoor grows, without overheating your young plants or sending your electricity bill through the roof. If there is one figure to remember when choosing your LED grow light wattage as a beginner, it's this one.
But before we even talk watts, here is the single most important piece of advice in this whole article: don't go too big. The biggest beginner mistake isn't a lack of power, it's trying to light too large an area with a budget and a level of experience that can't keep up. A small space that is well lit and well managed will always deliver better results than a large space that is poorly run.
The one-sentence benchmark: ~100 to 130 real watts for a 60x60 cm
Keep in mind these three benchmarks that genuinely matter, which we go into in detail further down the article:
- REAL watts, meaning the light's actual electrical draw at the wall, and not the "advertised" watts that are sometimes inflated on the spec sheets of certain brands.
- The area to be lit in m², which determines how many watts to spread across it: it's the area that calls the shots, not the other way around.
- The target PPFD (the amount of usable light your plants receive), the real deciding factor in good horticultural lighting.
Don't worry if these concepts seem obscure to you for now: you don't need to understand everything straight away. This article guides you step by step, from the first watt right through to the final choice of your LED grow light.
Why starting small (60x60 cm) is the best decision
Starting out with a 60x60 cm grow space is, for very nearly all beginners, the most cost-effective decision. This area is quick to master and calls for a light of around 100 to 130 real watts, which keeps it affordable. It also stays easy to ventilate and to keep cool. Above all, it lets you learn the right techniques without wasting water, electricity or nutrients. You harvest experience before you harvest in quantity, which is exactly the right order of things.
It's for this format that we point you towards three lights, depending on your budget and your ambitions: the CannaLED Rhino 130 (V4) at €219.90, our main recommendation for a versatile beginner; the Rhino 130 PRO at €289.00, the step up with Samsung LM301H LEDs and a built-in dimmer; and the SANlight Stixx 50 at €129.90, the ultra-compact premium option for a very small space. We cover them in more detail below.
At GrowLED, we've been advising growers both new and experienced for 15 years, and it's our founder Joseph, an indoor growing expert, who signs off on each of these recommendations. Follow the guide.
Why a beginner should not aim too big
To get off to a good start in growing, it is better to start small: a large grow space multiplies both the costs (a more powerful light, ventilation, electricity) and the number of variables to master, which sharply increases the risk of failure on a first cycle. The beginner's most costly reflex is not choosing a light that is too weak, but aiming too big from the outset. So before we even talk about watts, let us lay the right foundation: a small, well-controlled space.
Bigger = more expensive and riskier
Doubling the growing area means doubling almost every constraint. A large grow tent calls for a more powerful horticultural LED grow light, and therefore a more expensive one, an extraction fan sized to match, and an electricity bill that climbs just as steeply. Above all, every extra square metre adds parameters to manage at the same time: temperature, humidity (the moisture content of the air), air circulation (its movement around the space to avoid stagnant pockets) and light uniformity. On a first grow, this build-up of variables turns the slightest mistake into a lost harvest.
The 60x60 cm format: the right school to start out in
A 60x60 cm space is the ideal learning format for a beginner. It is big enough to hold 1 to 2 plants comfortably, and small enough to let you master climate, watering and light without being overwhelmed. Over 0.36 m², a single well-chosen light covers the whole surface: you focus your attention on the essentials, you observe your plants up close and you come to understand what works. It is this step-by-step approach that pays off: you succeed with a small cycle, you learn, then you scale up knowing exactly what you are doing.
Oversizing wastes electricity (and burns the plants)
Choosing a light that is too powerful for a small space is a waste on two counts. First financially: you pay for and consume watts that serve no purpose, since your plants cannot make use of excess light. Then agronomically: a light intensity that is too strong, or a light placed too close to the foliage, literally burns the tops (the buds at the top of the stems) and stalls growth. The right approach is not maximum power, but power matched to the area, ideally adjustable by means of a dimmer so you can fine-tune the intensity as the growing phases progress.
💡 Joseph's tip — "In fifteen years, I have seen far more beginners fail through excess than through lack. A 60x60 cm with a single light, you tame in one cycle; a large space, you battle for months. Succeed small first. The equipment will follow you when you are ready to step up to the next level."
How to calculate the power of a horticultural LED grow light
The useful power of a horticultural LED grow light is measured in real watts drawn at the wall, never in the "equivalent" or inflated watts advertised by certain sellers. This is the first rule to take on board when choosing the power of a horticultural LED light as a beginner: a marketing figure tells you nothing about the light your plants actually receive. Let's look at how to read the genuine indicators.
Real watts vs advertised watts: don't get caught out
A panel advertised as "1000 W" often actually draws 100 to 150 W at the wall: the big number corresponds to a purely commercial "HPS equivalent". To compare two lights honestly, always insist on the real wattage (the actual power consumption). At GrowLED, the advertised watts are the real watts: no misleading marketing, just the consumption you'll pay for on your bill.
The watts-per-m² rule (W/m²)
Reckon on roughly 250 to 350 real watts per m² with a modern, efficient LED. For a 60x60 cm space (0.36 m²), this puts the light at around 100 to 130 real watts for generous flowering, and far less for young plants. The CannaLED Rhino 130 and the SANlight Stixx 50 W fit this logic. Rather than juggling with m², the simplest approach when starting out is to think in absolute watts for your area: around 100 to 130 real watts for a 60x60 cm.
Efficiency in µmol/J: the true measure of performance
At equal wattage, it's efficiency that makes the difference. Expressed in µmol/J, it indicates how much useful light (µmol of photons) the light produces per watt consumed. The Rhino 130 boasts 2.6 µmol/J: a strong efficiency that turns your electricity into growth rather than heat. The higher this figure, the more light you harvest for every pound of electricity.
PPF, PPFD and DLI without the jargon
Three acronyms, three simple ideas. The PPF (in µmol/s) is the total amount of light emitted by the light. The PPFD (µmol/m²/s) is the light actually received at plant height. The DLI is the cumulative dose over 24 h. To dig deeper into these criteria, our guide to choosing a horticultural LED light covers spectrum, bars and power outputs in detail.
Table: PPFD/DLI targets by stage for beginners
Here are some cautious benchmarks for a beginner. There's no need to aim for the maximum: too much light will burn a young plant.
| Stage | Indicative PPFD (µmol/m²/s) | Indicative DLI (mol/m²/day) |
|---|---|---|
| Seedlings / cuttings | 150 – 300 | 10 – 16 |
| Vegetative growth | 300 – 500 | 19 – 32 |
| Flowering | 500 – 700 | 22 – 32 |
Note: the DLI depends on the lighting duration. The values above assume around 18 h of light during the seedling and growth stages, and 12 h during flowering (standard photoperiod). In flowering at 12 h, a PPFD of 500 to 700 therefore gives a DLI of around 22 to 30 mol/m²/day.
A dimmer lets you fine-tune the PPFD at each stage without changing your light: a valuable asset for getting started with confidence.
What light output do you need for each grow area?
To estimate the LED wattage you need, allow for roughly 250 to 350 actual watts per m² with a modern LED: this is the most reliable benchmark for a beginner. In practical terms, for a 60x60 cm space (i.e. 0.36 m²), allow for roughly 100 to 130 actual watts. This watts-per-m² ratio gives you enough coverage for healthy growth, without needlessly oversizing your setup or your electricity bill.
Grow area ↔ recommended LED wattage chart
| Grow area | Area in m² | Recommended LED wattage (actual watts) | Number of plants (guideline) |
|---|---|---|---|
| 40 x 40 cm | 0.16 m² | 40 to 60 W | 1 plant |
| 60 x 60 cm | 0.36 m² | 100 to 130 W | 1 to 2 plants |
| 80 x 80 cm | 0.64 m² | 150 to 200 W | 2 to 4 plants |
| 100 x 100 cm | 1 m² | 250 to 350 W | 4 to 6 plants |
| 120 x 120 cm | 1.44 m² | 350 to 500 W | 4 to 9 plants |
These figures are ranges: the right setting also depends on the stage (vegetative growth or flowering) and the strain being grown. For small setups, browse our selection of 0 to 100 W horticultural LED grow lights; for the beginner's reference area, the 100 W horticultural LED grow lights for small spaces category brings together perfectly calibrated models.
A real-world look at the 60x60 cm
The 60x60 cm is the go-to area for getting off to a good start. With its 0.36 m², it calls for roughly 100 to 130 actual watts, an ideal range for learning the ropes without breaking the bank or having to manage too large an air volume. This is exactly the footprint covered by a panel like the Rhino 130: powerful enough to take one or two plants from growth through to flowering, yet compact enough to stay manageable. This format spares you the two classic beginner's mistakes: aiming too big, or under-lighting.
Very small space, cupboard or grow shelf
For a very small space, 40 to 50 actual watts are more than enough. A cupboard, a grow shelf or a corner set aside for young plants does not call for a large panel: a compact light with good spread will do a better job there than an oversized module that would scorch the leaves. This is exactly the playground of LED bars such as the SANlight Stixx 50, designed to light a small volume, a propagation station or a half grow tier efficiently. Be careful, though: with its 150 µmol/s concentrated over a very small area, this bar can exceed 1000 µmol/m²/s at full power in a 30x30 cm cupboard, which would scorch seedlings or cuttings. Use its 6-step dimming and raise it higher for young plants.
Even coverage: the area matters as much as the watts
A good light should illuminate the whole area evenly, not just the centre. A light that is too small for your space will leave dark edges where plants will become leggy, that is, stretch out in search of light, with thin, fragile stems. Conversely, a light that is too powerful, placed too close, will cause light stress and bleaching of the tops. The aim is not to have as many watts as possible, but to achieve a steady PPFD across the entire canopy (the top of the foliage, where the light reaches first). Choosing a light whose footprint matches your space is therefore just as important as the number of watts: it is this footprint/power pairing that makes for a successful grow.
Growth, Flowering and Light-to-Plant Distance: Dialling In Your LED
Setting up your LED follows a simple rule: turn the intensity down (or move the light slightly further away) during the plants' early life, then turn the power back up as flowering approaches. A young plant needs far less light than one in full bloom, and a dimmer lets you manage this ramp-up in a matter of seconds, with no risk of getting it wrong. This is precisely why we recommend a dimmable light to beginners.
Light-to-plant distance by growth phase
The right distance depends on the growth phase and the power of your LED. Below are some conservative ranges, valid for a 100 to 130 W LED panel over a 60x60 cm space. They remain indicative: always refer to your model's spec sheet.
| Phase | Light-to-plant distance | Recommended intensity |
|---|---|---|
| Seedling / cutting | 50 to 60 cm | Low (30 to 50%) |
| Growth | 40 to 50 cm | Medium (50 to 75%) |
| Flowering | 30 to 40 cm | Maximum (100%) |
Adjusting intensity through growth and then flowering
During growth, your plants develop their foliage and structure: a moderate intensity is enough and avoids light stress. In flowering, their needs increase sharply, and this is the moment to go to full power to maximise flower production. As for the spectrum, a full-spectrum light covers the entire cycle, while 660 nm red diodes and infrared genuinely support flowering and flower density. There is no need, though, to dream of some "magic" spectrum: a good, well-balanced full spectrum does most of the work. To explore the choice between bulbs, bars and panels in more depth, our top 5 best LED horticultural lights compares the market's safe bets.
The dimmer: why it's so useful for a beginner
The dimmer is arguably the beginner's most valuable ally. Rather than buying a light "at the right power" and hoping for the best, you adapt the intensity to each phase with a single movement: gentle for young plants, full power in flowering. This way you avoid the two classic pitfalls: lighting too strongly too soon (and scorching your seedlings) or running short of light at the crucial moment. The CannaLED Rhino 130 and Rhino 130 PRO models feature this dimming function, as does the SANlight Stixx 50 with its 6 levels: real peace of mind for getting started with confidence.
Spotting a light that's too close or too far
Your plants will tell you themselves whether the setting is right. Learn to read these signals:
- Light too close or too strong: leaves at the top curling up (the "taco", where leaves fold in on themselves into a U or tile shape), edges curling upward, bleaching or discolouration of the most exposed tips.
- Light too far or too weak: plants stretching upward, thin and widely spaced stems (known as "stretching" or "leggy" growth, a sign they are desperately searching for light), sparse foliage.
💡 Joseph's tip: "Do the hand test. Hold your palm at canopy height, palm facing the light, for thirty seconds. If the heat becomes uncomfortable for your hand, it's uncomfortable for your plants too: raise the light or turn the dimmer down. It's free, it's instant, and it's saved me from plenty of mistakes over fifteen years."
LED or HPS for getting started? And how much does it consume?
For a beginner today, LED is the better choice over HPS: it runs much cooler, draws less power for the same output, lasts longer and offers adjustable intensity thanks to the dimmer. High-pressure sodium (HPS) was long the benchmark in indoor growing, but the efficiency gap has widened to the point where horticultural LED has become essential for anyone starting out in a small space.
LED vs HPS: the face-off for a beginner
On every criterion that truly matters, LED comes out ahead. Here is an honest comparison, with no exaggeration.
| Criterion | Horticultural LED | HPS (sodium) |
|---|---|---|
| Efficiency | 2.4 to 3.0 µmol/J (the Rhino 130 delivers 2.6 µmol/J) | ~1.7 µmol/J |
| Heat output | Low | Very high |
| Adjustable intensity (dimmer) | Yes | No (or only with difficulty) |
| Lifespan | 50,000 h and more | ~10,000 to 18,000 h |
| Purchase cost | Higher upfront | Historically lower |
The only argument that still worked in HPS's favour, its lower purchase price, is now largely outdated: LED quickly pays for itself through reduced consumption, longevity and the absence of bulb replacement.
How much does a horticultural LED consume?
A horticultural LED of 100 to 130 W remains very easy on your electricity bill. Take a panel of around 130 W in flowering, running 12 hours a day: that comes to roughly 1.56 kWh per day, or close to 47 kWh over a month. At an indicative rate of €0.25/kWh, you reach an order of magnitude of around €12 a month in electricity for the lamp. During the vegetative phase (18 hours a day, but often at reduced intensity via the dimmer), the order of magnitude stays comparable. These are transparent estimates, to be adjusted according to your own rate and actual cycle.
To go further and trim the bill even more, take a look at our 3 tips to reduce the electricity consumption of your indoor grow.
Less heat, simpler ventilation
LED runs significantly cooler than an HPS, which simplifies the entire management of your space. In a small volume such as a 60x60 cm tent, an HPS calls for powerful extraction and sometimes air conditioning to avoid overheating. With an LED, modest ventilation is usually enough to maintain a sound temperature, which cuts down on noise, equipment to buy and the extra cost. For a beginner, that is genuine peace of mind: fewer parameters to master, and a greatly reduced risk of heat stress on the plants.
Our 3 recommended LED grow lights for getting started (by budget)
For a 60x60 cm grow space, three horticultural LED grow lights cover every beginner profile: from the affordable all-rounder to the ultra-compact premium option. Here are our concrete recommendations, ranked by budget and by level of requirement.
CannaLED Rhino 130 (V4): the versatile, affordable choice
The CannaLED Rhino Series 130 (V4), at €219.90, is our top recommendation for getting started. This LED panel delivers a full spectrum enriched with infrared, an efficacy of 2.6 µmol/J and adjustable intensity (dimmer) to control output from growth through to flowering. Designed to give perfect coverage of a 60x60 cm space, it comes with a 2-year warranty and carries our in-house brand CannaLED. It offers the best balance of simplicity, yield and price for a successful first grow.
CannaLED Rhino 130 PRO: the Samsung + dimmer step-up
If you want to invest a little more from the outset, the CannaLED Rhino 130 PRO, at €289.00, is the ideal step-up. It features Samsung LM301H LEDs complemented by 660 nm red diodes for a full spectrum, a built-in dimmer to match intensity to each phase, and a renowned MeanWell driver. The result: better yield and greater durability that make the price difference pay off over the long term.
SANlight Stixx 50: the compact premium for very small spaces
For a very small space, the SANlight Stixx 50, at €129.90, is the compact premium option. With 50 W for 150 µmol/s and 6-level dimming, this ultra-compact bar from the high-end Austrian brand SANlight is perfect for a cupboard, a grow shelf or lighting young plants and cuttings. Remember to use its dimming and to raise it higher for seedlings and cuttings: at full power over a very small area, it delivers a high intensity that could stress young plants.
Comparison table of the 3 beginner grow lights
| Grow light | Price | Power / efficacy | Ideal coverage | Dimmer | Brand | Beginner profile |
|---|---|---|---|---|---|---|
| CannaLED Rhino 130 (V4) | €219.90 | 2.6 µmol/J | 60x60 cm | Yes | CannaLED | Versatile and affordable |
| CannaLED Rhino 130 PRO | €289.00 | Samsung LM301H + 660 nm red | 60x60 cm | Yes (built-in) | CannaLED | Step-up option |
| SANlight Stixx 50 | €129.90 | 50 W / 150 µmol/s | Cupboard, shelf, young plants | Yes (6 levels) | SANlight | Compact premium |
Get started faster with a complete kit
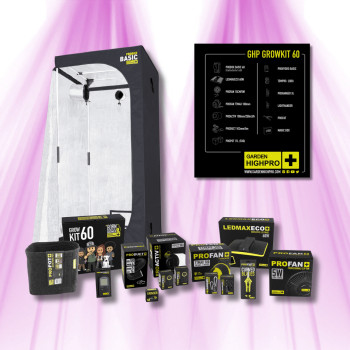
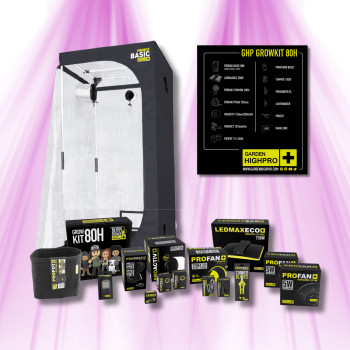
To have everything at once and start out without forgetting a thing, take a look at our complete ready-to-grow kits: grow light, grow space, ventilation and accessories bundled and matched together. And whatever your choice, our premium horticultural warranty protects your first purchase and supports you whenever you need it.
Joseph's advice and the beginner mistakes to avoid
The best advice for a beginner grower is simple: start small, in a 60x60 cm space with a suitable LED light, and master every parameter before scaling up. This is precisely the step-by-step approach championed by Joseph, founder of GrowLED, drawing on 15 years of expertise in horticultural lighting. Before we move on to the FAQ, here is his expert take on how to read spec sheets, followed by the list of mistakes that cost a beginner a harvest (and money).
💡 Joseph's tip: "Be wary of the race for advertised wattage. A light sold as "1000 W" that actually draws only 150 W at the wall is marketing, not performance. What matters is the real wattage and the efficiency in µmol/J: the Rhino 130 delivers 2.6 µmol/J, a genuine yield. And always insist on a dimmer. Being able to lower the intensity at the seedling stage and raise it during flowering is the difference between a plant that grows steadily and a plant stressed by too much light from day one."
The most common beginner mistakes (and how to avoid them)
Every classic mistake has a simple fix. That's the advantage of starting small: everything is more forgiving.
- Trusting the advertised wattage. Look at the real power draw at the wall and the efficiency in µmol/J, never the marketing figure on the packaging.
- Placing the light too close. Too much light scorches the leaves. The fix: respect the recommended distance and use the dimmer.
- Neglecting even coverage. A poorly centred light leaves areas in shadow. Aim for uniform lighting across the entire surface.
- Forgetting to lower the intensity at the seedling stage. Young plants don't need full power. That's exactly what the dimming function is for.
- Undersizing the ventilation. An LED runs cooler than an HPS, but the air still needs to clear out heat and humidity. Plan for extraction and air circulation right from the start.
- Buying an unsuitable power supply or wiring. Make sure your socket and extension lead can handle the load, and opt for a reputable-brand driver (such as MeanWell) for long-term reliability.
Rest assured: none of these mistakes is irreversible when you start out in a small, well-equipped space. And before you get going, take the time to read our customer reviews: hundreds of beginner growers have made this step-by-step choice and share their first results.
Conclusion: start small, choose wisely, and harvest the experience
To get off to a good start, keep the essentials in mind. On the power side, a horticultural LED grow light and a beginner go hand in hand with one clear rule: roughly 100 to 130 W of true power for a 60x60 cm space (i.e. around 250 to 350 W of true power per m²), real wattage (never the advertised figure) and a dimmer to support your plants from growth right through to flowering. By starting small but well equipped, you give yourself every chance of nailing your first cycle without anything going to waste. For most beginners, our recommendation remains the CannaLED Rhino 130, affordable and versatile, with the Rhino 130 PRO as a step up and the SANlight Stixx 50 for very small spaces.
Still undecided? Take your time browsing our full range of horticultural LED grow lights, or get in touch: at GrowLED, we have been guiding beginners all the way to their first harvest for 15 years. You never go it alone.
FAQ — Your beginner questions
How many watts do you need for a horticultural LED grow light when you're starting out?
For a first grow in a 60x60 cm space (0.36 m²), a light of around 100 to 130 real watts is ideal, which works out to roughly 250 to 350 real watts per square metre with a modern LED. The key is to think in terms of the real watts drawn at the wall, not the "advertised" watts, which are often inflated for marketing purposes.
What LED power do you need for a 60x60 cm grow space?
For a 60x60 cm space, aim for around 100 to 130 real watts of LED. This power comfortably covers the 0.36 m² area and lets you take 1 to 2 plants from vegetative growth through to flowering. The CannaLED Rhino 130 is precisely calibrated for this format, which remains the best size to start with.
What is the difference between the real watts and the advertised watts of a horticultural LED?
Real watts correspond to the light's actual power draw at the wall; advertised watts are often a purely marketing "HPS equivalent". A panel labelled "1000 W" sometimes draws only 100 to 150 real watts. Always compare real watts and efficiency in µmol/J to judge two lights fairly against each other.
LED or HPS: which should you choose for a first grow?
For a first grow, LED is the best choice today. It runs far cooler, consumes less for the same yield (2.4 to 3.0 µmol/J depending on the model, versus around 1.7 for an HPS), lasts longer and offers adjustable intensity via a dimmer. The HPS's only advantage, its lower purchase price, is largely offset by the long-term cost-effectiveness of LED.
How far from your plants should a horticultural LED light be placed?
The distance depends on the phase and the power. For a 100 to 130 W panel, allow around 50 to 60 cm at the seedling stage, 40 to 50 cm during vegetative growth and 30 to 40 cm in flowering. Keep an eye on your plants: curled-up leaves signal a light that's too close, while a stretching stem indicates a light that's too far away. Always refer to the spec sheet for your particular model.
Do you need an LED light with a dimmer to get started?
Yes, a dimmer is strongly recommended for a beginner. It lets you adjust the intensity at each phase with a single movement: low for young plants, full power in flowering. This way you avoid burning your seedlings or running short of light at the crucial moment. The Rhino 130, the Rhino 130 PRO and the SANlight Stixx 50 all feature this dimming function.
How much does a 100 to 130 W horticultural LED light consume?
A 130 W LED running 12 hours a day consumes around 1.56 kWh per day, or nearly 47 kWh per month. At an indicative rate of €0.25/kWh, that works out to roughly €12 per month in electricity for the light. Actual consumption varies according to your tariff, your cycle and the dimmer setting.
What budget should you plan for a good beginner LED light?
Expect to pay between €130 and €290 for a quality beginner LED light. The SANlight Stixx 50 starts at €129.90 for a very small space, the CannaLED Rhino 130 at €219.90 covers a 60x60 cm versatilely, and the Rhino 130 PRO at €289.00 offers a step up to Samsung-grade quality. It's a durable investment, backed by a warranty and made cost-effective by low consumption.
Rhino Series, Spider PRO, multi-lamp packs: the full range, the recommended lamp for each grow area and customer reviews are on our CannaLED brand page.
Sanlight designs high-end LED grow lights in Austria, above 3 µmol/J: EVO series, Stixx and Q series. The full range, the recommended lamp for each grow area and customer reviews are on our Sanlight brand page.
ThinkGrow LED lights: 4-channel adjustable spectrum, TrolMaster control, 5-year warranty. The full range, the recommended lamp for each grow area and customer reviews are on our ThinkGrow brand page.
Florastar LED panels: Samsung diodes, 4 dimmable channels on Ti PRO, from 80 × 80 to 120 × 120 cm. The full range, the recommended lamp for each grow area and customer reviews are on our Florastar brand page.