









































































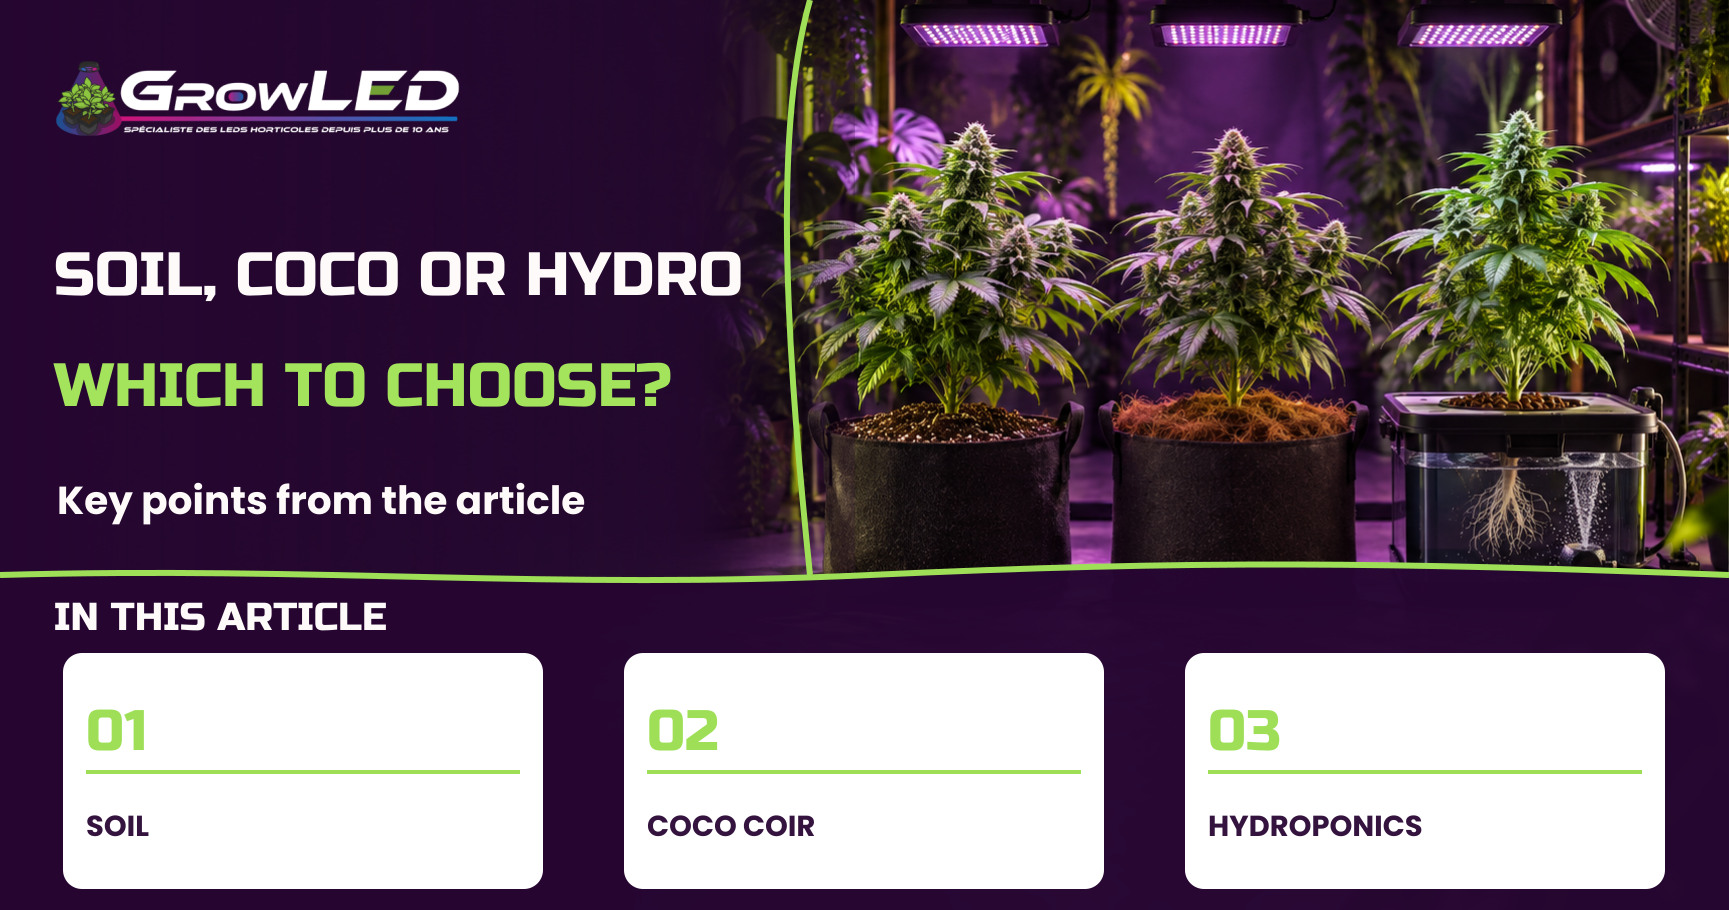
I get this question almost every week: soil, coco or hydro, which one works best? The honest answer is that none of the three is "better" in absolute terms: each one shifts the balance between ease, yield and the discipline it demands. Here is an honest comparison, with the mechanisms behind each method, so you can choose based on your own profile rather than on what's fashionable.
How soil works: retention and soil biology
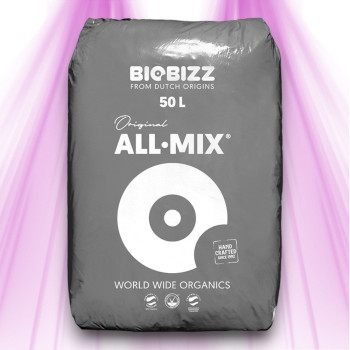
Soil is a living ecosystem, not just a physical support. A good potting mix contains organic matter (peat, fibres, guano, worm compost depending on the blend) that hosts bacteria and fungi able to mineralise nutrients gradually. In practice, organic nitrogen is not directly available to the root: it first has to be converted into nitrates and ammonium by microbial activity, a process that plays out over several weeks. That's why a pre-fertilised potting mix like Biobizz All-Mix lasts 3 to 4 weeks with no added feed: the food is already in the soil, and it releases itself at the pace the plant needs it.
This biology gives you a buffering effect that is invaluable for a beginner, the soil's cation exchange capacity holds nutrient ions (calcium, magnesium, potassium) on the clay and humus particles, then releases them gradually into the soil solution. The result: a dosing mistake or a feed that's slightly too heavy in salts gets cushioned, unlike coco or hydro where the root sits directly in whatever you've poured in. That's why the tolerated pH range in soil (6.0 to 7.0) is wider than for the other two methods: the soil itself corrects part of the drift.
The flip side is root oxygenation, a potting mix that is too compact or overwatered saturates the micropores with water and drives the air out of the macropores. Yet the root breathes: it needs oxygen to produce the energy that powers the active uptake of nutrients. Without air, the roots switch to anaerobic fermentation, produce toxic compounds, and rot (the well-known root rot from Pythium or Rhizoctonia). A good soil mix aims for 15 to 25% air porosity after draining, which is provided by the perlite or coarse fibres already included in potting mixes like Biobizz Light-Mix or Plagron Grow Mix.
For young plants and cuttings, I always start with a light substrate that is low in EC (around 0.4 to 0.6 mS/cm straight out of the bag), precisely so as not to burn roots that are still fragile: that's the job of Light-Mix. Once the plant is established and growing strongly, a richer mix like All-Mix takes over and covers most of the needs through to mid-flowering.
🌱 Joseph's tip
Judge the watering need by the weight of the pot, not by eye at the surface of the mix, which always dries faster than the core of the root ball. Lift the pot just after watering to memorise its "full" weight, then compare before each following watering: it's the most reliable way to avoid overwatering, the number one mistake among beginners in soil.
Coco: an almost inert substrate that demands precision
Coco fibre is not completely inert, contrary to what you often read. It has a real exchange capacity, but oriented differently from soil: it has a strong affinity for potassium and readily swaps calcium and magnesium for excess sodium or potassium. In practice, if you don't supplement with calcium-magnesium, you'll see the classic deficiencies appear (leaf-edge necrosis) even with a complete fertiliser, simply because the substrate grabs those elements before the root does. That's why in coco a Cal-Mag supplement is almost automatic, especially with reverse-osmosis or low-mineral water.
On oxygenation, coco is clearly superior to soil, its fibrous structure holds 20 to 30% air even at saturation, against often less than 15% for a compact potting mix. This allows much more frequent watering with no risk of root suffocation: in flowering, you typically water several times a day (2 to 6 short feeds during the lit hours), aiming for 15 to 20% runoff draining out at each cycle. That leaching flushes out the salts that would otherwise build up in the substrate and end up blocking uptake through osmotic pressure.
The tighter pH range (5.5 to 6.5) is no accident, without the biological buffer of soil, nutrient availability depends almost entirely on the chemistry of your nutrient solution. A pH that drifts above 6.5 precipitates iron and manganese, with visible deficiencies in 3 to 5 days; a pH below 5.5 encourages an over-uptake of certain trace elements that becomes toxic. Hence the value of checking the pH of the solution at every mix with a manual pH tester, and adjusting drop by drop with a graduated syringe rather than by the capful: in a small volume, 1 to 2 mL of adjuster is often enough to shift the pH by 0.3 to 0.5 of a unit.
The margin for error for a beginner is shorter than in soil, coco holds little reserve water compared with a peat-rich potting mix: a missed watering in real heat, with a high VPD (above 1.5 kPa), can stress the plant in just a few hours. In return, since you control 100% of the nutrition yourself from the moment you pot up, you gain in responsiveness and in yield compared with a soil that takes weeks to release its reserves.

Hydroponics: speed at the cost of discipline
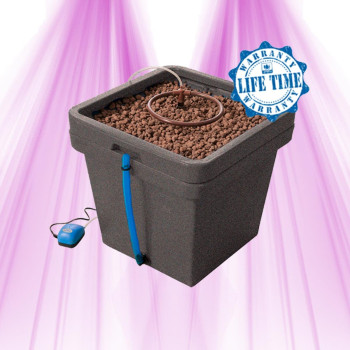
In hydro, there is no longer a substrate in the true sense, the roots sit directly in the nutrient solution or are fed in a closed loop on a neutral support. Dissolved oxygen then becomes the number one parameter: without an air stone or air pump keeping dissolved oxygen above 6 to 8 mg/L, the submerged roots suffocate within hours. The temperature of the solution is just as critical: above 23 °C, water holds less oxygen and becomes fertile ground for Pythium, the disease that wipes out hydro crops the fastest. The target I recommend is 18 to 20 °C for the reservoir.
The tightest pH range of the three methods (5.5 to 6.0) is explained by the total lack of a buffer, every change in pH acts almost instantly on the solubility of the nutrients. Above 6.2, iron precipitates as a hydroxide and is no longer available; below 5.5, several trace elements become excessively available and can turn toxic for the root. There is no safety margin: that's why in serious hydro you check the pH and EC of the reservoir at least once a day, more often if the room is warm, since the water evaporates faster than the salts are consumed, which gradually concentrates the solution.
Maintaining the reservoir is not optional, I recommend draining and fully renewing the solution every 1 to 2 weeks, even if the volume still looks fine: a biofilm forms on the walls and the tubing, the solution becomes depleted unevenly from one element to the next, and the pH naturally drifts upwards over time. A 20 to 30 minute air-pump outage in real heat is sometimes enough to trigger rapid wilting, because here the submerged roots have no buffer reserve of air as they would in soil or coco.
It's the fastest method for growth, with nutrients and oxygen delivered straight to the root, the plant spends almost no energy hunting for its food and redirects it into the above-ground part. It's also the most demanding: the margin for error is counted in hours, not days, and I don't recommend it to anyone who isn't ready to watch their crop every single day, weekends included.
pH and EC: steering every nutrient solution
pH determines which chemical forms of the nutrients are soluble, and therefore absorbable by the root, which is what we call the nutrient availability curve. Outside the target range specific to each method, some elements precipitate and become unavailable while others become over-available to the point of turning toxic. It's a purely chemical mechanism, the same everywhere, but its tolerance margin changes completely depending on whether the substrate buffers (soil) or not (coco, hydro).
EC, the electrical conductivity in mS/cm, measures the total concentration of dissolved salts, it's your gauge of "how much food" is available, independently of pH. In practice, I aim for orders of magnitude that climb gradually with the stage: around 0.4 to 0.6 mS/cm for a young plant or a cutting, 1.0 to 1.4 mS/cm in growth, 1.4 to 1.8 mS/cm in flowering, always adapting to the plant's visual response rather than to the number alone. In soil and coco, comparing the EC of the runoff with that of the feed lets you detect a salt build-up: if the runoff comes out with an EC 30 to 50% higher than the feed, it's the signal that a flush with clean water is called for.
The measuring tools are not a detail, they condition everything else, a manual pH tester used before every solution mix prevents the silent drift that sinks a crop without your understanding why the leaves are yellowing. And for corrections, it's better to dose by small volume than by guesswork: a graduated syringe lets you add 1 to 2 mL of pH adjuster per 10 L of water and track the effect precisely, rather than over-correcting and having to swing back the other way.
🌱 Joseph's tip
Never correct pH and EC at the same time, one adjustment, one measurement, and you give the solution fifteen minutes to settle before touching anything again. It's the best way to avoid the endless back-and-forth that drives a beginner mad and always ends up unbalancing the solution more than it was at the start.
Watering frequency, water retention and root oxygenation
The three methods handle the water/air pairing in radically different ways, in soil, a 7 L pot under lighting equivalent to 300 to 400 W, at a humidity of 55 to 65%, generally takes 2 to 4 days to dry out: you water infrequently but deeply, letting the substrate breathe between feeds. In coco, the low water reserve combined with high air porosity calls for short, repeated waterings, several times a day at peak flowering. In hydro, there is no dry/wet cycle at all: the roots stay permanently immersed, and it's forced oxygenation that replaces the role the ambient air plays in a solid substrate.
The concept of macropores and micropores explains everything, in a potting mix, water stays trapped in the micropores after draining while air occupies the macropores: the more perlite or coarse fibre a blend contains, the more macropores it keeps, so the more oxygenated it stays even when wet. A mix that is too fine or too packed loses that porosity, holds water in excess, and that's the number one cause of root rot among beginners who water by the calendar without checking the real state of the substrate.
Root respiration is not a theoretical detail, the root consumes oxygen to produce the energy that powers the active transport of nutrients across its membranes. Without enough oxygen, it switches to anaerobic metabolism, produces compounds toxic to itself, and turns brown and mushy within days. It's an identical mechanism across the three methods, only the safety margin changes: wide in soil thanks to the air reserve in the macropores, shorter in coco, close to zero in hydro where everything rests on the aeration equipment.
Cost, yield, upkeep: the numbers side by side
Here is the table I show everyone who's hesitating, it sums up the real trade-offs, without dressing up any of the three methods.
| Criterion | Soil | Coco | Hydro |
|---|---|---|---|
| Target pH | 6.0 to 7.0 | 5.5 to 6.5 | 5.5 to 6.0 |
| Water retention | High, a reserve of several days | Low to medium, a few hours | None, continuous immersion |
| Root oxygenation | Depends on the mix, risky if compact | Good natively (fibres) | 100% dependent on forced aeration |
| Watering frequency | Every 2 to 4 days | 2 to 6 times a day in flowering | Continuous, renewed every 1 to 2 wks |
| Beginner margin for error | Wide, biological buffer | Medium, no buffer but responsive | Low, mistakes visible within hours |
| Upfront cost | Low: potting mix and pot | Medium: substrate, fertigation advised | High: pumps, air stone, reservoir |
| Daily upkeep | Light | Moderate | Heavy, daily EC/pH/temp checks |
| Potential yield | Decent | Good to very good | The highest, if everything is mastered |
What comes out of this table is a genuine trade-off, soil offers safety and simplicity, coco a fairly balanced yield/discipline compromise, hydro the highest performance ceiling but with the fastest penalty in the event of a mistake or an equipment failure.
Which method to choose for your profile
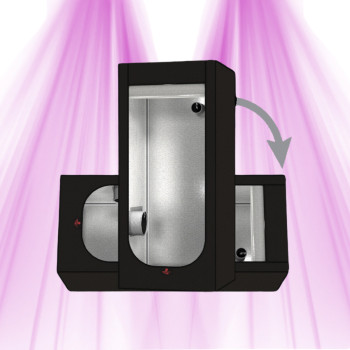
If you're just starting out and growing in a small space, I go for soil without hesitation: a pre-fertilised potting mix like All-Mix, a pot matched to the plant's final size (a 7 L grow pot works very well for a medium-sized plant in a cabinet), and you have several weeks of autonomy before you have to worry about fertiliser dosing.
If you already have a grow or two behind you and you're after more yield without moving to a complex system, coco is the right compromise: it asks for a little more attention on pH and Cal-Mag, but rewards you with faster growth and finer control of the nutrition.
If you're ready to watch your crop every day, weekends included, and performance matters more than peace of mind, hydro gives the fastest results. But I'll say it plainly: it's not a method to dabble with, the penalty for a lapse arrives in hours, not days.
- Beginner, small space, safety first: soil (Light-Mix to start, All-Mix for the rest)
- Intermediate grower after yield without an over-engineered setup: coco with fertigation
- Experienced grower who accepts daily monitoring: hydroponics
I don't have a "favourite" method, I have a method suited to each situation. What I see most often is beginners diving into hydro because it looks impressive, then giving up after two weeks because of a pH that drifts or an air pump left switched off. Start with soil, understand how your plant reacts, and step up in technicality only when you genuinely feel the need. That's how you make progress without getting discouraged.
Choose your substrate and start off on the right foot
Find the Biobizz All-Mix 20L potting mix, the Biobizz Light-Mix 20L potting mix and the 7L grow pot to get off to a good start.
See potting mixes and pots →