Winterization Heaters: Maintaining Warmth in Indoor Growing During Winter
Winterization heaters are essential for maintaining stable temperatures in your grow space during the cold months. When outdoor temperatures drop, your grow room can quickly fall below 18°C, which significantly slows growth and can even damage your plants. A suitable heating system allows you to maintain a constant temperature between 20 and 24°C, even in the middle of winter.
Why choose a specialized heater for winterization
Indoor growing in winter presents particular challenges that classic domestic heaters cannot effectively solve. First, humidity: an infrared ceramic heater heats without drying out the air, unlike electric convectors which can cause humidity to drop below 40%. Then, precision: with a digital thermostat, you maintain exactly 22°C at night without dangerous fluctuations.
Heating mats are a particularly clever solution for winterization. Placed under pots, they directly warm the root zone to 20-22°C, stimulating nutrient absorption even when the ambient air remains cool. This gentle bottom heat mimics the natural conditions of soil warmed by the sun.
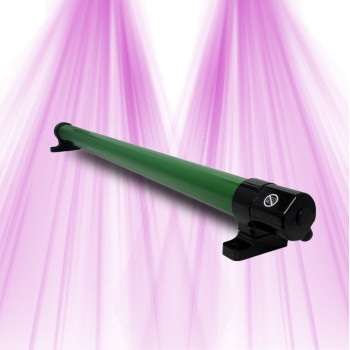
In terms of consumption, a 200W tubular heater consumes less than a 1000W convector while more efficiently heating a confined space of 2-3m². Radiant heat penetrates the canopy better and diffuses evenly.
How to choose the right winterization heater
Power is calculated simply: allow 100W per square meter for a well-insulated space, 150W if your premises are poorly insulated. For a 1.2x1.2m tent (1.44m²), a 150-200W heater is more than enough. Beyond 2m², opt for two heat sources rather than a single large heater for even distribution.
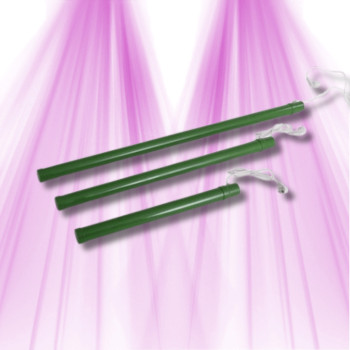
The type of heating depends on your setup. Wall-mounted ceramic heaters are suitable for vertical spaces, while tubular models easily fit between pots. Heating mats are essential if you are growing in small volume pots (less than 10L) where the thermal mass is low.
The thermostat remains the crucial element: choose a model with a remote probe to measure the actual temperature at plant level, not that of the heater. A minimum accuracy of ±1°C is necessary to avoid thermal shock. Programmable models allow you to simulate day/night cycles even in winter.
Frequently asked questions
Which ceramic or infrared heater to choose for a 2m² tent for winterization?
For 2m², a 300W ceramic heater with an integrated thermostat represents the best compromise. Ceramic infrared diffuses gentle and homogeneous heat without drying out the air, unlike classic electric resistances. Opt for a wall-mounted model to free up floor space and install the temperature probe at canopy height. 200-250W tubular heaters are an interesting alternative if you lack vertical space.
How to install a heating mat under pots without risking overheating the roots?
Always place a thermal insulation plate (2cm polystyrene) between the mat and the floor to avoid heat loss. Set the temperature between 20 and 22°C maximum - beyond that, you risk cooking the roots. Use a thermostat with a probe to stick into the substrate to control the actual root temperature. Leave 5cm of space between pots to allow air circulation and avoid hot spots. A 20W mat per 10L pot is more than enough.
Ceramic or tubular heater, which is the most energy-efficient for winter?
Tubular heaters generally consume 20 to 30% less energy than ceramic heaters with an equivalent heated surface. Their elongated shape diffuses heat over a larger area, allowing efficient heating with less power. A 180W tubular heater heats as well as a 250W ceramic heater in a 1.5m² space. However, ceramics offer faster temperature rise, useful for restarts after power cuts. The choice depends on your use: tubular for economical continuous heating, ceramic for maximum responsiveness.
How to use a thermostat with my heater to maintain 22°C at night?
Connect your heater to the thermostat via the controlled outlet, then place the temperature probe 30cm above the plants, away from direct light. Set the setpoint to 22°C with a hysteresis of 1°C (the heater turns on at 21°C, stops at 23°C). Program a nocturnal drop to 18-20°C to simulate the natural cycle and save energy. Check the calibration with an independent thermometer and adjust if necessary. A good digital thermostat costs 30-50€ but halves your electricity consumption.
Should an oil-filled radiator be cleaned after each winterization season in a grow room?
Yes, annual cleaning is essential to maintain efficiency and safety. Dust the fins with a dry brush or a low-power vacuum cleaner - dust reduces heat exchange by 15 to 20%. Check the oil circuit's seal by inspecting welds and connections. Check the power cable and replace it at the slightest sign of wear. Store the radiator upright in a dry place to avoid internal corrosion. Regular maintenance extends its lifespan by 5 to 8 years and maintains optimal performance.