Top Budget Packs: complete indoor grow kits at mini prices
Top Budget Packs are the solution for getting started with indoor growing without blowing your budget. These kits include all the essential equipment: lighting, ventilation, carbon filtration, and accessories. No more headaches trying to assemble a complete setup; everything is designed... Lire la suite Réduire
Top Budget Packs: complete indoor grow kits at mini prices
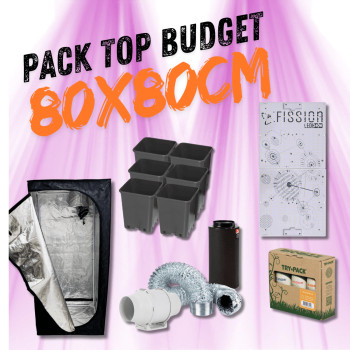
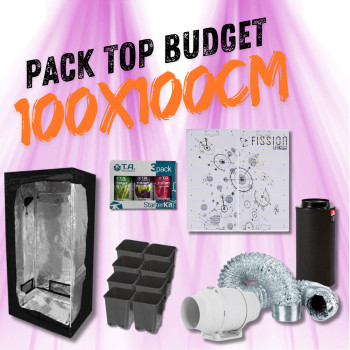
Top Budget Packs are the solution for getting started with indoor growing without blowing your budget. These kits include all the essential equipment: lighting, ventilation, carbon filtration, and accessories. No more headaches trying to assemble a complete setup; everything is designed to work together right out of the box.Specifically, these packs generally include LED or HPS lighting suitable for the growing area, an extractor with a carbon filter to manage odors, and often some accessories like cables or hangers. The idea is to offer a coherent system that works directly, even on a tight budget.Why choose a Top Budget grow pack?
First, the economic aspect is obvious. Buying components separately always costs more than getting a pre-assembled pack. Manufacturers negotiate wholesale prices and pass on some of the savings to the final price. You can easily save 20 to 30% compared to buying items individually.Next, compatibility is guaranteed. No unpleasant surprises with an undersized extractor for the lamp or a carbon filter unsuitable for the airflow. Everything is calculated to work in harmony. Is the extractor 125mm? So is the filter. Does the LED consume 100W? The extractor has enough flow to dissipate the heat.Finally, it's a huge time-saver for beginners. No need to spend hours researching compatibility between brands or airflow calculations. The pack arrives, you install it, it works. Period.How to choose your Top Budget pack
The first question is the growing area. A pack designed for 60x60cm will not be suitable for a 120x120cm tent. Manufacturers always indicate the optimal surface area, generally between 0.36m² and 1.44m² for budget packs.The type of lighting also makes a difference. LED packs consume less (often 100-150W vs. 250-400W for equivalent HPS) but cost a bit more upfront. HPS heats up more, which can be an advantage in winter but complicates thermal management in summer.For ventilation, check the extractor's flow rate. A good ratio is about 3 to 5 times the tent's volume per hour. For a 60x60x160cm tent (0.58m³), a 150-200m³/h extractor will do the job. Below that, air circulation will be insufficient.Attention should also be paid to the carbon filter. Its lifespan varies from 12 to 18 months depending on use. Opt for filters with an indication of the active carbon content (generally between 40 and 60% for mid-range).Frequently Asked Questions
Which budget pack should a beginner with limited space choose?
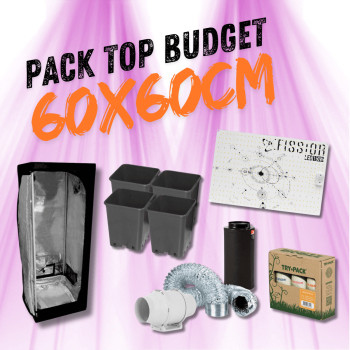
To start in a confined space, opt for a 60x60cm pack with LED lighting. These kits generally consume between 100 and 150W, generate little heat, and are easy to install in a closet or small room. The included 125mm extractor (150-200m³/h flow rate) is more than sufficient for this volume. Expect to grow about 2-3 plants maximum in this space, which is perfect for testing your first grows without investing huge sums.How do I install the complete Top Budget pack in my tent?
Installation always follows the same order: first, attach the lighting to the tent ceiling with the provided hangers, then install the extractor at the top (hot air) and the carbon filter just before it. Ducts connect between the extractor and filter, then the extractor and the tent outlet. Leave 30-40cm between the lamp and the top of the plants at the start. For electricity, use a timer to automate day/night cycles (18h/6h for growth, 12h/12h for flowering).What's the difference in consumption between LED and HPS packs?
The consumption difference is significant. A 100W LED pack is equivalent to a 250W HPS in terms of light output, saving 150W per hour. Over a 3-month grow (approx. 2000h), this represents 300kWh less, or €45-60 in savings depending on electricity rates. HPS heats up more (operating temperature 80-100°C vs. 40-50°C for LED), which sometimes requires reinforced ventilation and further increases the bill.How to use and maintain the carbon filter in the pack?
The carbon filter is always placed before the extractor in the air circuit, never after. It draws air from the tent, filters it, and then the extractor expels it outside. For maintenance, dust the external pre-filter every 15 days with a vacuum cleaner. The activated carbon gradually saturates and loses its effectiveness after 12-18 months of continuous use. When odors start to pass through, it's time to change it. Store new filters in a dry place to preserve the carbon.Should I add a timer or a fan to the pack for good ventilation?
A timer is essential to automate lighting, but most budget packs don't include one. Invest in a basic mechanical timer (€10-15) or a digital one for more precision. For ventilation, the included extractor is usually sufficient, but add a small oscillating fan (15-20W) to circulate air inside the tent. This air circulation strengthens stems and prevents stagnant areas that promote mold. Place it at the bottom of the tent, facing the plants.