




















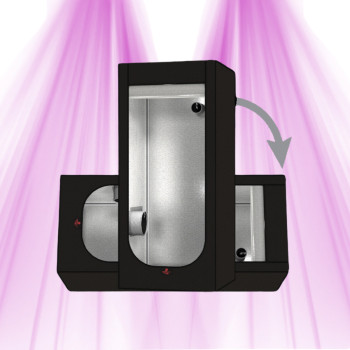













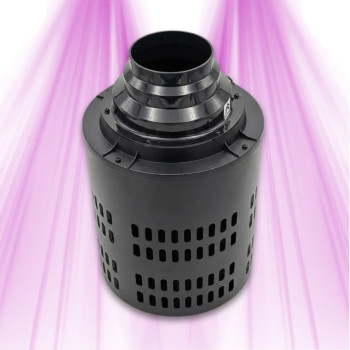
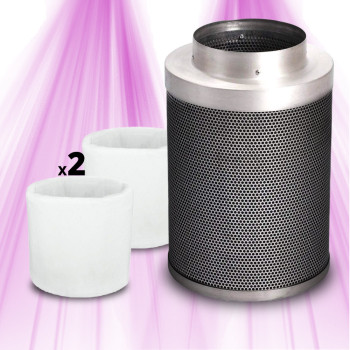
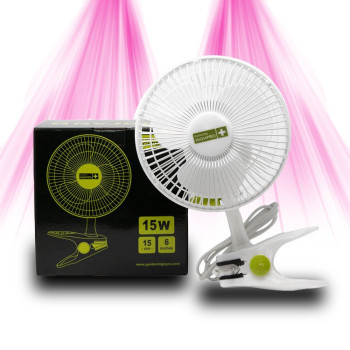




































Wondering how to install an efficient exhaust fan in your grow tent? This guide walks you step by step through installing a high-performance ventilation system, easy to understand and perfectly suited to your grow space. Together, let's turn this space into a genuine high-tech lab, without complications.
Choosing and sizing your exhaust fan
Before any installation, it's essential to calculate the power of your exhaust fan to get a system that's neither too weak nor too energy-hungry. A poor choice can lead to inadequate humidity control or unnecessary electricity costs, so take this calculation seriously.

Calculating the airflow needed for your grow tent
To know how to install your exhaust fan in your grow tent, start by measuring the length, width, and height of the grow tent. For example, a room of 1.2 m x 0.8 m x 2 m gives a volume of 1.92 m3, which will be the basis for your calculations.
- Full air exchange every hour: volume x 60, i.e. 1.92 m3 x 60 = 115 m3/h, to ensure a continuous supply of fresh air.
- Air exchange every two minutes: volume x 30, i.e. 1.92 m3 x 30 = 58 m3/h, creating a very dynamic circulation.
- Simple formula: volume x 60 or x 30 depending on the desired frequency = required airflow in m3/h.
- Safety margin: add 20% to compensate for pressure losses caused by ducting and filters.
In our example, 115 m3/h plus 20% gives around 138 m3/h required. This margin becomes essential as soon as a carbon filter is added to the system, since its resistance naturally slows down the airflow.
Insufficient airflow will heat up the grow tent and raise humidity, while excess power wastes electricity and can stress the plants. The goal is therefore to find the right balance.
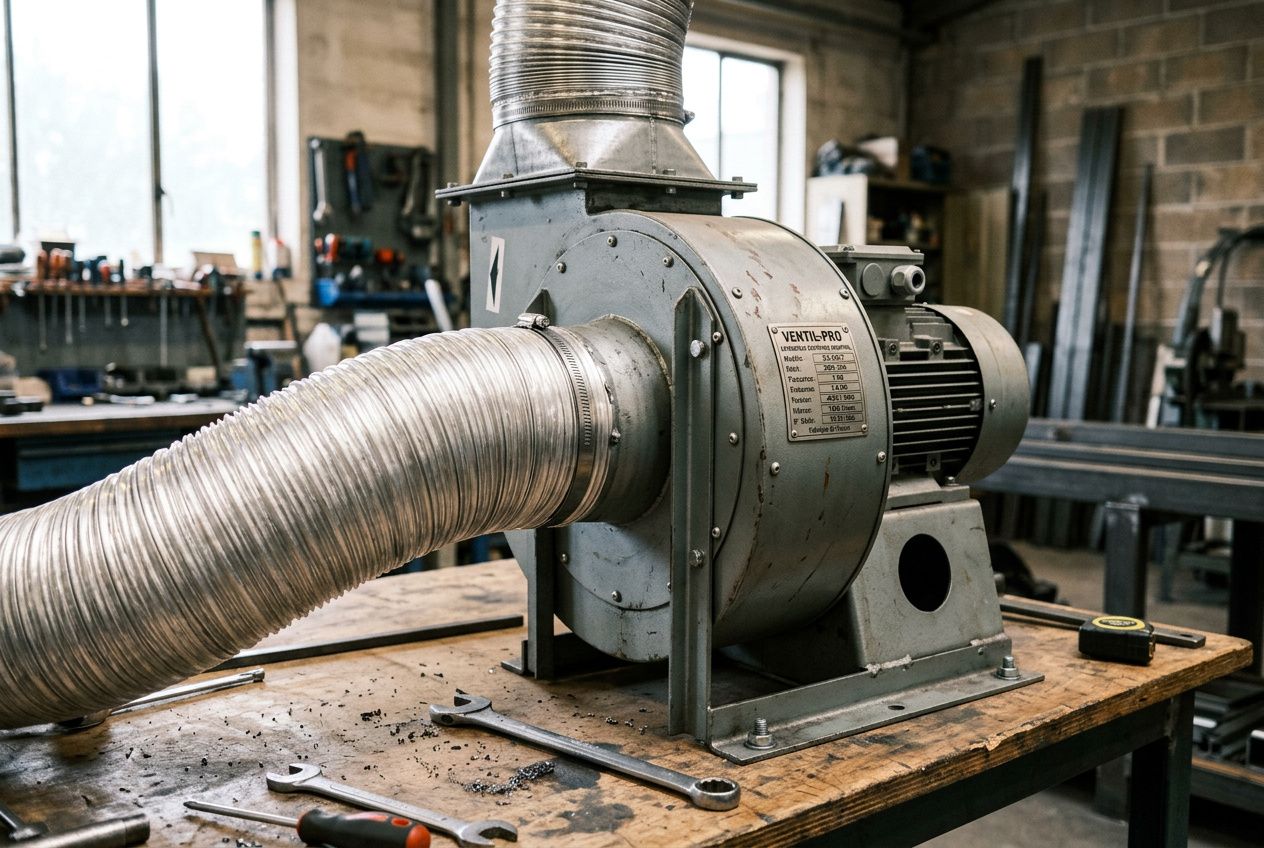
Selecting the exhaust fan suited to your needs
Now look for a variable-speed exhaust fan so you can adjust your ventilation system according to the seasons and the power of the lights. During light hours, ventilate at maximum; on cooler nights, reduce the airflow to save energy.
Choose equipment with an acoustically insulated wheel if the grow tent is close to living spaces; aim for 36 dB(A) or less at full speed to avoid noise nuisance. Make sure the inlet diameter (often 150 mm or 200 mm) matches that of your ducting to preserve airflow, and keep consumption under 250 W to stay reasonable.
Allowing margin for carbon filters
To neutralize odors effectively, the air must first pass through a carbon filter before reaching the exhaust fan, which creates additional resistance. So add another 20% margin; if your calculation indicates 138 m3/h, aim for at least 166 m3/h instead.
Without this precaution, the system may look good on paper, but it will run under capacity once the filters are installed. Choose a filter with the same diameter as the ducting and the exhaust fan to ensure a tight seal and maintain an optimal supply of fresh air in your grow space.
Where to position the exhaust fan and carbon filters
The location of your exhaust fan should never be chosen at random; it follows simple laws of physics. Since hot, stale air rises naturally, its extraction should start near the ceiling. A well-positioned system guarantees smooth circulation without extra effort.

Optimal placement of the exhaust fan in the tent
Where to position the exhaust fan? Install it at the ceiling, or about 2.10 m from the floor, where hot air accumulates. Placing it lower would mean working against the natural movement of air, which would reduce the efficiency of the exhaust system.
- Ideal high position: fix the exhaust fan to the ceiling or upper wall to immediately capture the hot air.
- Direct path: plan a ventilation duct as straight as possible, with bends limited to a maximum of 45 degrees.
- Safety distance: keep at least 15 cm between the exhaust fan and the grow lights or other heat sources.
A winding duct reduces airflow; think of it as a highway for stale air. Firmly fix all supports with self-tapping screws for a durable installation.
Installing the carbon filter upstream
Always place the carbon filter before the exhaust fan: filter -> exhaust fan -> ventilation duct -> outdoor outlet. This way, the carbon absorbs odors first, then the exhaust fan releases the treated air. Where should an exhaust fan be placed? Immediately after the filters, never before.
Secure the filter with sturdy clamps at both ends and seal the joints with suitable tape. A poorly installed filter lets air circulate without being filtered and shortens the system's lifespan; replace it every three to six months depending on use.
Fixing and connecting the exhaust ducts
Connect each duct carefully: tighten all the joints and seal them with tape or a silicone bead. Even a small leak can significantly reduce airflow and complicate stale air management.
Install a check valve near the outdoor outlet to prevent outside air from entering the grow tent. Block off any unused openings to maintain a slight negative pressure controlled by the intake fan.
| Element | Position | Key tip |
| Exhaust fan | Top of the tent (ceiling) | Captures the hot air that rises naturally |
| Carbon filter | Before the exhaust fan | Mandatory order: filter -> exhaust fan -> extraction |
| Exhaust duct | Direct path to the outside | Reduce bends to a maximum of 45 degrees |
| Check valve | At the outdoor outlet | Blocks any backflow of outside air |
| Intake fan | Bottom of the tent (air intake) | Slightly lower airflow than the exhaust fan |
Setting up the intake fan and automating the system
Once your exhaust fan is correctly installed, the next step is to pair it with an intake fan to ensure a complete, balanced air exchange. This duo creates efficient circulation between incoming fresh air and outgoing hot air, which immediately improves air quality and guarantees the system's stability. A well-orchestrated setup often marks the difference between a grow that works and a grow that truly excels.

Sizing and placing the intake fan
The intake fan is the fan responsible for bringing in fresh air, while the exhaust fan expels hot air. Without a properly sized intake fan, the depression created can pull in unfiltered outside air through gaps, which compromises the quality of the ambient air. Correct sizing and positioning ensure controlled circulation and limit the entry of unwanted contaminants.
- Intake airflow = exhaust airflow x 0.85 when the intake fan has no carbon filter.
- Intake airflow = exhaust airflow x 0.65 if the intake fan is fitted with a carbon filter.
- Low position: install the intake fan near the floor and opposite the exhaust fan to create effective through-flow.
- Insect screen: add a fine mesh screen or protective net to block dust and unwanted insects.
Respecting these ratios helps maintain a slight positive depression, which secures your system and ensures constant air exchange without unwanted particle intrusion. This simple balance also protects your plants and promotes harmonious growth.
Optimizing internal circulation with fans
Even with a well-calibrated exhaust fan and intake fan, dead zones where air stagnates can persist. Adding one or two oscillating fans creates a gentle breeze that strengthens stem resistance and eliminates pockets of still air. Good internal circulation reduces the risk of mold and durably improves air quality.
Position each fan so it gently brushes the foliage rather than shaking it violently, mimicking a natural breeze. For a standard tent, a fan 20 to 30 cm in diameter is generally enough, complementing your system while maintaining ideal humidity.
Automating and adjusting extraction speeds
Managing ventilation manually can quickly become tedious, which is why automation based on temperature and humidity ensures stable, reliable operation. A thermostat or hygrostat will trigger high speed as soon as the temperature exceeds 26 degrees C or humidity crosses 70%. This automatic regulation stabilizes the climate, extends equipment lifespan, and maintains an optimal environment.
- Programmed cycle: 15 minutes of operation followed by 45 minutes off ensures a discreet, effective air exchange.
- Thermostat/Hygrostat: automatic start as soon as temperature > 28 degrees C or humidity > 70%.
- Speed controller (GSE): gradually adjusts airflow in real time without intervention.
During flowering, plant transpiration increases, so increase the extraction rate by 10 to 15% to avoid rot. Regularly check the flow with an anemometer: a drop of more than 10% may indicate a saturated carbon filter or an obstruction.
At night, reduce the system speed to limit noise and save electricity, since the lights are off and hot air production decreases. A variable-speed exhaust fan offers this flexibility without compromising the minimum air exchange.
To dig deeper into sizing an intake fan synchronized with the extraction, check out our dedicated guide. If you'd like to optimize the overall layout of your tent as well as the position of each intake fan, check out our full article on organizing your grow tent.
With all these automated systems in place, your setup automatically regulates temperature, humidity, and circulation; all you need to do is occasionally check that everything is running correctly. Your indoor growing then becomes calm and truly productive.