



































































You want to optimize the LED grow light to plant distance to finally see your crops take off? This article explains exactly how to position your LED grow light for each growth stage: seedling, vegetative, flowering.
You'll discover the exact distances to maintain, as well as the gradual adjustments needed. We'll also cover the key visual signs so you never have to improvise with your grow again.
What distance between LED grow light and plant by stage
The ideal distance between LED grow light and plants depends above all on the current growth stage of your plants. At the start, especially for seedlings, you need to stay very cautious with reduced light intensity.
Conversely, during flowering, your goal is to maximize PPFD to get compact, heavy buds. Let's look at how to manage these parameters effectively!

Recommended distance for seedlings and young plantlets
Your seedlings are fragile and need special attention from the start. The right distance between LED grow light and plants at this initial stage is usually between 60 and 75 cm for a low-power light. If your grow light is more intense, position it instead between 25 and 30 cm.
Aim for a PPFD between 100 and 150 µmol·m⁻²·s⁻¹ to protect your crops. This helps prevent accidental bleaching of delicate young leaves.
- Basic seedling stage (60-75 cm): this height works perfectly for 150-300 W lights, providing low heat and moderate light intensity.
- Close seedling stage (25-30 cm): this option is reserved for high-power equipment (600 W+), allowing a short distance without burning young seedlings.
- Target PPFD: 100-300 µmol·m⁻²·s⁻¹: keeping this gentle range supports photosynthesis without ever overloading still-young tissue.
During this crucial phase, remember to check on your seedlings every two or three days. If the first leaves (cotyledons) turn white, your light is too close and should be moved about 10 cm further away.
On the other hand, if the plant's stem stretches excessively (etiolation), gradually move the light source closer. The right distance is essential for controlling the shape of your plants from the very start.
Precise management at the seedling stage prevents early stretching that could weaken your plant's future structure. You may notice growth slowing down slightly, but that's normal - even desirable - at this point.
Optimal height during the vegetative and flowering stages
During the vegetative stage, the optimal distance by stage generally ranges between 35 and 50 cm depending on your light's power. With a 200 W LED grow light, position it around 30 cm above the plants.
For 300 W, aim for 35-45 cm instead, and stay at 45-50 cm for a 600 W light. The ideal PPFD is between 400 and 600 µmol·m⁻²·s⁻¹ to ensure vigorous leaf development.
During flowering, gradually lower your grow light to an ideal distance of 25 to 40 cm, reducing the height in small increments. Your goal then is to reach a PPFD of 800 to 1000 µmol·m⁻²·s⁻¹, without overheating the foliage.
Canopy temperature must never exceed 30°C to keep your plants healthy. Otherwise, your buds risk drying out or developing unwanted defects.
Gradual adjustments between growth stages
Always start with the maximum recommended distance, then gently reduce the height. That's the golden rule. Watch your plants closely for 48 hours before moving another 5 to 10 cm closer.
Never adjust by more than 10 cm at once, to avoid stressing your crops. Your plants need time to gradually adapt to increasing light intensity.
When moving from the vegetative stage to flowering, adjust the height by only 5 to 10 cm every few days. This moderate pace lets each plant calmly build up its tolerance to higher PPFD.
You'll quickly see the internodes shorten and the canopy visibly thicken. This is the clear sign that you're applying the optimal distance by stage and that your choices are perfectly suited!
Canopy temperature must always stay between 22 and 28°C. If it goes above 30°C, increase your recommended distance by a few centimeters or improve your ventilation system.
Recording every change in a log will greatly help you optimize your future grow cycles. This practice makes it much easier to identify your own perfect setup for each plant and each LED grow light.
Impact of power on the lamp-to-plant distance
Your equipment's light output determines the ideal lamp-to-plant distance to maintain. Indeed, installing a 150 W LED grow light doesn't follow the same rules as a 600 W model, since light intensity varies considerably. Mastering this relationship is essential for growing your crops with confidence.

Distance for 150W to 500W lights
As a general rule, a 150 W LED grow light should be placed at an average distance of 30 to 45 cm. For young seedlings, a height of 25-30 cm is ideal to support their development. During the vegetative stage, increase the distance to 45-50 cm for even coverage without risk of burning the plants.
- Seedlings (25-30 cm): this height provides gentle light intensity, with a PPFD of around 150-250 µmol·m⁻²·s⁻¹, perfect for delicate young tissue.
- Vegetative stage (45-50 cm): this distance ensures even light distribution over a small area.
- Moderate heat output: the low heat emission allows for a closer distance than with more powerful models.
- Ideal for 60×60 cm spaces: these dimensions benefit from optimal coverage and excellent PPFD uniformity.
For a light output of 300 to 500 W, slightly increase the distance, generally between 45 and 60 cm. For seedlings, keep a height of 30-35 cm, while 40-45 cm is recommended during the vegetative stage. Since these lights generate more heat and photons, respecting these distances is crucial to protect your crops. A 500 W light placed too close (for example, at 30 cm) could quickly damage the foliage.
| Power | Seedling (cm) | Vegetative (cm) | Flowering (cm) | Target flowering PPFD (µmol·m⁻²·s⁻¹) |
| 150 W | 25-30 | 45-50 | 40-45 | 600-800 |
| 300 W | 30-35 | 40-45 | 35-40 | 700-900 |
| 500 W | 35-40 | 45-55 | 40-50 | 750-950 |
Specific settings for high power 600W and above
A LED grow light above 600 W needs special attention due to its high intensity. For germination, position it very high, between 80 and 100 cm, to protect your young sprouts. Then, gradually lower it to 55-70 cm during the vegetative stage, and finally to 45-60 cm for flowering.
Above 1000 W, maintain a lamp-to-plant distance of 60 to 90 cm. This covers a large area while minimizing heat-related risks. This setup ensures an ideal PPFD at canopy level, preventing burns on every plant. With very dense COB modules, keep a distance of at least 100 cm to prevent overheating at the center of the grow space.
How to detect and correct light stress
Your plants are talking to you constantly - you just need to learn to read their signals! Scorched leaf edges, foliage losing its color, or overly thin, leggy growth are all signs that the indoor plant light distance isn't optimal. Learning to quickly spot these light stress signs lets you step in before the damage gets worse.

Identifying signs of burn and stretching
Light stress signs can appear within just a few days if your lighting is poorly positioned. Leaves with burnt, yellow, or crispy edges indicate your light is too close. On the other hand, thin, elongated stems with sparse, pale foliage point to a lack of light: it's time to move the light closer!
- Burn (light too close): leaf edges turn brown and curl up, yellowing appears between the veins, and leaves tend to curl upward.
- Stretching (lack of light): the plant produces thin, spindly stems and stretches, the space between nodes exceeds 5 cm, and leaves stay small and discolored.
- Bleaching or purple tint: the green color fades, giving way to white or purple hues, indicating an excess of blue light that requires raising the light slightly.
The "stretch" phenomenon, marked by excessively fast growth, needs special attention. If your plant grows more than 2 cm per day with internodes longer than 5 cm, act within three days: reduce the lamp-to-plant distance by 5 to 10 cm or gradually increase the intensity. Waiting could permanently weaken the structure and sturdiness of your grow.
Methods for measuring PPFD and temperature
For a quick check, the hand test is a simple, effective method: hold your hand at canopy level for 30 seconds. Mild warmth is normal, but if the heat is intense, move the light 10 cm further away right away. For more precision, the best approach is to use a device that measures PPFD in µmol·m⁻²·s⁻¹.
These readings generally confirm the light stress signs spotted with the naked eye. Aim for around 100-300 µmol for seedlings, 400-600 during the vegetative stage, and 800-1000 µmol during flowering. Also check foliage temperature with an infrared thermometer: above 30°C, increase the ideal distance by 5 cm or boost ventilation to preserve yield and quality.
Immediate corrective actions based on symptoms
Seeing burns? Move the light 10 to 15 cm further away right away and watch the plant's reaction for 48 hours. In case of burn, it's better to drastically reduce intensity rather than move the light away gradually. If new leaves develop healthily after this period, you can then gradually reduce the indoor plant light distance to return to the ideal distance.
Facing stretching caused by a lack of light, move the light 5 to 10 cm closer or increase power in steps of 10 to 15%. This correction must be gradual to avoid thermal shock. In case of excessive brightness (PPFD above 1200 µmol·m⁻²·s⁻¹) with foliage that's bleaching, move the light 10 cm further away or reduce intensity by 20% to preserve the integrity of the photosynthetic system.
Optimizing distance based on space and equipment
Every grow space has its own characteristics, whether it's a small tent or a larger room, with its own light spectrum and ventilation. To determine the ideal distance between light and plant for your setup, you need to adapt the recommendations to your own reality. It's like a recipe: the basic instructions exist, but it's up to you to adjust based on your own ingredients!
Adapting to the size of your grow tent
In a 60×60 cm tent equipped with a single LED grow light, plan for a height of 30 to 45 cm in general. This setting promotes even PPFD distribution across the whole canopy, preventing shaded areas. For a 120×120 cm space, the ideal distance is often between 30 and 40 cm, thanks to better horizontal spread. Over a 150×150 cm area, maintain 30 to 45 cm to guarantee optimal light uniformity.
- 60×60 cm: A 300 W light works well, positioned at 40-45 cm during the vegetative stage and 35-40 cm during flowering.
- 120×120 cm: Choose a 600 W model, positioned at 45-50 cm during growth and 40-45 cm during flowering.
- 150×150 cm: Using two 600 W lights or a single 1000 W light is recommended, hung at 40-50 cm.
- PPFD uniformity: Look for a variation under 15% between the center and the edges for consistent yields.
Your tent's volume directly affects the thermal management of your environment. A small 60×60 cm space heats up quickly, sometimes forcing you to move the light further away to stay under 28°C. Conversely, a large, well-ventilated tent tolerates a distance of 30 to 35 cm even at the end of the cycle. It's a constant balance between thermal management and PPFD uniformity.
Installing a pulley hanging system really improves the ergonomics of your LED grow light. This mechanism lets you adjust the distance quickly and precisely, without physical effort. Without this equipment, every change becomes tedious, often requiring you to stop and move the equipment by hand. With pulleys, adjusting the height by 5 cm takes only a few seconds, which greatly simplifies your grow optimization!
Influence of spectrum and ventilation
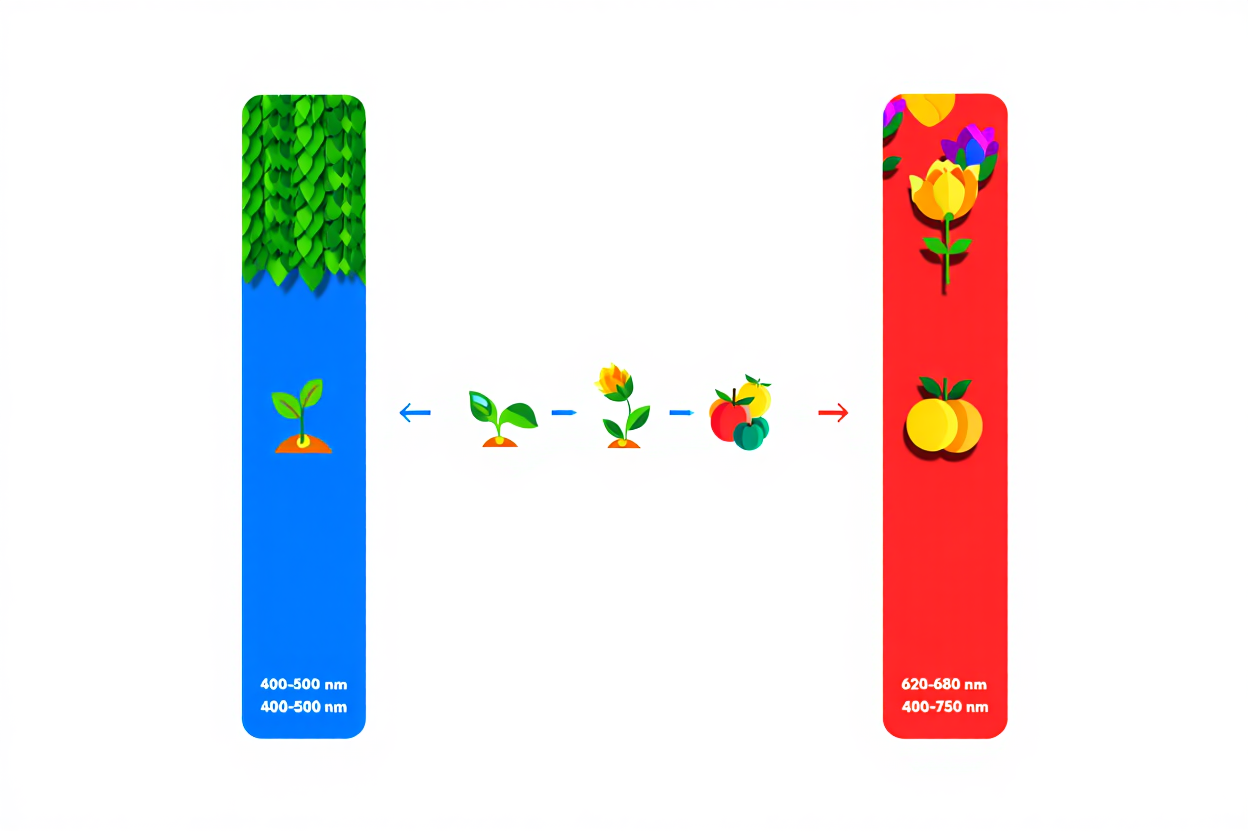
The light spectrum plays an unexpected but essential role in your plant's structural development. Light containing more than 30% blue during the growth stage naturally limits stem stretching. If your spectrum is too rich in red, stretching increases, forcing you to move the light closer to compensate. Careful: too much blue can burn the leaves if the source is too close.
- Blue-dominant spectrum (seedling/vegetative): This type of light curbs stretching and allows slightly shorter lamp-to-plant distances.
- Red-dominant spectrum (flowering): It promotes stem elongation, often requiring you to increase the distance by 5 to 10 cm as a precaution.
- Full spectrum + UV/IR: Add 5 to 10 cm to your standard settings, since biological power increases without any change in PPFD.
- Effective ventilation: Air exchange every 3 to 5 minutes lets you move the light closer, to 30-35 cm, without overheating.
Ventilation is often overlooked, even though it directly affects how high you hang your lights. Insufficient extraction creates pockets of stagnant heat, causing unwanted stretching. With good air exchange, your plants stay compact and you can position the light closer. It's a free quality gain, with no extra electricity use!
Monitoring and dynamic adjustments during the cycle
Remember to raise your light by 5 to 10 cm every two weeks to keep up with vertical growth. If your plants gain 3 cm per week, adjust the distance proportionally to keep a stable PPFD. Regularly measure the height with a tape measure and record this data for your future grows. This history will let you anticipate your needs for upcoming cycles.
When changing the photoperiod, adjust the height gradually, in steps of 5 to 10 cm over several days. This gentle transition avoids light stress that could slow development. Suddenly going from 30 to 20 cm can shock your plants, which will then take several days to adapt. To avoid any issues, you need to adjust the distance of a LED grow light based on the power and stage of the cycle: seedlings prefer 60 cm, the vegetative stage 45‑55 cm, and flowering 35‑45 cm. It's crucial to master the LED grow light to plant distance to optimize photon flow: about 45‑90 cm for young sprouts, 35‑50 cm during the vegetative stage, and 25‑45 cm during flowering depending on power (200W to 600W). Too much distance reduces PPFD, while excessive closeness risks burning the foliage. Finally, the LED grow light distance must change over time: position the source at 20-30 cm for seedlings, aim for 30-45 cm for 15 cm tall plants, reduce to 20-30 cm during full vegetative growth, and move it to 45-55 cm to protect buds during flowering, all while targeting 400-1000 µmol.