



































































Choosing the right grow light for your indoor growing makes all the difference: you optimize the use of light in your limited space, you adjust electrical power without overconsumption, and you get robust vegetative growth followed by generous flowering. This practical guide helps you select your LED grow light by comparing technologies, light spectra, and smart features.
Which Light Spectrum for Each Growth Phase
The light spectrum directly affects every indoor plant, from germination to harvest, because each color of light acts on specific plant processes. Understanding the full spectrum lets you perfectly adapt the lighting to each stage of development, improve photosynthesis, and avoid energy waste in indoor growing.
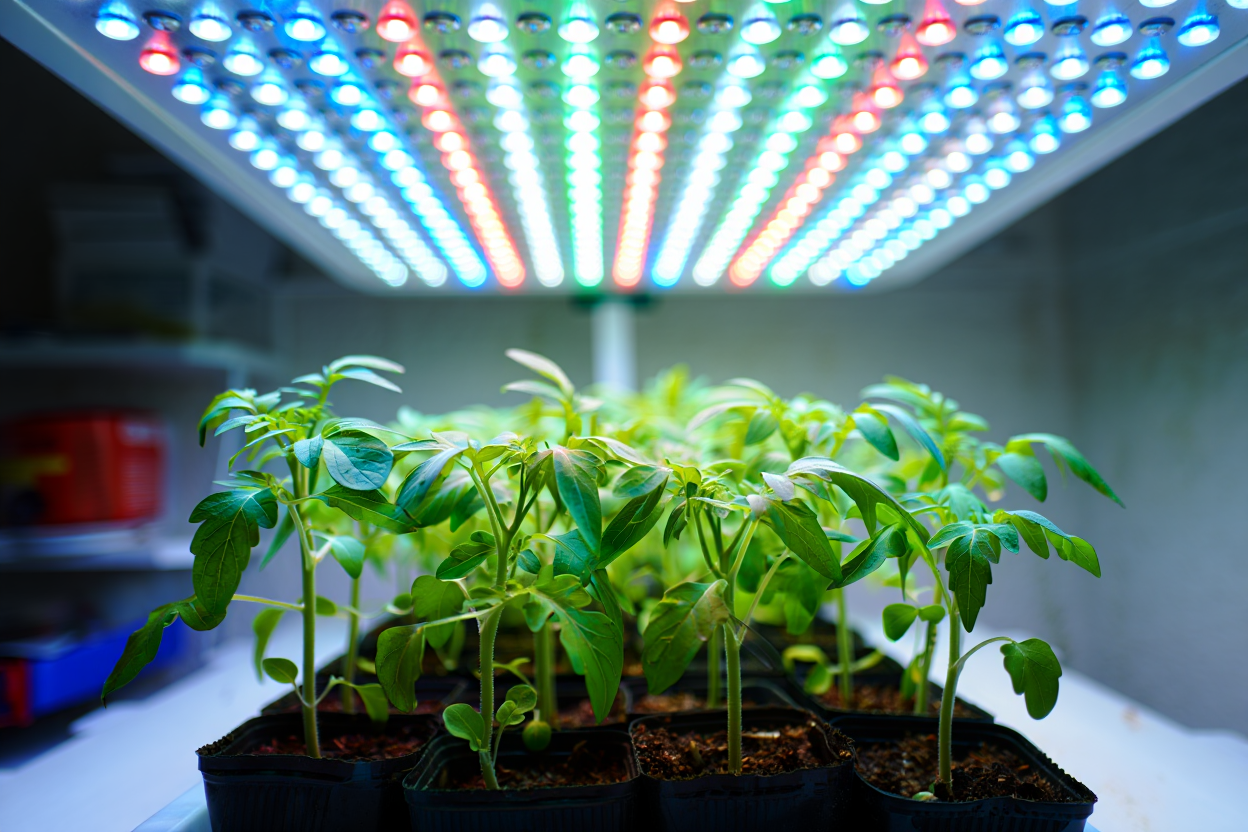
Blue-Dominant Spectrum for Vegetative Growth
For successful tomato seedlings, choose a grow light emitting a high proportion of blue (400-500 nm), representing about 30 to 40% of the total spectrum. This blue light, often paired with a 6400K color temperature, strengthens young plants' structure right from germination.
- 6400K temperature : cool white light ideal for seedlings and vigorous vegetative growth
- 70% blue / 30% red ratio : perfect balance between compactness and development
- 16-18h photoperiod : optimal lighting duration for steady growth
This blue-rich LED grow light guarantees sturdy, resilient plants, perfectly prepared for flowering.
Red-Dominant Spectrum for Intensive Flowering
During the flowering phase, switch to a mostly red spectrum (620-750 nm), representing 50 to 60% of the light. This red dominance activates flowering mechanisms, increases bud count, and improves the organoleptic qualities of your indoor plants.
Full Spectrum Suited to Tomato Seedlings
Full-spectrum lamps (400-730 nm) have the advantage of covering all the plant's needs with a single device. Adjustable models let you easily switch from blue to red, while adding UV and IR boosts the aromas of your indoor crops.
With this approach, you perfectly control light output, adapt the lighting to each stage (germination, vegetative growth, flowering), and guarantee abundant harvests all year round.
What Grow Light Wattage for My Growing Area
Your LED grow light's wattage is crucial: it determines the light intensity your plants will receive, which directly impacts their photosynthesis and growth. Properly assessing your growing area's needs helps avoid under-lighting, limit energy waste, and control your power consumption.
Calculating Wattage Based on Growing Area
To estimate grow LED power consumption, plan for between 30 and 40 LED watts per m² during vegetative growth, then 45 to 60 watts during flowering. For example:
- For a space of 0.4 m²: about 150 watts
- For 1 m²: between 400 and 600 watts depending on the desired light intensity
Add up the wattage of all your grow lights, allowing a 20% margin on your electrical circuit. This precaution protects your setup and ensures durable lighting for your plants.
| Growing Area | Vegetative Wattage | Flowering Wattage | Example Model |
| 0.4 m² | 120-160 W LED | 180-240 W LED | SpectraBULB X30 |
| 0.6 m² | 180-240 W LED | 270-360 W LED | Mars Hydro 300 W |
| 1 m² | 300-400 W LED | 450-600 W LED | GAVITA 600 W |
| 1.5 m² | 450-600 W LED | 675-900 W LED | Multi-bar M500 PRO |
Optimizing PPFD for Each Growing Phase
PPFD (measured in µmol·m⁻²·s⁻¹) represents the amount of light actually usable by your plants. Adapting it to each growing phase is essential:
- Seedlings : 100-200 µmol (gentle lighting)
- Vegetative growth : 200-300 µmol (blue spectrum)
- Flowering : 600-900 µmol (red spectrum)
Choose a lamp offering at least 2.5 µmol/J for better energy efficiency. Discover how to select the best LED grow light based on your growing area and goals.
Reducing Power Consumption with LEDs
LEDs offer 30-50% energy savings compared to HPS lamps, for comparable light intensity. Based on your growing area:
- Small spaces: 30-watt E27 bulbs
- Medium area: 130-240 watt LED bars
- Large spaces: 500-600 watt multi-bar systems
This technology ensures even lighting while optimizing your power consumption.
LED or HPS: Which Technology to Choose for Your Plants
Your choice of lighting system directly impacts your budget, your power consumption, and the temperature in your indoor grow space. Whether you choose LED or HPS grow lights will depend on several factors: the available area, your growing goals, and your experience level.
Advantages of Modern LED Grow Lights
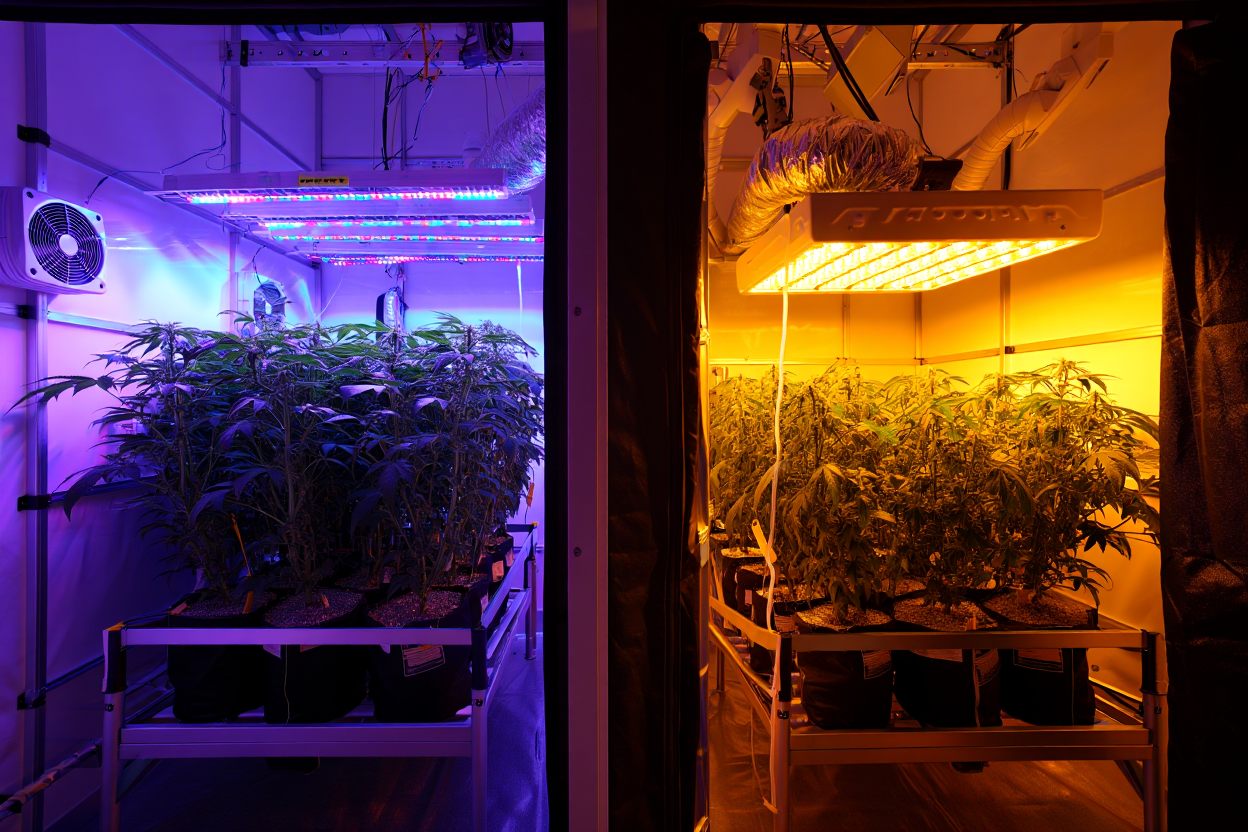
With their heat output reduced by 30 to 50% compared to HPS, LEDs let you shorten the distance between the light source and your plants. This gives you optimal light intensity without risk of burns. Do be careful with UV grow lamps, though: prolonged direct exposure without eye protection can be harmful.
- Exceptional lifespan : 50,000 hours of lighting on average, 3 to 5 times more than HPS, which quickly pays off the initial investment.
- Precise control : built-in dimmers and adjustable spectra for each growth phase, with no extra equipment.
- Energy savings : photon efficacy reaching up to 2.5 µmol·J⁻¹ for reduced wattage consumption.
High-end LEDs like the SpectraWILD M500 PRO combine automation and safety. This type of lighting particularly promotes resin production while guaranteeing optimal growing conditions.
When to Favor HPS or CFL
Despite their high heat output, HPS lamps remain essential for large operations looking to maximize their flowering yield. Their intense red spectrum effectively compacts buds, but requires rigorous temperature management in the grow space.
For seedlings or small spaces, CFLs offer an affordable lighting solution without harsh UV. While their light intensity is lower than LED and HPS technologies, they're an excellent choice for getting started before moving to a more powerful system.
Discover how to properly choose your grow light based on your technical and budget constraints, to make the best choice at every stage of your grow.
Safe Management of UV Lighting for Plants
While adding UV boosts resin production, it requires special precautions. Limit exposure to 2-4 hours a day, strictly follow the recommended distances, and always use appropriate protective eyewear.
Brands recommended by GrowLED include SANlight, HLG, and Lumatek, known for their safety, efficiency, and exceptional lifespan. These solutions guarantee stable, controlled light intensity throughout the growing cycle, from seedling to flowering.
Installing and Optimizing Your Grow Lighting
To successfully set up your grow lighting installation, it's essential to choose the right equipment and position it correctly. By following the right distances, ensuring good light distribution, and scheduling suitable cycles, you create an optimal grow space that enables strong growth and professional results
Optimal Distance Based on Lamp Type
During vegetative growth, position your LEDs between 30 and 45 cm to provide sufficient light intensity without risk of burning. During flowering, move them slightly farther to 45-60 cm to protect the leaves while maximizing photosynthesis. This lamp distance optimizes the LEDs' light efficiency and ensures lighting suited to each phase.
- 150W LED : Position at 45 cm for an intensity of 200-300 µmol·m⁻²·s⁻¹ across the entire growing area.
- 600W HPS : Place at 60-80 cm to avoid the heat caused by the high wattage.
- Adjustable hangers : Choose yo-yo systems or ratchet rope hangers to easily adjust the height.
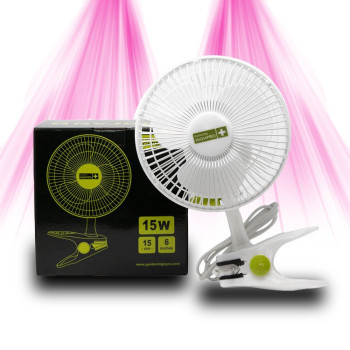
Always monitor your grow lights' temperature: LEDs generally stay under 35°C, but a fan may be needed if ambient heat exceeds 30°C. This protects germination and the vegetative phase while ensuring optimal light efficiency
Even Light Distribution in Growing
LED bars with a 120° beam angle ensure even coverage over 1 m² and reduce shaded areas. Regularly check the lamp distance with a PAR meter or an app to adjust light intensity.
Measure PPFD at different spots across your growing area to identify under-lit zones. Adjust or add panels if needed to ensure even lighting, thereby optimizing the available power and improving your yields
- Mylar reflectors : Install them on the walls to gain 15-20% light efficiency without increasing wattage consumption.
- Multi-bar setups : Spread out several panels to avoid central shaded areas.
- Setup : A 120° beam angle suits most types of growing.
- PAR measurement : Compare values at the center and edges to check the distribution.
By combining reflectors with a strategic layout, you increase your setup's light efficiency without needing more power, while supporting flowering
Scheduling Cycles for Vegetative Growth and Flowering
During vegetative growth, schedule 16-18 hours of light, then reduce to 10-12 hours during the flowering phase, keeping 6-8 hours of darkness. This rhythm supports plant metabolism and abundant flowering.
During the seedling stage, plan for 14-18 hours of gentle lighting to ensure good germination. Gradually increase the duration and intensity to prepare the young plants for stronger growth
For high-performance grow lighting, check out GrowLED's kits, including hangers, timers, and professional advice. Check out their guide to choosing the best LED grow lights in 2024 and optimizing your growing