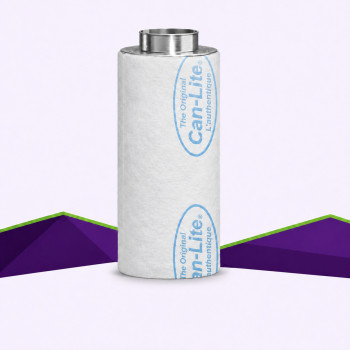
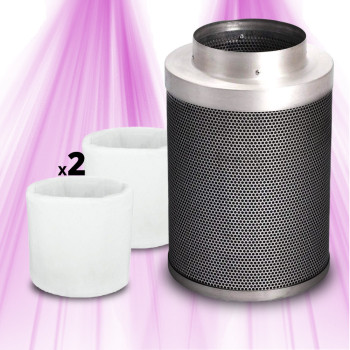
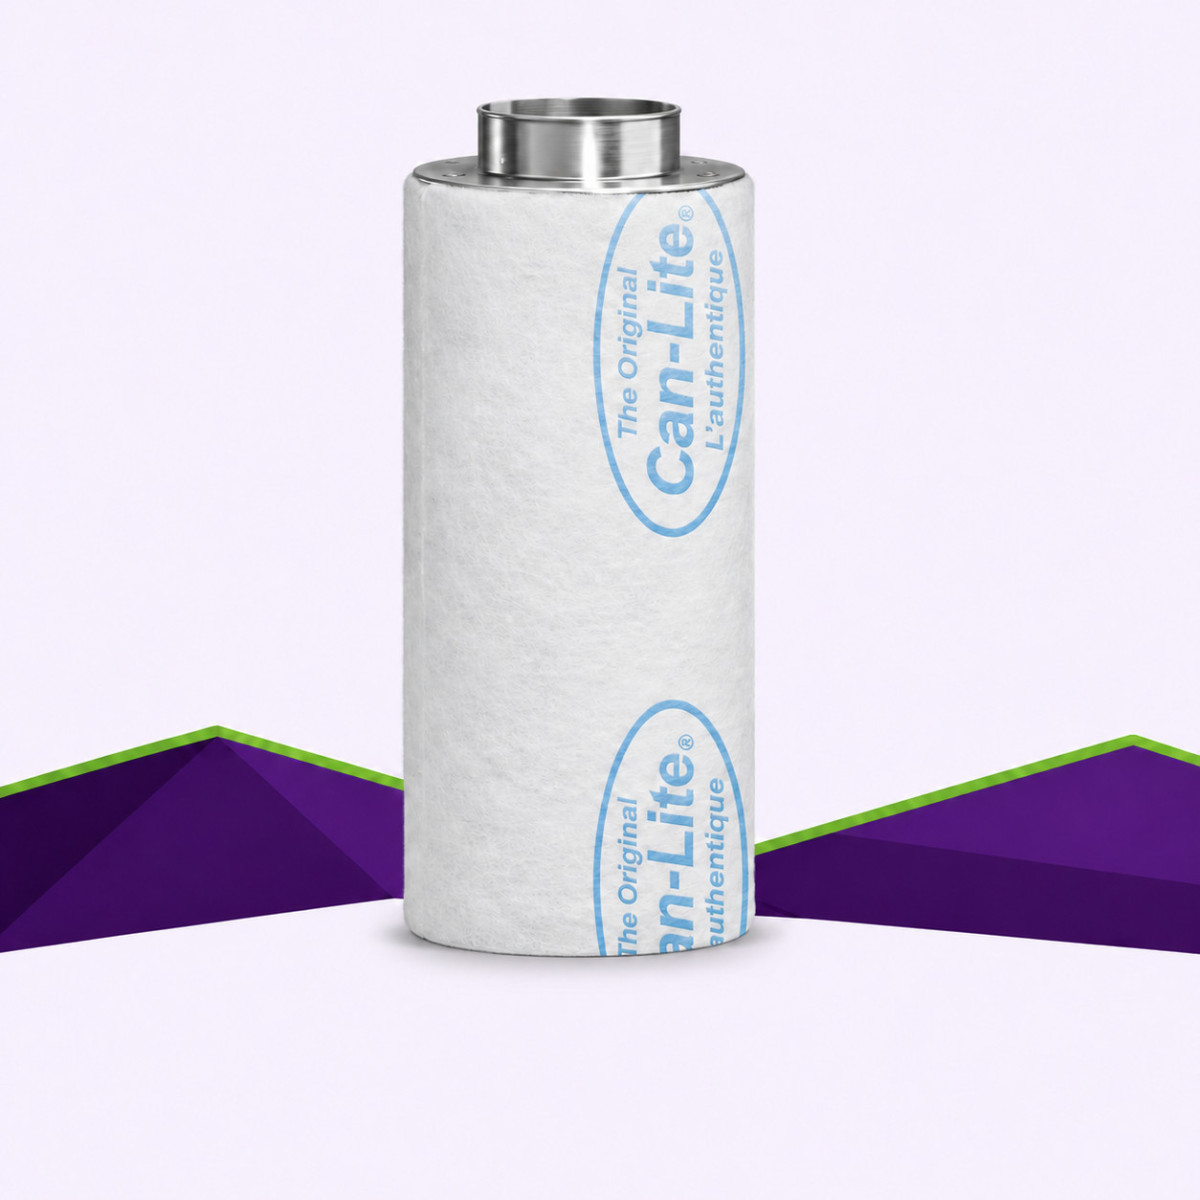
Lightweight Can-Lite activated carbon filter for extracted air. Choose the airflow and flange diameter to match your extractor: 18 configurations, from 300 to 4,500 m³/h optimal airflow.
Lightweight Can-Filters carbon
Selectable optimal airflow and flange size
Protective prefilter according to the manufacturer
indicative service life: 9–12 months, depending on use
A question about this product?
Can-Lite activated carbon filter — Can-Filters
✓
Message sent!
Our team will reply within 24 business hours. Ref:
Choose a Can-Lite filter for your extraction system
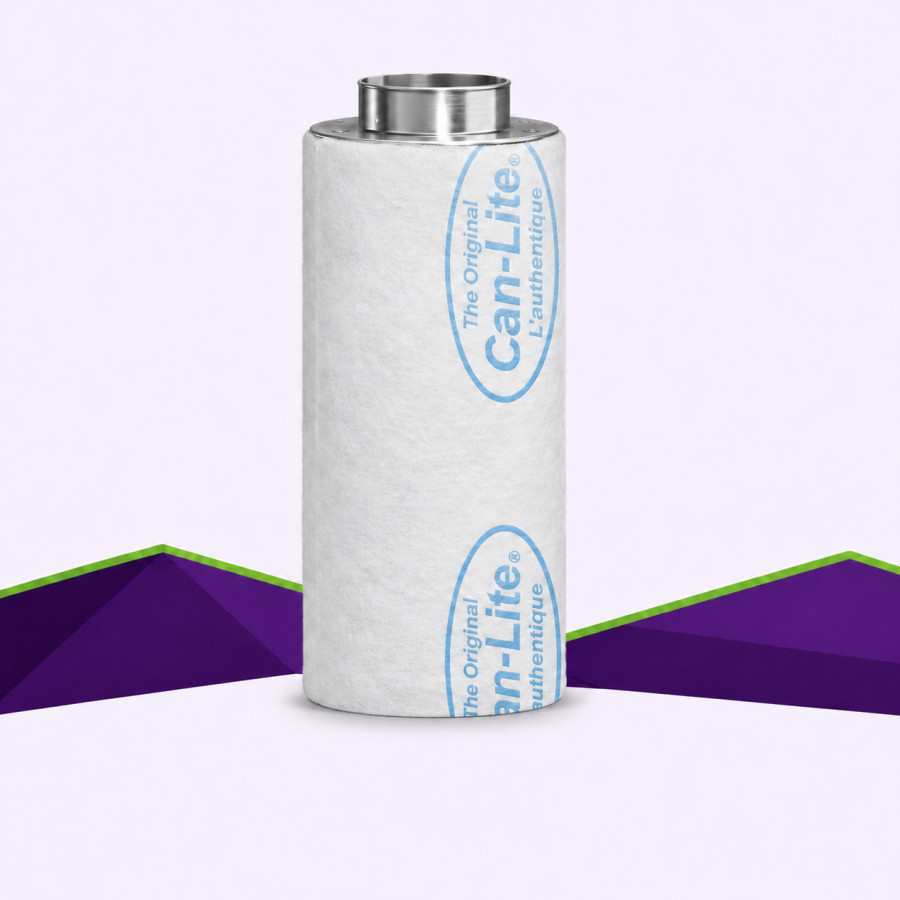
The Can-Filters Can-Lite range uses activated carbon to help reduce odours in ventilation systems. Its lightweight carbon and cylindrical body make handling easier than heavier filters of comparable capacity. This range includes 18 configurations with optimal airflow from 300 to 4,500 m³/h.
Selecting a model
Choose a practical airflow rating at least equal to the fan’s actual airflow, allowing for duct pressure losses. The maximum airflow is a technical limit, not a normal operating target.
For system sizing, see our extractor fan selection. The extractor, filter and ducting need compatible diameters; do not reduce the connection without checking pressure losses and the fan manufacturer’s guidance.
Installation and maintenance
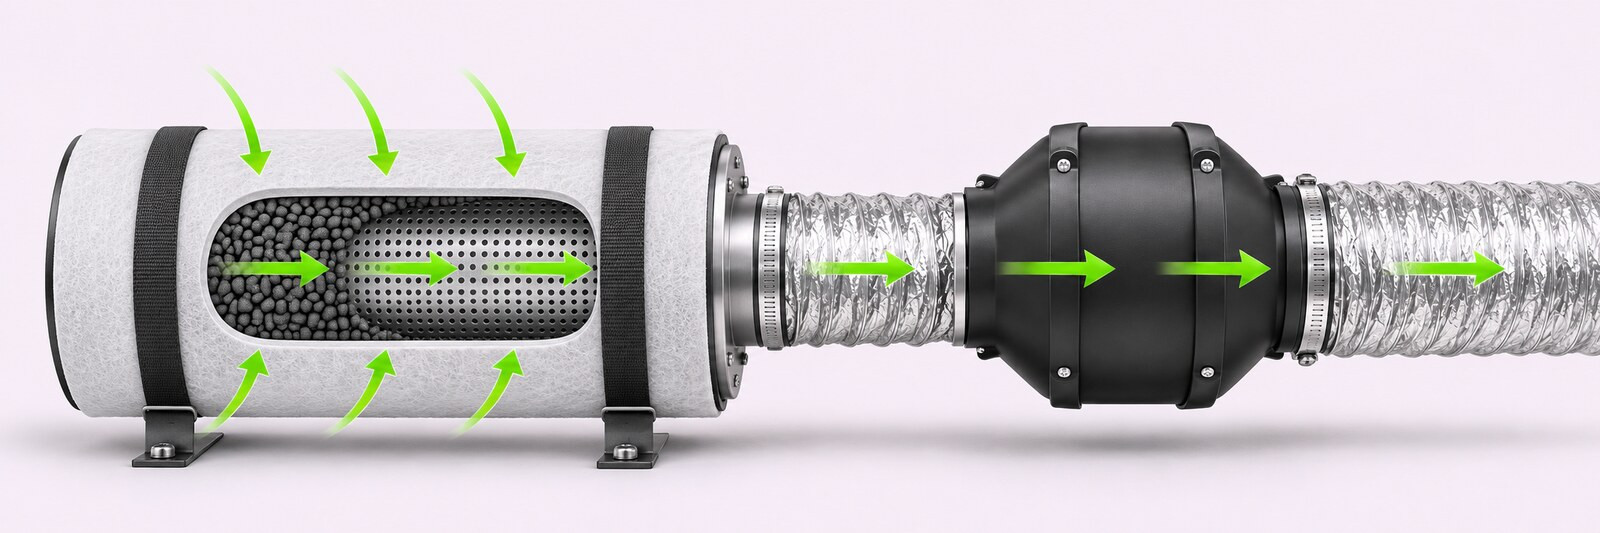
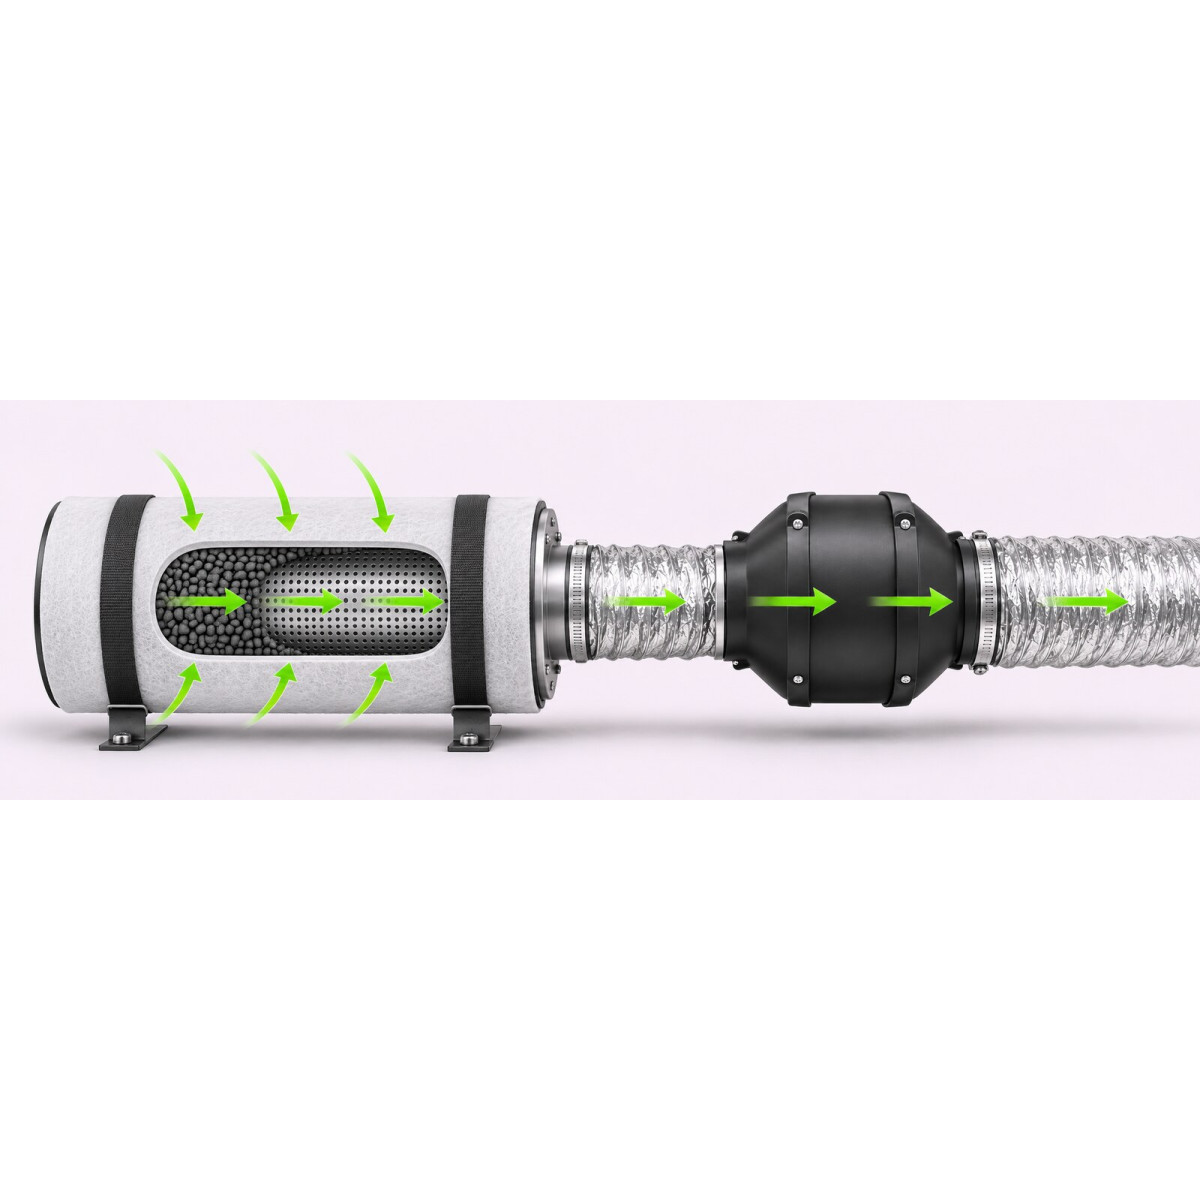
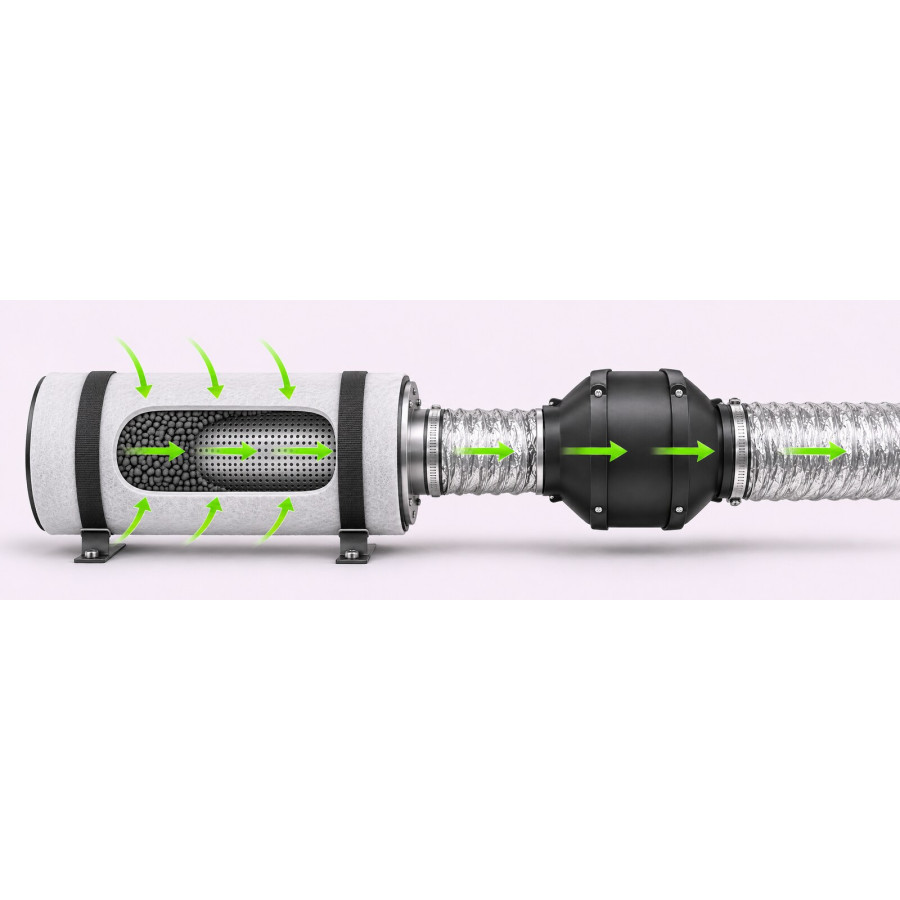
The most common setup pulls air through the filter: air first passes through the outer prefilter and carbon bed, then reaches the extractor. Typical airflow order: room air → filter → extractor inlet → outlet duct. Follow the mounting position specified for the selected variant and the airflow arrow on the fan.
Pull-through installation: step by step
Match airflow and connection size. Compare the selected filter’s optimal airflow and flange diameter with the extractor’s working airflow and the duct diameter. In an exhaust setup, actual airflow must not exceed the filter’s exhaust capacity; maximum airflow is not the preferred operating target.
Support the filter independently. Position it in the air-treatment area or just before the extractor, as the layout requires. Use suspension hardware suitable for the selected variant’s weight and the mounting structure. The fan and duct must not carry the filter’s weight. Keep the prefilter accessible for inspection.
Connect filter to extractor. Connect the filter’s integrated flange to the extractor inlet using a compatible diameter. Secure each joint with suitable clamps and make the connections airtight. A short connection without an unchecked diameter reduction helps limit pressure loss and unfiltered bypass.
Connect the outlet. Attach the extractor outlet to the exhaust duct or intended recirculation path. Avoid crushed ducting and tight bends, then check the airflow arrow on the fan.
Start and check the system. Check joints, vibration and airflow direction. Set the extractor to stay within the filter’s capacity; a leaking joint or crushed duct cannot be fixed simply by increasing fan speed.
Push-through setup: Can-Filters says its filters can also be used with air pushed through them. In that arrangement, remove the outer prefilter and place it upstream of the carbon bed, before air enters the filter. Follow the manufacturer’s instructions for this configuration.
The 300 and 425 m³/h plastic models use a removable 100/125 mm flange. Check that the required flange is available before installation.
If filtration seems less effective
First check that air is passing through the filter, connections are airtight, the fan is running in the correct direction and its airflow does not exceed the selected model’s capacity. Also check the prefilter, humidity and temperature of the air passing through the carbon.
GrowLED tip: choose a variant based on the airflow the extractor can deliver with the filter and duct installed, not only its free-air rating. Aim for the Can-Lite’s optimal airflow without exceeding its exhaust capacity. If odour persists, first check joint sealing, airflow direction, prefilter condition, humidity and airflow.
Variant comparison
Model
Flange
Optimal airflow
Maximum airflow
Outer diameter
Length
Weight
Material
300 m³/h
Ø100 mm
300 m³/h
330 m³/h
145 mm
450 mm
2.5 kg
plastic
425 m³/h
Ø100 mm
425 m³/h
476 m³/h
145 mm
600 mm
3.2 kg
plastic
600 m³/h
Ø150 mm
600 m³/h
660 m³/h
200 mm
475 mm
4 kg
steel
800 m³/h
Ø200 mm
800 m³/h
880 m³/h
300 mm
330 mm
5 kg
steel
800 m³/h
Ø160 mm
800 m³/h
880 m³/h
300 mm
330 mm
5 kg
steel
1000 m³/h
Ø250 mm
1000 m³/h
1100 m³/h
300 mm
500 mm
11 kg
steel
1000 m³/h
Ø200 mm
1000 m³/h
1100 m³/h
300 mm
500 mm
11 kg
steel
1500 m³/h
Ø250 mm
1500 m³/h
1650 m³/h
300 mm
750 mm
15.5 kg
steel
1500 m³/h
Ø200 mm
1500 m³/h
1650 m³/h
300 mm
750 mm
15.5 kg
steel
2000 m³/h
Ø250 mm
2000 m³/h
2200 m³/h
300 mm
1000 mm
19 kg
steel
2500 m³/h
Ø250 mm
2500 m³/h
2750 m³/h
350 mm
1000 mm
23 kg
steel
3000 m³/h
Ø315 mm
3000 m³/h
3300 m³/h
400 mm
1000 mm
26 kg
steel
3000 m³/h
Ø250 mm
3000 m³/h
3300 m³/h
400 mm
1000 mm
26 kg
steel
3500 m³/h
Ø355 mm
3500 m³/h
3850 m³/h
450 mm
1000 mm
33.5 kg
steel
3500 m³/h
Ø250 mm
3500 m³/h
3850 m³/h
450 mm
1000 mm
33.5 kg
steel
3500 m³/h
Ø315 mm
3500 m³/h
3850 m³/h
450 mm
1000 mm
33.5 kg
steel
4500 m³/h
Ø355 mm
4500 m³/h
4950 m³/h
500 mm
1000 mm
36.5 kg
steel
4500 m³/h
Ø315 mm
4500 m³/h
4950 m³/h
500 mm
1000 mm
36.5 kg
steel
Specifications
Optimal airflow, maximum airflow, outer diameter, length, weight and material vary by selected option. Check the selected variant’s values before connecting the system. No extractor fan or ducting is included.







































































 Can-Lite activated carbon filter —… 117,46 €