



































































Want to help your indoor plants thrive all year round? Using an LED grow light completely transforms your results, especially in winter when natural light becomes scarce. This article helps you choose the ideal LED grow light for your plants, without drowning you in overly technical details.
Which Light Spectrum to Choose for Your Indoor Plants
The light spectrum is the key to getting robust, healthy plants. Each color of light plays a specific role in your plant's development. Understanding these nuances lets you recreate an environment where your plants can truly thrive.

Understanding the Role of Blue and Red
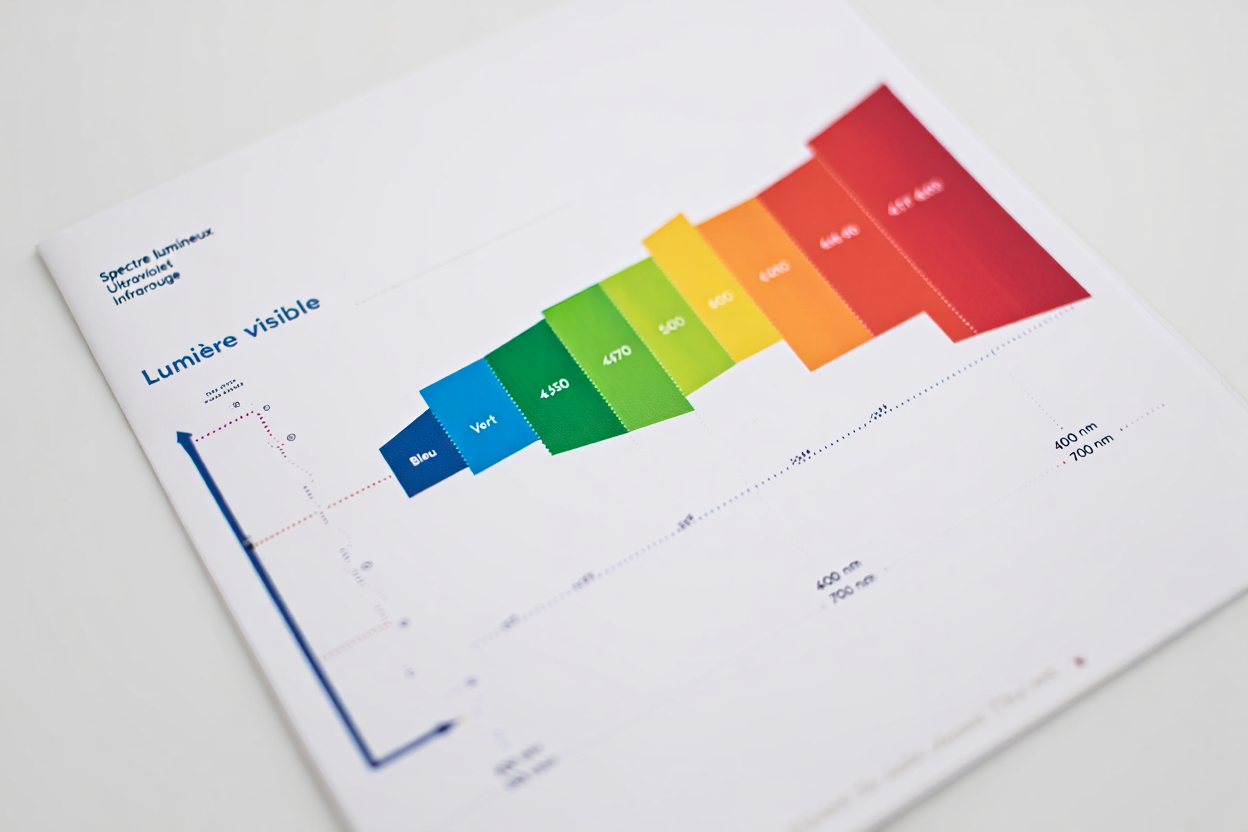
The spectrum mainly relies on two colors: blue and red. Blue light (420-460 nm) is ideal for promoting vigorous vegetative growth, with dense leaves and sturdy stems. You'll quickly notice that under the right light, the look of your indoor garden improves.
- Blue (420-460 nm): This wavelength stimulates foliage and stem development, perfect for young plants and cuttings in the growth stage.
- Red (630-660 nm): It triggers flowering and fruiting, increasing bud density and improving fruit production.
- Balanced blue/red ratio (1:1): A good balance promotes rooting while avoiding stretching or delayed flowering.
- Combined wavelengths: For optimal results, combine these two spectra according to your plant's growth stage.
Using only red would weaken your plants, while blue alone would limit flowering. By combining these two parts of the spectrum, you recreate conditions very close to natural sunlight. Your plants respond positively to this light harmony.
Benefits of Full Spectrum for Every Stage
A full-spectrum LED grow light, covering 380 nm to 730 nm, perfectly mimics sunlight. This technology lets you manage both growth and flowering without changing equipment. You can grow your pothos, calatheas, and orchids under the same light source, simply and effectively.
The full spectrum for indoor plants also includes green and yellow, colors that are often overlooked but essential. These hues penetrate deeper into the foliage, stimulating photosynthesis right at the heart of the plant. The result: more balanced growth and flowering, more vivid colors, and better yields.
UV and Infrared to Optimize Flowering
Adding UV-A (365 nm) helps the plant synthesize its own protective compounds. By strengthening its defenses, it produces more terpenes, the aromas and flavors that make all the difference. Your plants resist stress better and develop denser buds.
Infrared (730 nm) acts as an accelerator for cellular respiration and nutrient assimilation. Properly paired with the visible spectrum, it increases fruit size and boosts flower density at the end of the cycle. GrowLED offers LED grow lights incorporating these safe wavelengths, to maximize quality and yield without compromise.
Now that you've mastered the language of light, let's see together how to concretely choose your equipment. How do you select an LED grow light suited to your space for optimal results? This equipment effectively makes up for the lack of natural light in winter, guaranteeing vigorous growth for your plants all year round.
How to Choose the Right Light for Indoor Plants
Finding good lighting isn't a matter of luck, but a science that's now within everyone's reach. In just a few minutes, you'll know how to size your future grow light for indoor plants like a true expert. We're going to cover this simply, avoiding any unnecessary technical jargon.

Suitable Power and Coverage Area
Remember this fundamental rule: 300W of LED power ideally covers 1 m² for intensive growing. Light needs vary by stage: plan for 30-40 W/m² for seedlings, 50-60 W/m² during the vegetative stage, and 70-90 W/m² for abundant flowering. Today's LED grow lights offer far greater photon efficiency than older technologies like CFLs or HID.
- Seedlings and cuttings: An intensity of 30-40 W/m² with soft light is suitable, placing the light source 30-40 cm away.
- Vegetative stage: Go for 50-60 W/m² at a distance of 40-50 cm, with a blue-rich spectrum to strengthen stems.
- Intensive flowering: You need a light power of 70-90 W/m² at 50-70 cm, favoring red wavelengths.
- Decorative plants (orchids, cacti): A light intensity of 20-30 W/m² in neutral white is enough, installed at 30-45 cm.
A 200-260W model provides good lighting over 1 to 1.4 m², which is perfect for optimizing a grow shelf. These "plug-and-play" LED grow lights install easily thanks to their hanging kit, with no complexity at all. Be careful: two 600W units draw 1200W; make sure your electrical setup can handle 16A to avoid any overload.
| Light power | Coverage area | Optimal stage | Plant distance |
| 100W | 0.6 × 0.6 m (0.36 m²) | Seedling to vegetative | 30-40 cm |
| 200-260W | 1.0 × 1.0 to 1.4 × 1.4 m | Vegetative to flowering | 50-60 cm |
| 600W | 1.4 × 1.4 m and up | Intensive flowering | 60-70 cm |
| 1000W | 2.0 m² and up | Full pro growing | 70 cm+ |
Benefits of Modern LED Grow Lights
LED technology saves 60 to 70% energy compared to HID lights, significantly reducing your electricity bill. In terms of light intensity, a 100W LED rivals a 400-500W HPS. The investment quickly pays for itself thanks to light output adjustable from 25% to 100% based on the plant's actual needs.
- 50,000-hour lifespan: That's more than 5 years of continuous use, considerably cutting replacement costs.
- Low heat output: The heat given off stays below 20°C, letting you place the light source 15-20 cm away without risking burning the foliage.
- Adjustable spectrum: A simple dimmer lets you switch instantly from blue (vegetative stage) to red (flowering).
- Eco-friendly LED technology: Consumption is reduced and the carbon footprint minimized, for better energy compliance.
Compared to a classic halogen light, a 60W LED grow light can cut your annual consumption by 400 kWh. What's more, these devices are silent and stay cool to the touch, making them perfect for discreet growing in an apartment.
Recent models often feature Samsung LM301H chips, recognized as among the best on the market. They offer an excellent power-to-efficiency ratio, delivering professional results without blowing your electricity budget. It's the ideal compromise for getting started.
Timer Function and Intensity Adjustment
The built-in timer automatically manages the light cycle (for example, 3/6/9/12 hours) without you having to worry about it. Each plant thus gets its daily dose of light, ensuring perfect consistency even when you're away. You can go on vacation with total peace of mind — the system handles everything.
The dimmer (from 0 to 100%) lets you adjust light intensity right from germination to avoid stressing young seedlings. Start gently at 25%, then gradually increase every 3-4 days until reaching 100%. Your plants will appreciate this plant light that mimics the sun's gradual rise.
The success of your project depends 80% on a properly done installation. Let's discover together how to correctly position your LED grow light for optimal results, without creating any hassle for you. A successful light installation guarantees an even, high-performing distribution of light across your entire indoor growing space.
Optimal Installation and Plants' Light Needs
Every plant naturally has its own lighting requirements. ️ The key to a successful project is respecting this specific need for each plant. Let's see how to customize your setup to meet the requirements of each species.
Distance and Positioning of the Grow Light
The ideal lamp-to-plant distance varies depending on your equipment and your plant's development stage. To start, position your light source at 30-40 cm for young seedlings, then raise it to 50-70 cm during flowering. The light installation benefits from an adjustable height and a swiveling arm to eliminate shaded areas.
- Young plants and seedlings: Install the light at 30-40 cm with reduced intensity (dimmer at 25-50%) to minimize stress.
- Active vegetative stage: Increase the lighting distance to 40-50 cm and intensity to 75-100% for full coverage.
- Flowering stage: Raise the light to 50-70 cm with maximum power to optimize light absorption.
- Quick correction: Move it 5 cm closer if the plant stretches excessively, or 10 cm further away if you notice yellowing.
Thanks to LED technology, which produces very little heat, you can position the light closer without any risk of burning the foliage. Unlike older HPS lights, you avoid any overheating, even at a short distance. It's one of the main advantages of this modern technology for your plants.
Lighting Duration by Growth Stage
The alternation between light and darkness governs the health, growth, and flowering of your plant. While lighting distance is essential, the number of hours of light matters just as much. Whether for indoor plants in winter or in another season, all you need to do is adjust the exposure time.
- Germination: Go for 12 to 14 hours of soft, continuous light to encourage the start of growth.
- Vegetative stage: Switch to 16-18 hours with a blue-rich spectrum to thicken the foliage.
- Flowering: Set it precisely to 12 hours to induce flowering, favoring the red spectrum.
- Rest and dormancy: Reduce to 8-10 hours to mimic the winter conditions of certain species.
Using a timer or a programmable outlet ensures a stable photoperiod, even when you're away. An automatic timer is probably your best ally after getting your LED grow light. This consistency is fundamental to succeeding at any indoor growing.
Let's take a concrete example: three ficus plants set up in a living room under a 100W light, placed at 30 cm. With 14 hours of light daily, they'll keep glossy foliage and steady growth all year round. Plants love this stability, and you can even include herbs in the same setup by simply adjusting the cycle.
Lastly, don't forget to regularly clean your LED panels, since dust can block up to 10% of the light output. A simple wipe with a damp cloth every two or three weeks is enough to keep your grow light in perfect condition. This simple habit considerably improves the yield and health of your ornamental plants.