



































































Want to grow your indoor plants without getting lost in technical explanations? This simplified guide explains how to properly use the light spectrum of an LED grow light: where to place it, how to schedule the lighting, and what care to give your young seedlings for a successful grow, all made simple!
Choosing the Right LED Grow Light Based on Spectrum
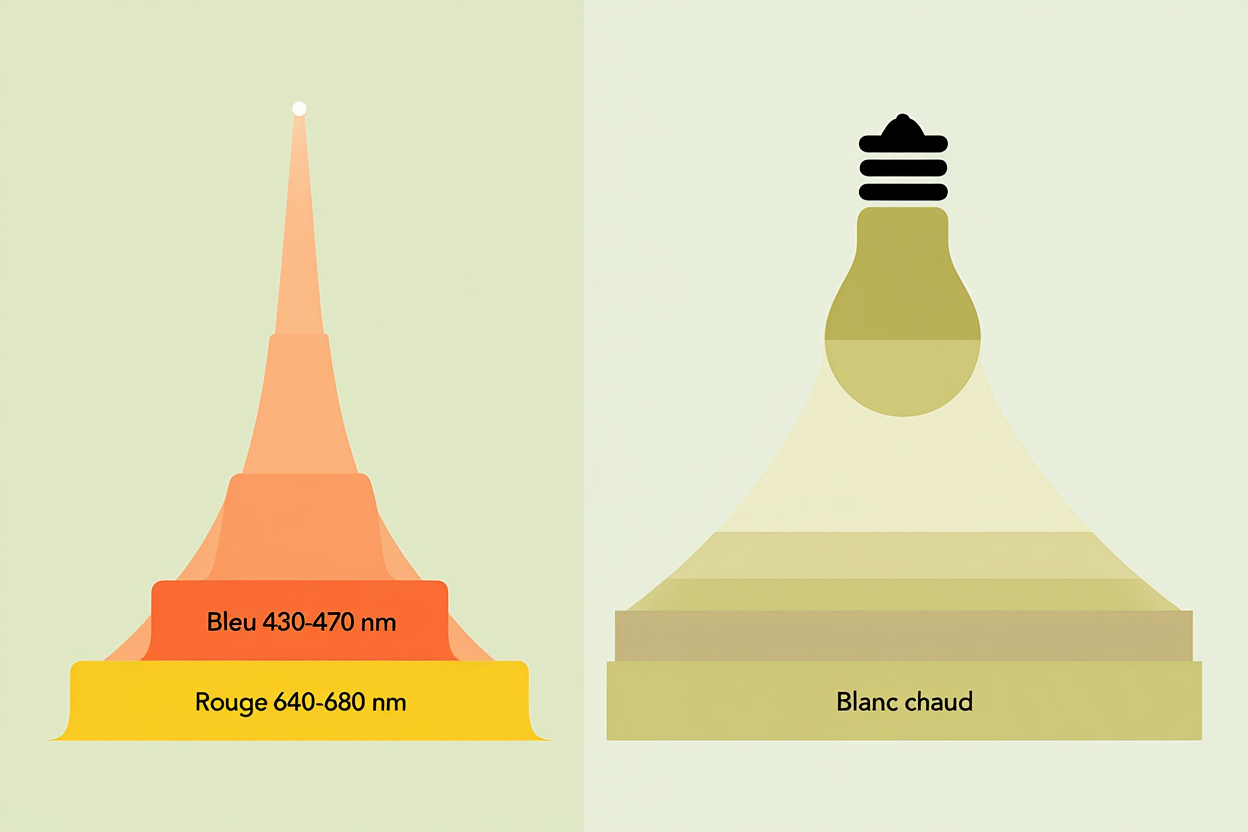
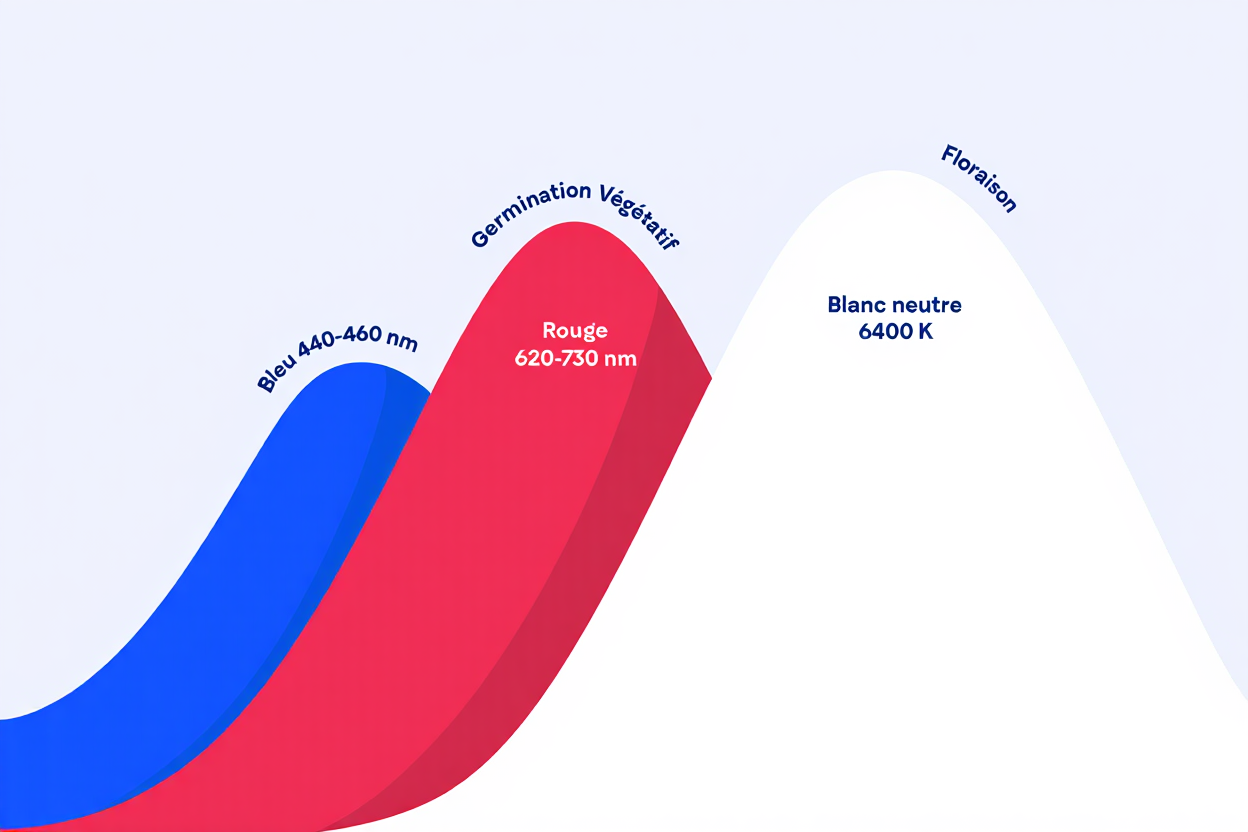
Choosing the right grow light is the first step to successful indoor growing. The light spectrum is decisive for every plant's development: blue light stimulates leaf growth, while red light triggers flowering. That's why it's smart to opt from the start for a full-spectrum model, saving you from investing in multiple light sources.

Blue Spectrum for the Vegetative Growth of Seedlings
Blue light is the perfect ally for your young seedlings, especially during the first weeks after sowing. A mix containing 70 to 80% blue, around 450 nm, ensures the development of compact, leafy, sturdy plants, with no risk of stretching due to a lack of light.
- Compact seedlings: The blue spectrum limits excessive stretching and promotes a stocky, resilient structure.
- Optimal foliage development: It produces wider leaves, offering greater surface area for photosynthesis.
- Stronger stems: It stimulates early strengthening of the plant's structure.
- Reduced stress: An appropriate dose of blue prevents yellowing and maintains a balanced metabolism.
Once four to six true leaves have appeared, it's time to gradually introduce red light to prepare for the next stage. This transition is simple if your grow LED has independently adjustable channels.
Red and Infrared Spectrum for Flowering
As soon as the plant enters the flowering stage, you need to favor a dominant red light, between 620 and 660 nm. A ratio of around 70% red, supplemented with a bit of infrared, triggers abundant, aromatic flower production while keeping stretching under control.
Infrared (>730 nm) acts on phytochromes, signaling to the plant to finalize the development of its flowers. At the end of the cycle, increasing infrared up to 25% can help densify buds and boost resin production, without generating excess heat in your grow space.
Benefits of Full-Spectrum Grow LEDs
A full-spectrum grow LED combines blue, red, green, UV, and infrared in a single device. This lets you adjust the intensity of each channel without changing the bulb, covering every stage of indoor growing.
In terms of energy, these models often use less than 30 W per square meter of area, offer a lifespan of up to 15,000 hours, and give off far less heat than a traditional HPS light. Your grow space therefore stays cooler, safer, and easier to control.
To dig deeper into the topic, check out this detailed guide on how to use grow lights: it explains how to choose intensity, set lighting duration, and position your lights to optimize photosynthesis across your entire area.
What Distance Between the Light and Your Plants
The distance between the light and the plants is crucial for every plant's health: if it's too short, the foliage risks burning; if it's too long, the stems stretch out and lose vigor. An adjustable mount and the reference points below will let you master this essential variable, without sacrificing either light intensity or ventilation efficiency in your grow space.

Optimal Positioning for Seedlings and Young Plants
For seedlings, a distance of 20 to 30 cm between the light and the growing medium suits most setups. You can also opt for the "close start" method: place the grow LED at 5 to 10 cm, then gradually move it 2 cm further away each week while watching how the young seedlings respond. An adjustable rail or chains make these adjustments easier without having to handle the light at every stage.
Investing in a stable mount — tripod, chain, or rail — lets you easily adjust the height of the light. This small investment promotes natural development, limits mechanical stress on fragile seedlings, and saves you from constantly having to change the distance between the light and the plants.
| Growth stage | Recommended height (cm) | Light type | Notes |
| Seedling (germination) | 20–30 | LED or T5 | Can start at 5–10 cm then gradually increase |
| Young plants (10–15 cm) | 30–45 | LED | Adjust based on light intensity and stress signs |
| Growing plants (30–40 cm) | 20–30 | LED grow light | Reduce distance to maintain suitable intensity |
| Late flowering | 45–55 | LED or HPS | Move slightly further away if bud density becomes critical |
Regularly check the foliage: yellowing, curling, or abnormal bending are signs of light stress. In that case, promptly increase the light distance or lower the power to relieve the plant and protect its development.
Adjusting Distance by Growth Stage
As the plant grows, you need to gradually bring the light closer to offset the drop in PPFD caused by the inverse-square law. For example, for a 10–15 cm plant, keep a distance of 30–45 cm. Once it reaches 30–40 cm, reduce to 20–30 cm to preserve light intensity. During the flowering stage, move the source slightly further away — around 45–55 cm — to limit stress while still providing enough energy to the buds.
These settings ensure a balance between compact growth, optimal light supply, and heat control. Always note the light-to-plant distance used at each stage so you can quickly identify the most effective settings.
Measuring PPFD Light Intensity to Optimize Results
PPFD (photosynthetic photon flux density) measures the number of useful photons reaching the canopy, expressed in µmol·m⁻²·s⁻¹. A PAR sensor, while an investment, gives a precise measurement and avoids guesswork. Without a sensor, adjust the distance and power by watching the leaves' posture and the temperature at the top of the plant; above 30 °C, increase the distance or improve the ventilation.
Some benchmarks: aim for 100–150 µmol·m⁻²·s⁻¹ for seedlings, 300–600 µmol·m⁻²·s⁻¹ during the vegetative stage, then go up to 600–900 µmol·m⁻²·s⁻¹ during flowering to maximize yield. To go further on adjusting spectrum, duration, and light intensity, check out this complementary guide on using grow lights.
Lighting Duration and Scheduling Light Cycles
The number of hours of light directly influences each plant's behavior and determines its proper development. A well-set light cycle creates a stable environment where growth and then flowering happen without stress or surprises.

Recommended Cycles for Seedlings and the Vegetative Stage
For seedlings, the ideal lighting duration is between 14 and 18 hours a day, with the common value of 16 hours offering the best trade-off between fast growth and energy consumption. An 18-hour cycle can speed up the emergence stage, but 16 hours remains the sweet spot for keeping the electricity bill down while maintaining good light power.
- Fragile seedlings (0–1 week): plan for 16 to 18 hours of daily light at around 30% power, then increase by about 10% per day for three days to avoid light shock.
- Gradual acclimation: remove the germination dome for four hours a day at first, then extend the airing time until full exposure after one to two weeks.
- Introducing the red spectrum: as soon as four to six true leaves appear, gradually add red using your grow light's dimmable channels.
- No 24/7 lighting: darkness, lasting between six and ten hours depending on the stage, remains essential so the plant can breathe and metabolize nutrients.
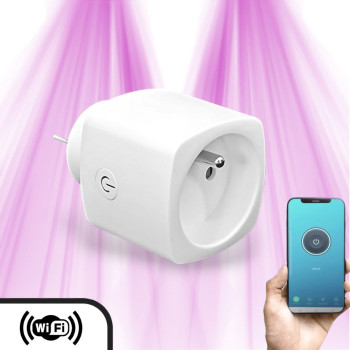
During the vegetative stage after germination, you can move up to 18 or even 22 hours of daily light to boost foliage, since leaves are the plant's energy "factories." So install a reliable timer or a smart home system to guarantee a consistent photoperiod; consistency promotes healthy development.
Choose a timer with a dimming function to simulate sunrise and sunset: a gradual rise and fall in power reduces stress and ensures natural lighting transitions.
Switching to Flowering: Adjusting the Photoperiod
To trigger flowering in photoperiodic species grown indoors, set the photoperiod to 12 hours of light and 12 hours of darkness, the reference value for most plants. Some varieties tolerate 10 to 14 hours, but the classic 12/12 guarantees enough energy without exhaustion.
During flowering, the 12-hour night period remains crucial, since it's in the dark that the plant produces flowering hormones and firms up its buds. In the last weeks before harvest, slightly increase the infrared on your LED grow light — up to about 25% of the spectrum — to densify the flowers and intensify the colors, while keeping a stable lighting duration thanks to a precise timer.
Installing and Maintaining Your Indoor Lighting System
A well-designed grow light setup is half the battle for successful indoor growing. Even the best grow light quickly loses efficiency if the grow space is poorly arranged. It's therefore essential to optimize every photon and pay attention to the details.
Optimizing the Grow Space with Reflectors and Ventilation
Turn your grow space into a small, economical lab by surrounding your grow light with reflective walls, such as Mylar or aluminum foil. This type of lining bounces back up to 95% of useful light and can improve efficiency by 20 to 30% with no increase in electricity consumption.
- Optimized reflectors: very glossy surfaces even out the lighting and eliminate shaded areas that would harm the plant.
- Staggered layout: install LED bars offset from each other; two bars spaced about 20 cm apart cover 0.4 m² without creating a hot spot.
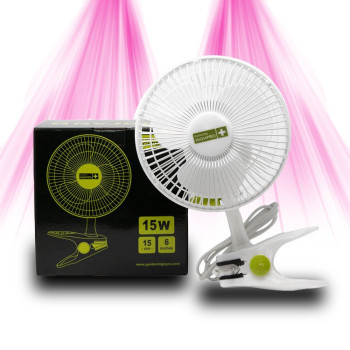
- Continuous ventilation: even though LEDs give off little heat, a constant airflow is needed to prevent stagnation, mold, and pests.
For a small 40 × 40 cm area, two 80–150W LED bars, hung at a distance of 20-25 cm, are enough. For a 100 × 100 cm space, plan for 300 to 500W installed at 30-35 cm. Beyond that, add more light sources and distribute them methodically so every plant gets uniform lighting.
Managing Temperature and Humidity
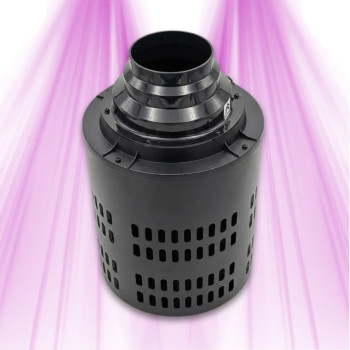
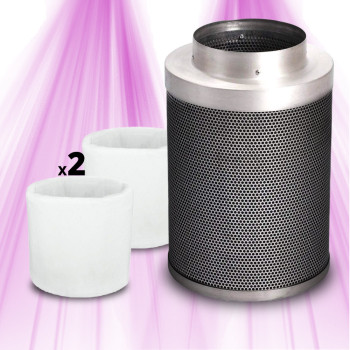
Ventilation isn't optional; it ensures your indoor grow breathes properly and stays healthy. Plan for an airflow of around 1 CFM per watt of LED. Keep the temperature between 22 and 26 °C and make sure the canopy never exceeds 30 °C.
- Balanced relative humidity: aim for 45 to 65% depending on the growth stage; air that's too dry damages leaves, while excess humidity promotes rot.
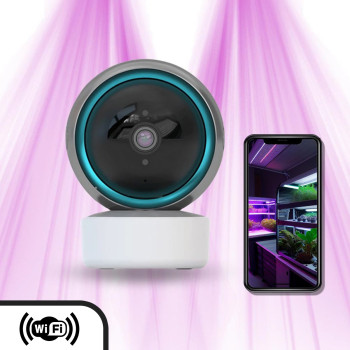
- Smart sensors: connect a hygrometer and thermometer to the lighting controller to automatically reduce intensity in case of a deviation.
- Hands-on monitoring: regularly touch the leaves; if they're warm, promptly increase the distance or boost the ventilation.
If the canopy exceeds 30 °C, move the source 5 to 10 cm further away, reduce the intensity, or speed up the ventilation. Check your plants daily; these constant adjustments protect flowering and maintain a stable microclimate.
Regular Maintenance for Optimal Performance
Regular cleaning, though simple, is too often neglected even though it's essential. A thin layer of dust on the lenses or reflectors can reduce light output by up to 15%. Wipe them with a soft, dry cloth every month to keep your lighting at its best.
Rotate your pots every two weeks to even out light exposure and prevent one side from staying in the shade. A well-lit plant develops vigorous growth and compact flowering. At the young seedling stage, lightly mist the growing medium; afterward, only water once the top three millimeters of soil are dry.
Watch for signs of stress — stretching, burns, yellowing — and immediately adjust the distance, intensity, and lighting duration. Replace LED modules after around 15,000 hours, since their light output gradually declines, which reduces yields.
For multiple species, choose a full spectrum and adjust the intensity rather than multiplying conflicting light sources. This approach simplifies the grow light setup, saves many hours of adjustment, and ensures every plant gets the energy it needs throughout the length of the cycle.