



































































Do you want to know the ideal distance to keep between your seedlings and your LED grow lights to stop them from stretching or burning? This practical guide explains how to find the right lighting height, adjust light intensity, read the signs your plants are giving you, and get the most out of SpectraLINE BloomLED bars for indoor growing.
Ideal grow light distance for seedlings
The gap between your plants and the LED lighting is crucial: position your grow lights between 15 and 30 cm above the seedlings for an optimal distance. With SpectraLINE BloomLED LED bars, this distance is easy to maintain: their passive cooling and full horticultural spectrum let you work close to young plants while limiting heat, much more comfortably than with a standard fluorescent tube.
What height for soft light
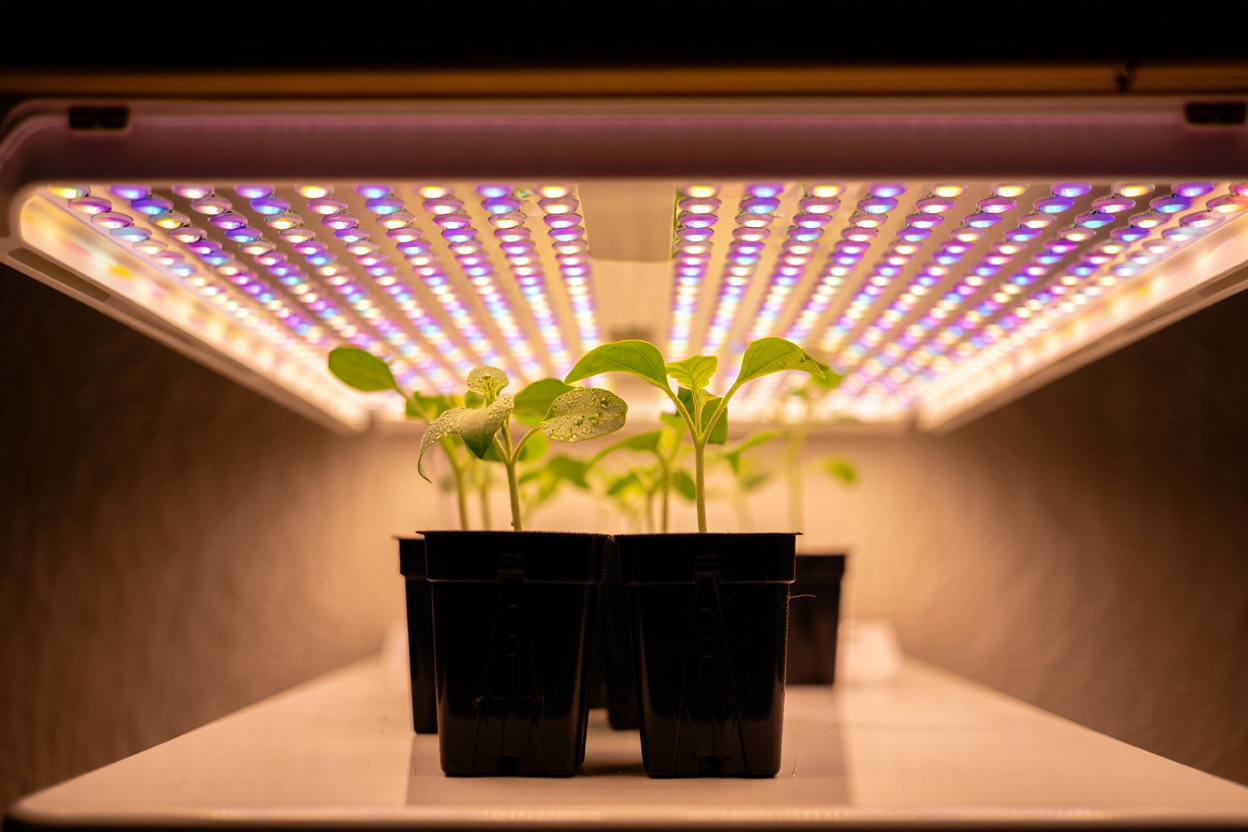
During germination, keep a lamp-to-seedling distance of 30 to 45 cm for even, non-aggressive lighting. This height prevents light stress, keeps the cotyledons healthy and promotes even emergence.
Adjusting without burning growth
Once the first true leaves appear, gradually bring the lamp closer, to between 15 and 25 cm, aiming for a seedling PPFD of 150-200 µmol·m⁻²·s⁻¹. This gradual approach avoids burns while densifying growth.
- Germination (0-3 days): 30-60 cm - a gentle light intensity protects the substrate and young shoots
- Seedlings (2-3 leaves): 20-30 cm - gradually increase the PPFD to strengthen the stems
- Early growth (2-3 weeks): 15-30 cm - adjust based on the plants' vigor and their reaction
Readjust the distance by 2-5 cm every 3-5 days to gradually accustom your plants to the increasing intensity. This method lets you react quickly if your seedlings show signs of light stress.
Target 150-200 µmol to start
With a 150W lamp, position it at 25-30 cm; for a 300W model, keep 30-45 cm to reach the ideal PPFD. This appropriate distance in your LED grow avoids leaf bleaching while maintaining a suitable temperature.
The optimal DLI (Daily Light Integral) is between 12 and 16 mol·m⁻²·day⁻¹. To achieve this, combine an appropriate distance with a photoperiod of 16-18 hours. If you don't have a PAR sensor, do the hand test: if the heat becomes uncomfortable after 20 seconds, move the lamp a few centimeters further away immediately.
Light settings and LED growing
The effectiveness of grow lights depends on three key factors: their actual power, the beam angle and the quality of the driver. Mastering these elements lets you achieve the optimal lighting distance, avoid overheating spots and ensure even light coverage, even in a compact space such as an 80 x 80 cm tent.
Power, beam and hanging height
The hanging height of LED grow lights for plants must always be adjusted according to the panel's power draw. Here are some general benchmarks:
- 150 W: keep at a height of 25-30 cm
- 300 W: set between 25-45 cm
- 480 W: plan for 30-60 cm
- 600 W and above: install at 50-80 cm to avoid heat stress
LED panels fitted with lenses keep a high light intensity up to 70-80 cm, while a wide angle offers better uniformity at short distance. Always refer to the PPFD and lux measurements provided by the manufacturer to optimize the height in your grow setup.
Uniformity and coverage without hot spots
In an 80 x 80 cm space, positioning the lamp at 45-60 cm gives an ideal distribution of PPFD. This setup reduces shaded areas, prevents stretching and promotes steady growth thanks to even lighting across the whole surface.
In a multi-lamp setup, space each panel or LED bar 15 to 30 cm apart. For example:
- A SpectraLINE V2 60 cm bar effectively lights a tray of about 80 x 30 cm for seedlings and cuttings
- Several SpectraLINE bars aligned and spaced 15 to 30 cm apart make it possible to cover larger surfaces without troublesome intensity variations
Dimming to protect growth
If your system is dimmable:
- Keep a height of 30-45 cm during germination
- Reduce intensity to 25-50% to limit heat and protect young shoots
Lowering the power by 20% often lets you increase the height by 15% with no noticeable loss of brightness. For example, with a 150 W panel:
- Start at 30 cm with 35% power
- Gradually increase to 55 cm and 60% depending on foliage development
This gradual method optimizes the LED-to-plant distance throughout the growing cycle.
LED grow lights for seedlings
Specially designed for germination and seedlings, SpectraLINE BloomLED bars offer a light intensity perfectly suited to young plants. Their full-spectrum light, aluminum chassis and silent operation let you bring the lighting closer while avoiding the risk of burns, for excellent PPFD across the grow area.
Recommended positions for dedicated products
A SpectraLINE V2 bar is designed to be used at around 20 to 30 cm from young shoots over an area of about 80 x 30 cm. At 20 cm, you encourage compact growth with short internodes; at 30 cm, the light is softer, ideal for plants that are already established or sensitive.
For more delicate crops such as microgreens or certain herbs, gradually adjust the lighting distance and photoperiod. By combining several SpectraLINE bars above a tray, you get balanced, even white light across about 0.5 m², provided you keep a working distance generally between 30 and 60 cm.
Starting power and distance
Thanks to their passive cooling, SpectraLINE bars can be placed relatively close to seedlings without excess heat. The recommended distance varies depending on the development stage:
- 20 cm: for plants already established and in full vegetative development
- 25-30 cm: to keep the germination phase and fragile seedlings safe
Their sealed design and aluminum chassis allow closer placement than with a standard fluorescent tube, while keeping the temperature under control.
- If you're using several SpectraLINE bars, start with a distance of 30-40 cm above the seedlings
- Then bring them closer to 20-30 cm once the first leaves appear, watching for any bleaching or burns
Measuring and validating growth
We recommend checking light intensity every 48h with a PAR sensor when possible, since every day of growth changes the optimal distance. This practice effectively prevents any light stress.
Example for basil under a SpectraLINE V2 bar:
- 20 cm for the first 5 days after emergence, over a row of evenly spaced seedlings
- 25-30 cm once the second set of leaves appears if the plants become very dense
The table below gives approximate PPFD values for an LED bar dedicated to seedlings. The values can vary depending on the bar's power (including within the SpectraLINE range), but they remain good benchmarks for adjusting your distance.
| Distance (cm) | Approximate PPFD (µmol·m⁻²·s⁻¹) | Recommended stage |
| 30 cm | ≈ 250 µmol | Germination, fragile seedlings |
| 45 cm | ≈ 180 µmol | Early growth (2-3 leaves) |
| 60 cm | ≈ 120 µmol | Microgreens, very young seedlings |
Reading the light and the growth
To ensure your indoor plants develop properly, learn to decode their visual language. Leaf color, stem vigor and foliage density are all indicators that tell you whether your LED lighting is well matched. By paying attention to them, you can precisely adjust the height of your lamps without any technical equipment.
Recognizing seedling stress
When young plants lack light, they develop abnormal growth that gardeners call stretching. The stems elongate excessively, become weak and pale, while the leaves stay small and spaced out. These signs of light stress clearly indicate that you should either reduce the distance between the lamp and the plants (by 5 to 10 cm), or slightly increase the light intensity to restore optimal photosynthesis.
Conversely, too much light causes photobleaching: the first leaves (cotyledons) and young shoots turn yellow or white. In that case, immediately move your light source 5 to 10 cm further away or reduce its intensity by 10 to 15% to protect these fragile plants in their early growth stage.
- Leaves with burnt, curling edges: a sign that the light is too concentrated. Move the lamp 5 to 10 cm further away and check the airflow around your grow setup.
- Potting soil that dries out too quickly: the lighting is probably too powerful near the substrate. Raise the lamp and maintain a humidity of 60 to 70% for successful germination.
- Dense, deep-green foliage: everything's fine! Your current setup is ideal; just keep monitoring the growth height every day.
- Sturdy plants with short internodes: proof that the light intensity is perfectly dialed in for the vegetative stage. Keep these settings until the next development stage.
For precise adjustments, always change the height of your lamps in small steps (2 to 5 cm at most) and carefully observe how the plants react over the next two to three days. This gradual approach avoids shocks that could disrupt their photosynthetic metabolism, which is particularly sensitive early in growth.
Targeting PPFD and DLI without overdoing it
During the first few days, keep a PPFD (photosynthetic light intensity) between 150 and 200 µmol·m⁻²·s⁻¹, ideal for most seedlings. After two to three weeks, you can slightly increase this parameter:
- 200 to 300 µmol for demanding plants (tomatoes, peppers...)
- 100 to 150 µmol is enough for lettuces or microgreens throughout their indoor growth
Without specialized equipment, a simple lux meter can help you estimate these values. Be careful, however: the conversion between lux and PPFD varies depending on your lamp's light spectrum:
- White LED: 1 lux ≈ 0.015 µmol·m⁻²·s⁻¹
- Red-blue LED: 1 lux ≈ 0.005 µmol·m⁻²·s⁻¹
To optimize your future growing cycles, always note down precisely: light intensity (PPFD), lux readings, power used and ambient temperature. This data will let you reproduce the ideal conditions without risking overexposing your plants. With SpectraLINE BloomLED bars placed at the right height, these goals are easy to reach over an area of about 80 x 30 cm.
Practical questions in LED growing
If you're growing indoors with LED panels, you've probably already wondered what distance to use for your lamp or how many watts to plan per square meter. Let's go over these frequent questions, drawing on our experience and feedback from the GrowLED community.
400-600 W power levels and distances
For a 600W LED lamp, the ideal distance is generally between 50-70 cm during the vegetative stage and 50-80 cm during flowering. This distance gives a PPFD of around 300-500 µmol·m⁻²·s⁻¹ without risk of burning.
- 400W lamp during the vegetative stage: place it between 45-60 cm and adjust to get 250-400 µmol·m⁻²·s⁻¹.
- Low-power "600W-equivalent" LED panels: if the actual power draw is under 100W, bring the lamp closer to 20-30 cm to compensate for the lack of intensity.
- LEDs with focusing lenses: a distance of 70-80 cm is enough thanks to their more focused light beam.
- High-performance passive modules: at 30 cm, plan for a stronger extraction system to remove the extra 2-4°C.
High-end LED grow panels offer better energy efficiency (expressed in µmol/J). They can therefore stay further away while providing the same light intensity as an entry-level model. Be careful: a lux meter gives an approximate idea, but only a measurement in µmol·m⁻²·s⁻¹ lets you precisely assess the light useful for photosynthesis.
Coverage, m² and light uniformity
The question of "how many LEDs per m²" depends above all on the desired PPFD:
- For 150-200 µmol over 0.5-0.6 m², plan for 120-200 W with an efficiency > 2.5 µmol/J during the seedling stage
- During flowering, plan for a higher light intensity
Over a surface > 1 m², it's better to multiply the light sources (50-70 cm height) rather than use a single very powerful light source. For example, two 200-300 W panels spaced 30-40 cm apart evenly cover a 1 m x 1 m surface.
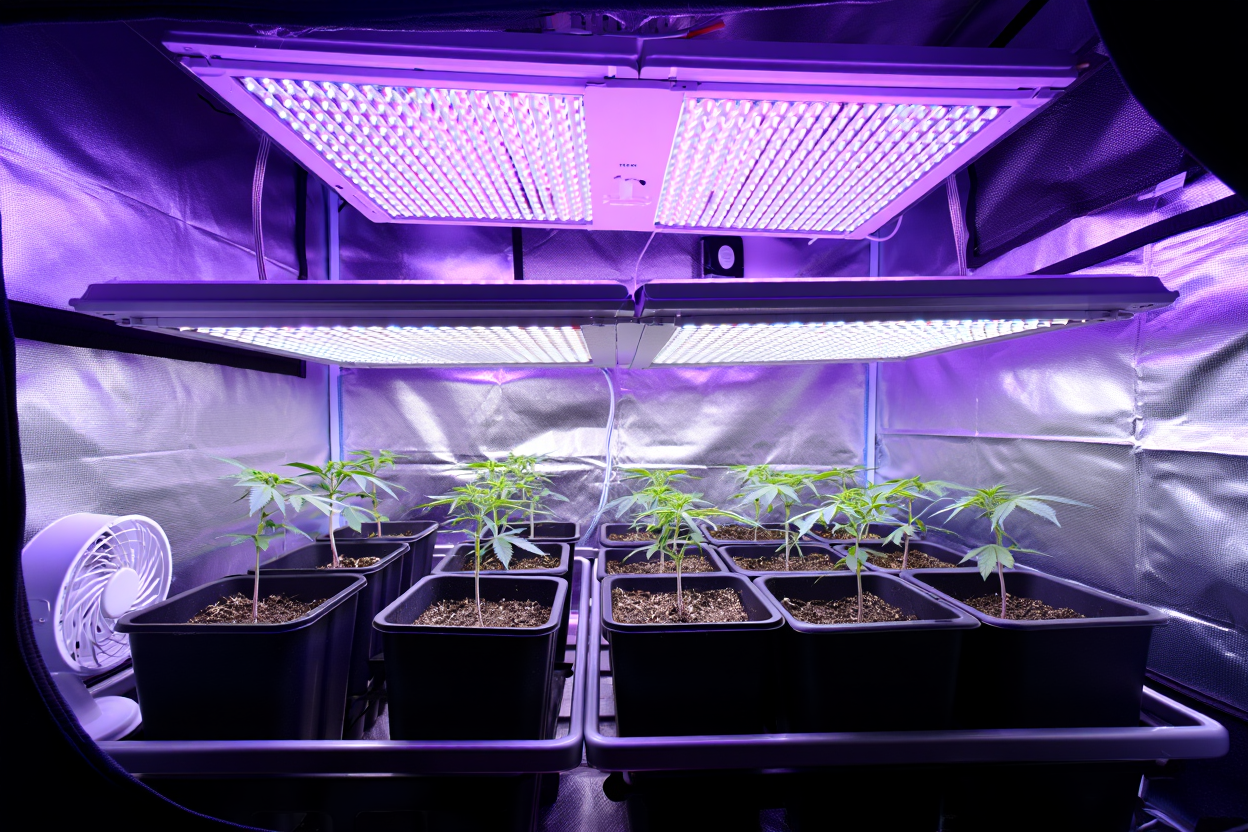
In an 80 x 80 cm tent, a multi-bar system of about 120 W placed at 45 cm ensures even coverage over 0.6 m² during the vegetative stage. To increase the lit surface, add a second module rather than bringing the first one closer: you'll get a better distribution of light during flowering.
SCROG and heat management during the vegetative stage
In a SCROG setup, keep 30-40 cm between the LEDs and the net so the light can properly penetrate the canopy. This distance ensures a uniform light intensity across the whole canopy mat.
If leaf temperature exceeds 28-30°C:
- Raise the lamp by 5-10 cm
- Strengthen your extraction system
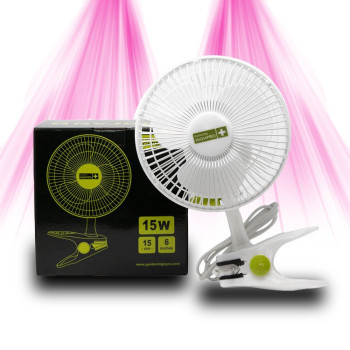
- Add a small fan 20 cm from the edge of the LED panel
This airflow helps maintain ideal humidity (60-70%) and promotes vigorous growth.
Links and settings for growth
To succeed with your indoor crops, effective LED lighting and precise settings are essential. Here are proven horticultural tips for optimal growth right from the start with SpectraLINE BloomLED bars.
Concrete examples and grow products
SpectraLINE V2 BloomLED bars are a simple, effective solution for beginners and experienced growers alike. Available in 30, 60, 90 and 120 cm, they come with mounts and a fixing kit, and are designed to operate at a distance of about 20 to 30 cm above the seedlings. The key is to adjust the distance to maintain a comfortable, even light intensity. Discover the full SpectraLINE range for seedlings, cuttings and young plants.
- SpectraLINE at ~20 cm: ideal for basil, tomatoes and peppers in full growth, with sturdy stems and dense foliage
- SpectraLINE at ~30 cm: softer light, perfect for microgreens, lettuces and sensitive houseplants
- Several SpectraLINE bars in a row: let you cover entire trays with no shaded areas, especially in propagators and germination trays
For seedlings, start at 30 cm to avoid heat stress, then gradually lower to 20-25 cm once the first true leaves appear. This approach protects young plants while stimulating their growth.
Stabilizing light and temperature
In a more powerful setup (for example, several SpectraLINE bars mounted above a 0.5 m² tray), the recommended distance generally varies between 30 and 60 cm depending on the growth stage and the sensitivity of the species. The goal is to keep an even PPFD without exceeding a leaf temperature of 28-30°C.
When your system is dimmable or adjustable (number of bars, lighting duration), we recommend starting "gently": reduced intensity or duration, a height of 45-60 cm, then gradually increasing the amount of light as the plant develops 3-4 true leaves. You can then reduce the height to 30-45 cm if needed, always watching how the seedlings react.
Always adjust intensity and height in small steps (10% of power and 2-5 cm at a time) to avoid stressing the plants. A properly positioned fan will help regulate temperature and keep the substrate below 28°C.
If you'd like to explore other setups for germination and cuttings, check out our full selection of LED lighting for seedlings, cuttings and germination, with the SpectraLINE range as the benchmark.